
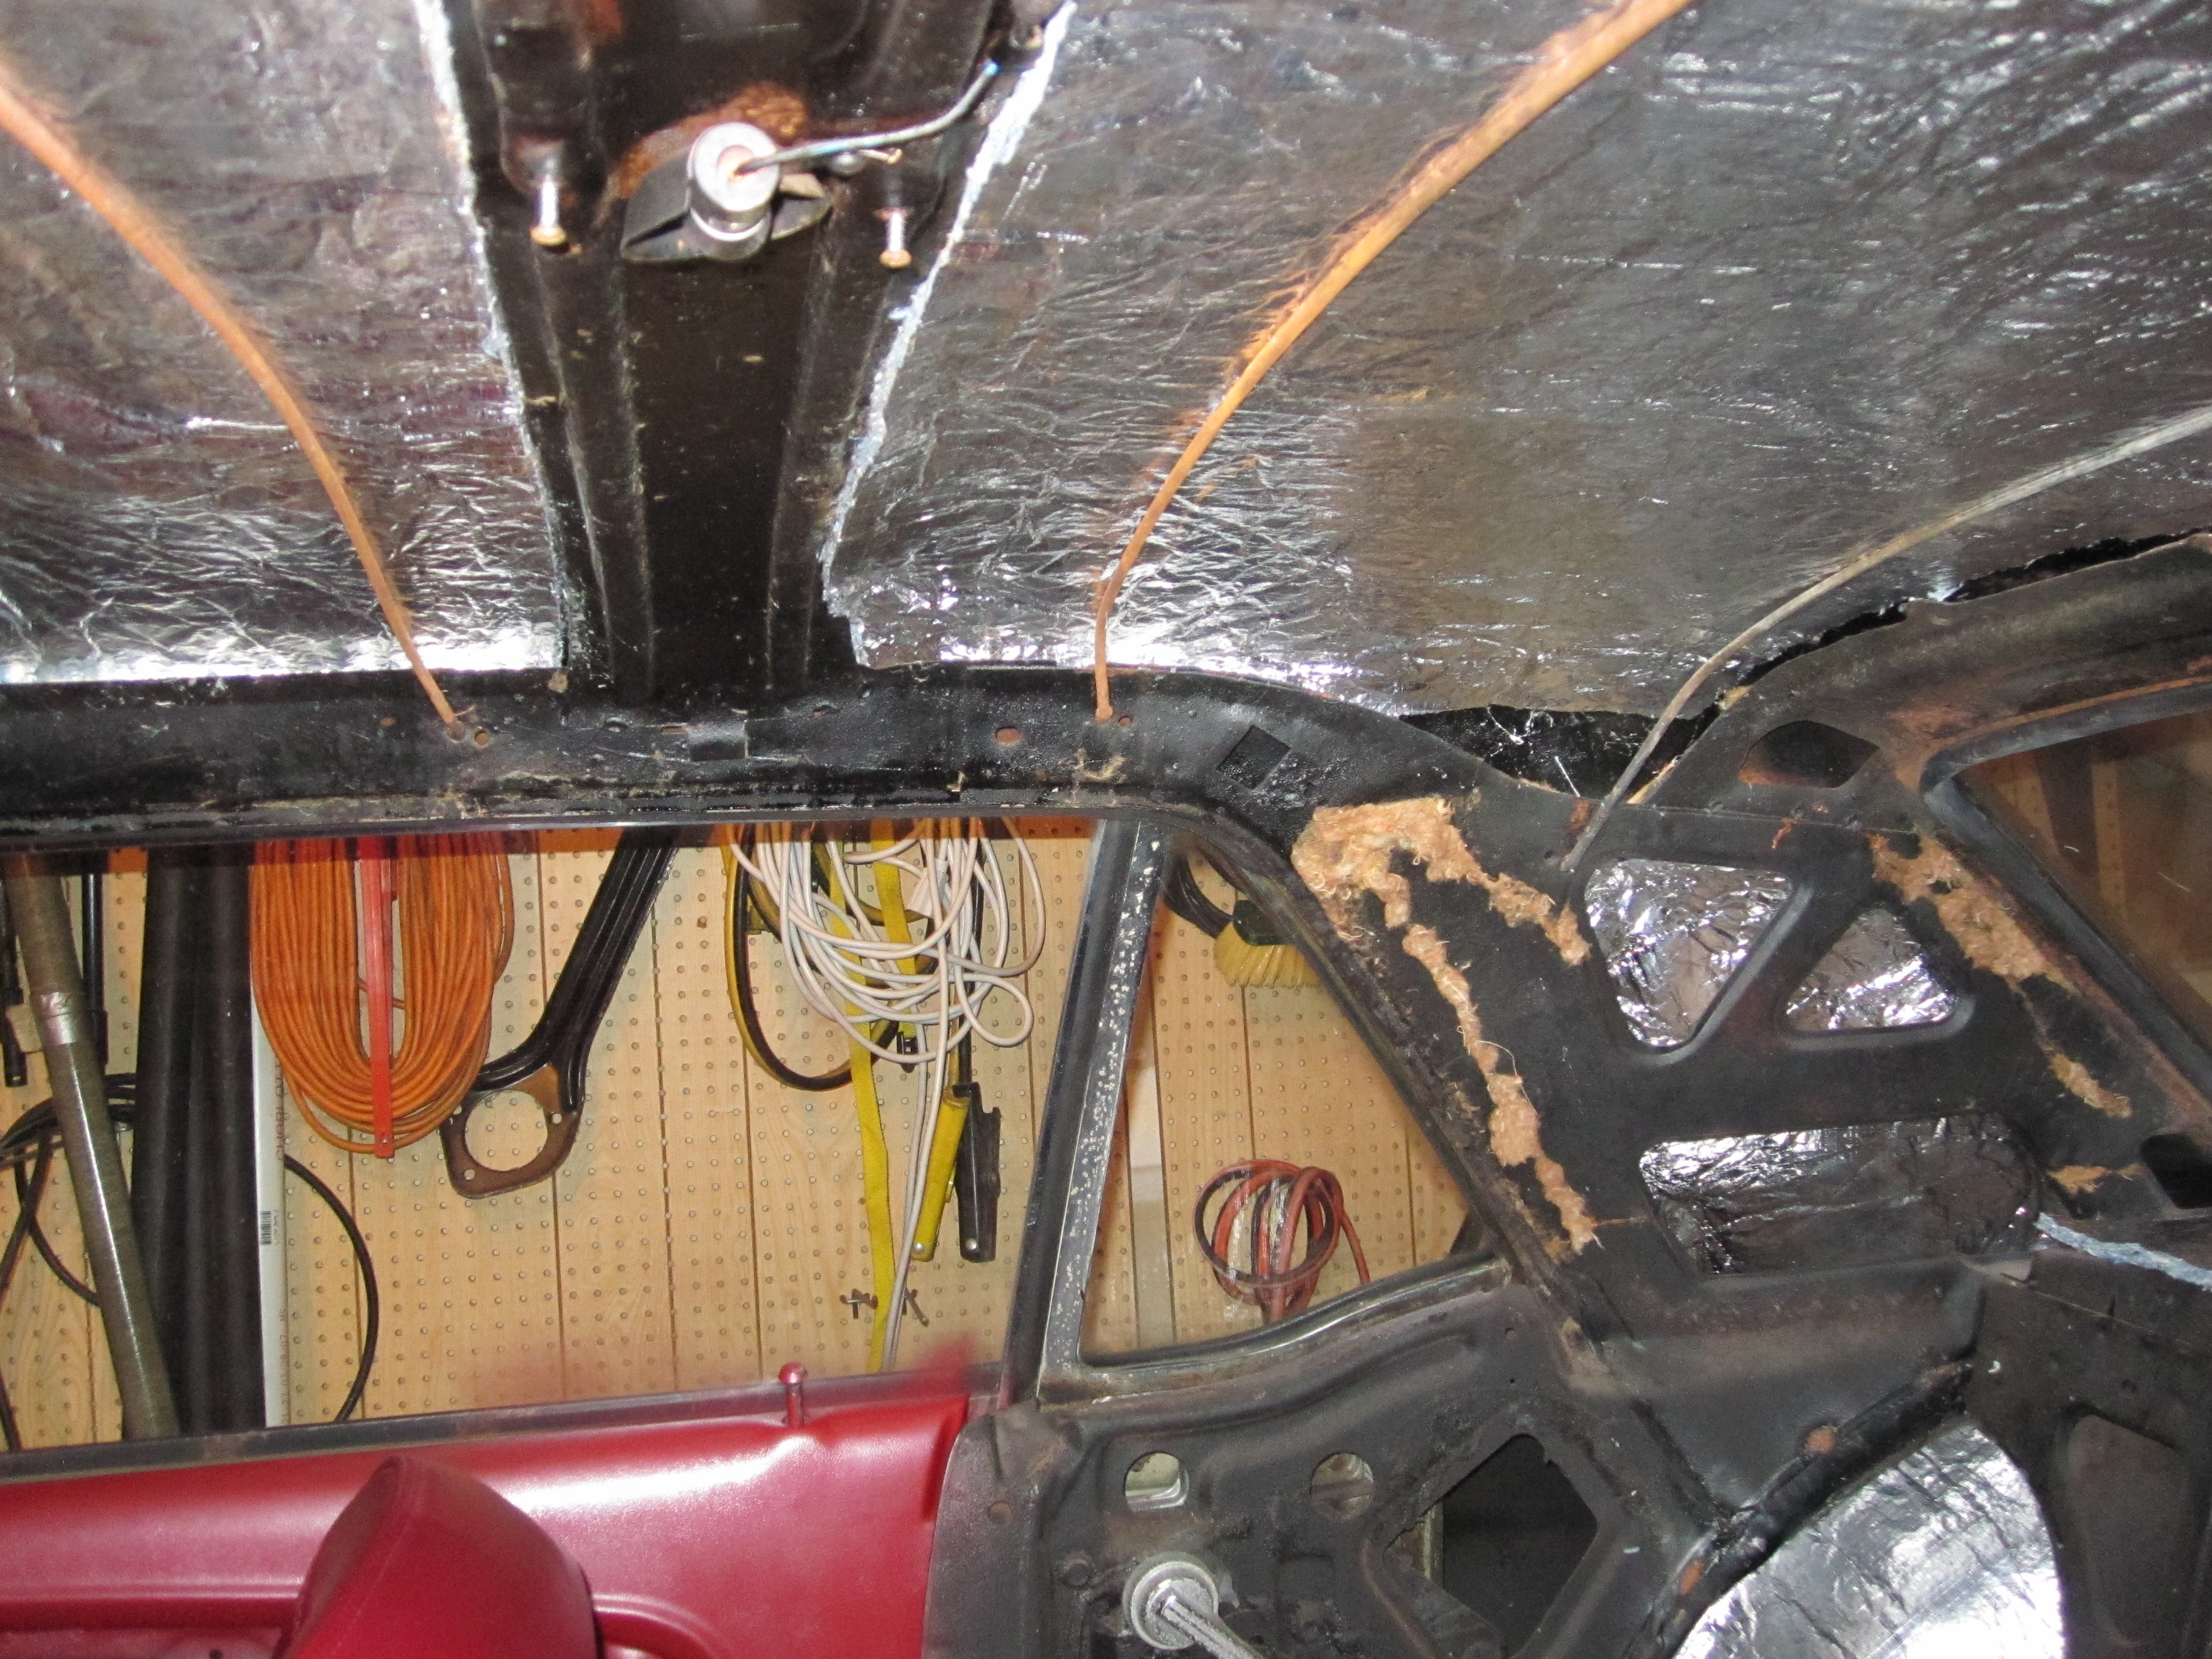
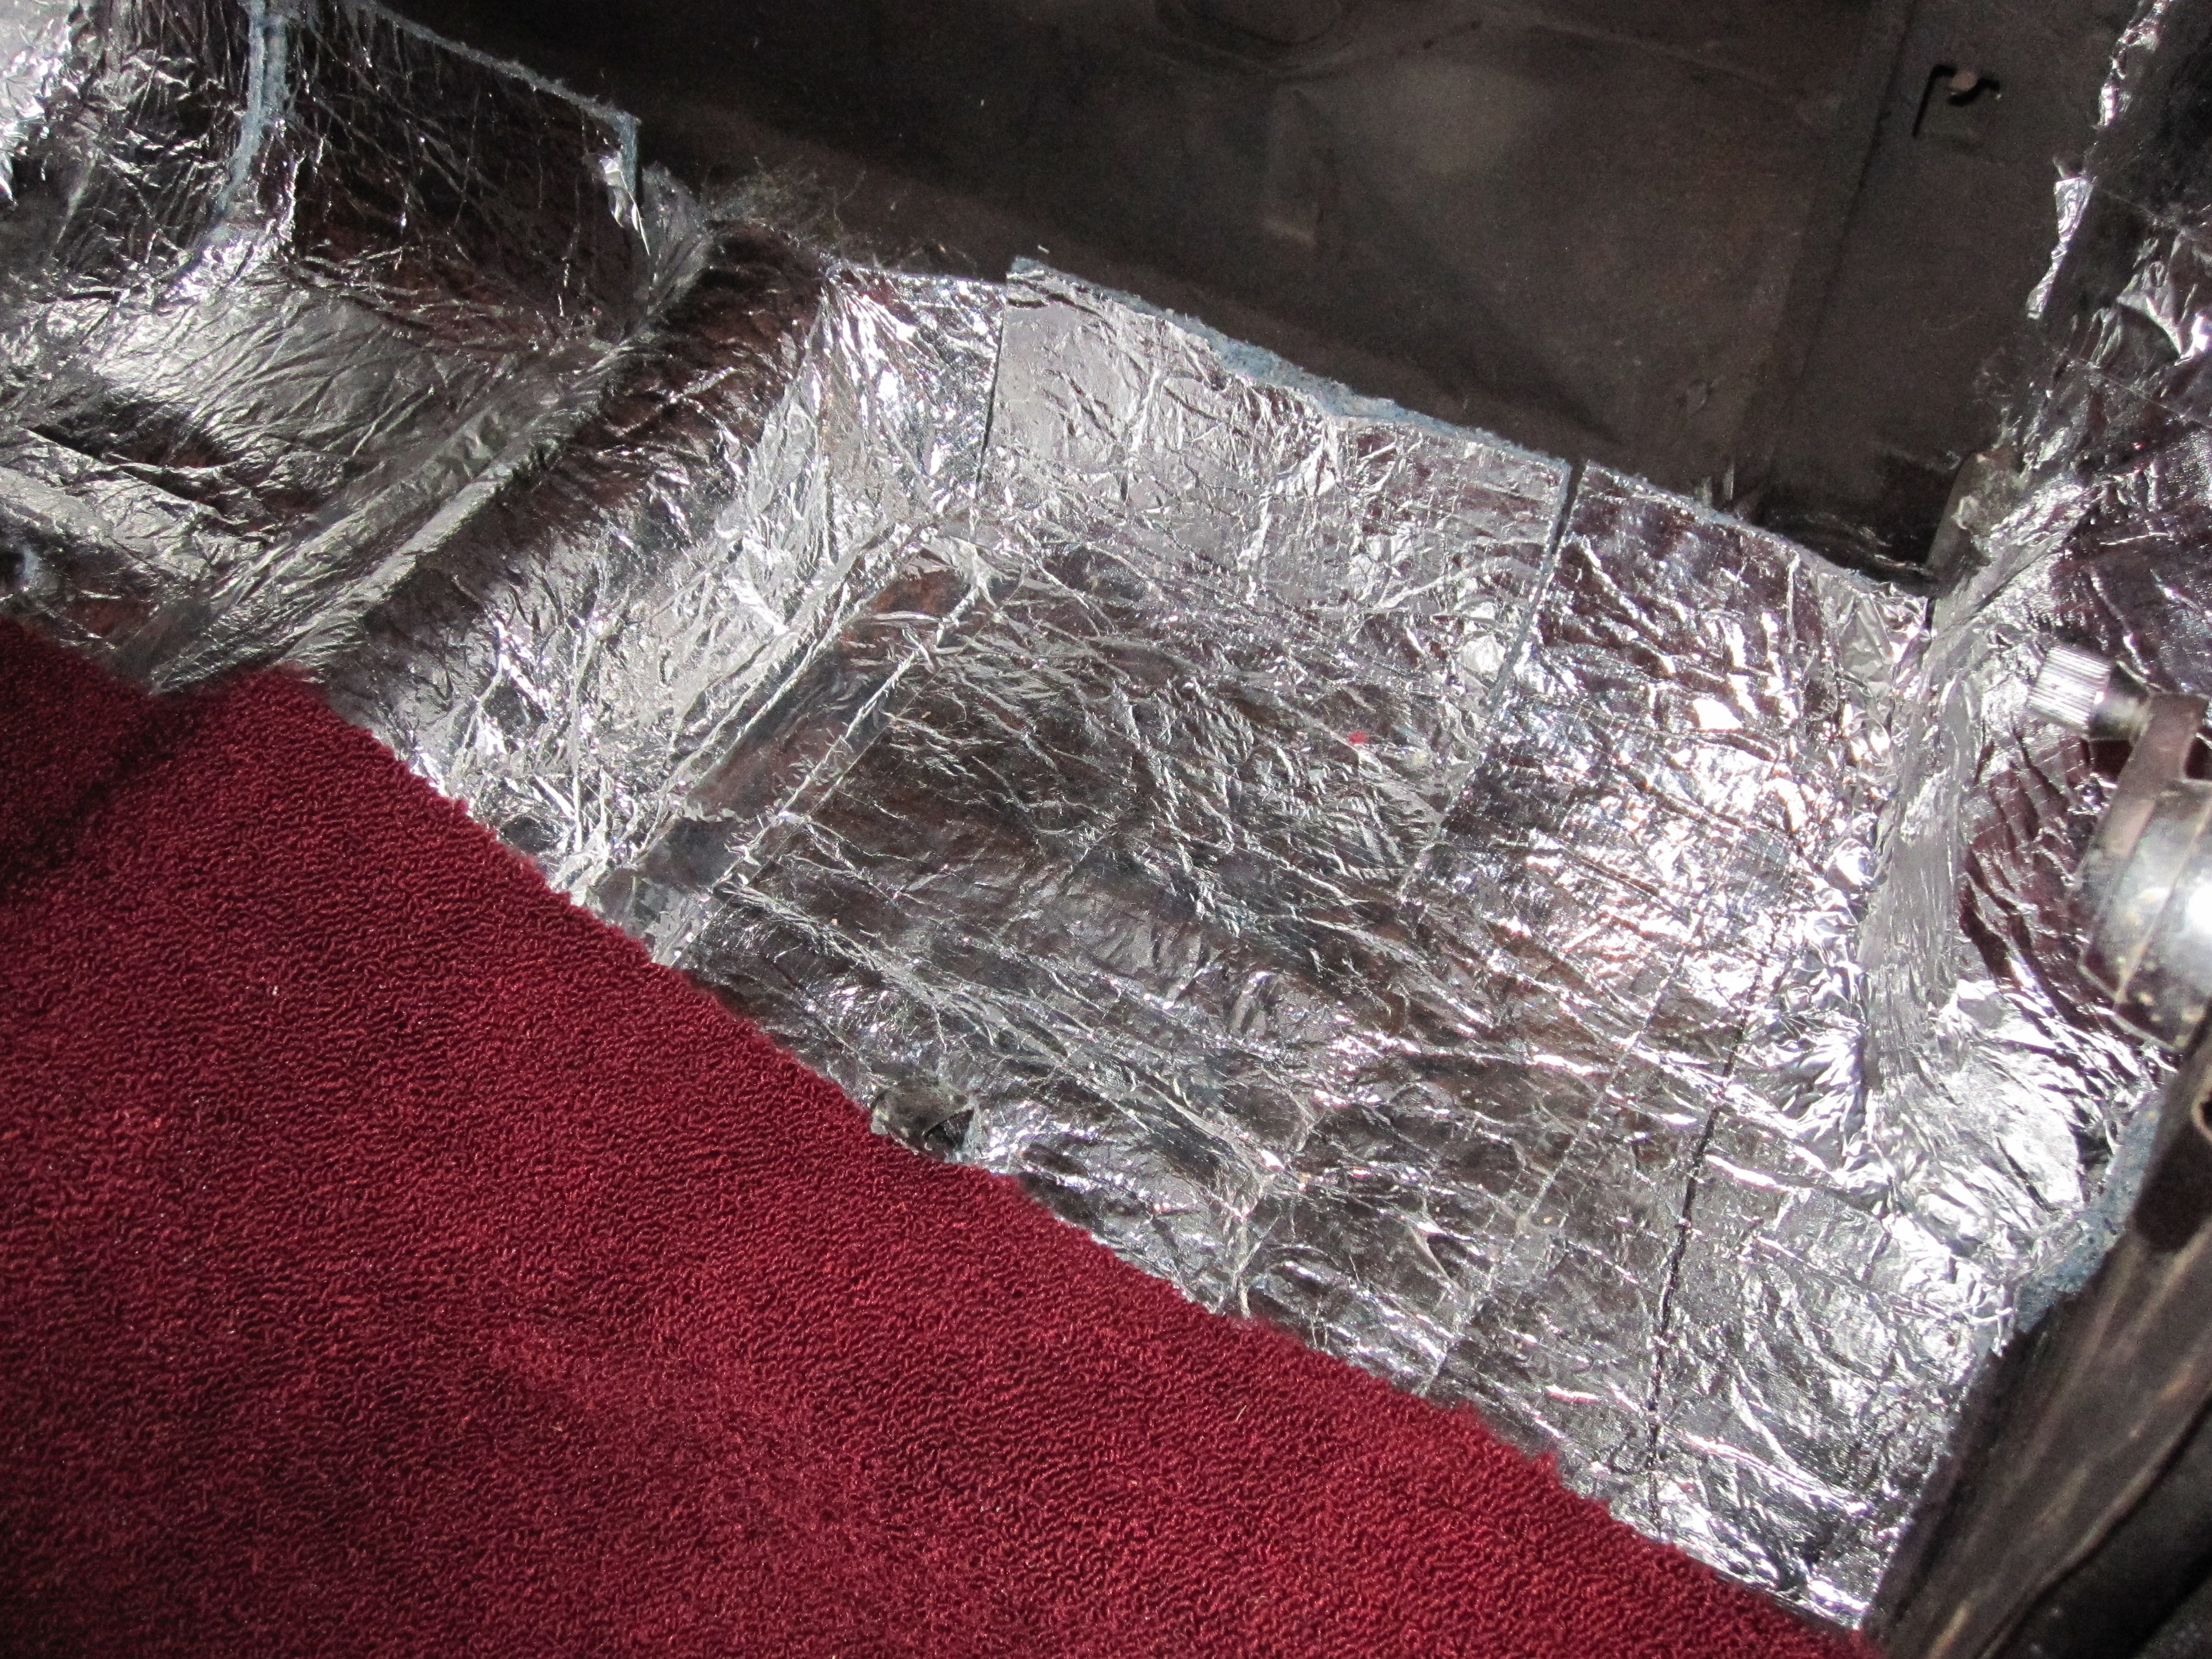
I haven’t posted for a while but I’ve still been keeping busy. My instrument cluster parts haven’t arrived yet (been on back order for close to a month now). So I’ve been working around the dash. I did have an opportunity to install some more of the AcoustiShield kit. I applied the DynaMat strips to the roof. I was concerned that they wouldn’t stick but they seemed to stay in place well enough. I tapped on the roof before and after I applied the DynaMat. There was a noticeable difference but the vibration wasn’t as well damped as I would have liked. I went ahead and installed the heat shield and then tapped on the roof again. This time I was happy with the resulting thud sound with no vibration at all. I also installed some of the AcoustiShield that go on the inner wheel houses, the kick panels, and test fitted some of the rear seat parts.
I’m holding off on the rest of the kit until some of the body and paint is done. I wanted to leave access to the back of the panels for the body person. I also gave some thought to how I will cover up the heat shield in the trunk. The reproduction trunk mat will not cover the wheelhouses and quarter panels so the foil from the heat shield will show through. I really don’t want the trunk to look like a house with no siding. I will probably either build something to cover it up or purchase one of the trunk carpet kits that cover the entire trunk. The only issue I have with the kit is the expense. But I have plenty of time to consider my options.
Next I chose to tackle the carpet. I had a carpet set I purchased several years ago. I laid it out in the interior and let it sit overnight to help it flatten out and for the creases to settle out of the carpet. The next day I carefully laid both pieces out and spent quite a bit of time making sure I was happy with how it aligned with the floor pans. I’ve seen a lot of complaints online regarding the fit and finish of the carpeting. My opinion is that the quality of the carpet isn’t that great. However I don’t have any really big complaints about the fit. I had to do some minor trimming and everything else just fell into place.
I started with the rear carpet. After adjusting it I had it right where I wanted it. I smoothed it out over the transmission tunnel and used the seat belt bolts to hold it tightly in place. Then I laid out the front carpet. I had to cut a hole for the shifter before I could lay it out completely. I also had an issue with my headlight dimmer switch. It seems that it only had one screw holding it in place, and there was no hole for the second screw. Apparently the restoration shop that installed my floor pans failed to complete installing the dimmer switch. I drilled the second hole and mounted it more securely. Then I made the hole for the dimmer and inserted the plastic grommet that came with the carpet set. My understanding is that the original carpet did not have a grommet for the dimmer switch, but I think the grommet looks cleaner so I used it.
Next up was the reproduction kick panels. I still had the originals, but they had crumbled as the plastic hardened with age. I was surprised to see that the new kick panels had no screw holes in them. So I used the original kick panels as templates to drill new holes in the reproduction panels. When I installed the panels the holes lined up perfectly. After the kick panels I installed the door sill plates. One thing I didn’t mention is how handy having a pick or awl will be when installing the carpet. I used one to help locate any holes and line up the trim panels.
While I was working on the carpet I noticed a couple of items that were bothering me. The first was the driver’s side vent controls. The vent uses a cable to open and close the vent. I noticed that the cable was rubbing up against the clutch linkage and pedal support. After looking a bit further I saw that a bracket that holds the cable assembly had come detached from the vent housing. I was familiar with the bracket as I had repaired it in the past. It is held on by pop rivets and I used pop rivets the last time I had repaired it in an attempt to remain true to the factory way of securing the bracket. I went ahead and removed the vent assembly, which is not an easy part to get to. Then I drilled out the pop rivets and used some number 8 screws, washers, and nuts to secure the bracket. Then I reinstalled the vent assembly under the cowl.
The second cause for concern was that the heater and defroster controls didn’t line up when they were all in the fully raised position. I know they were aligned in the past because I was careful to install them that way years ago. Either parts had shifted, or the restoration shop that removed and replaced the heater box when they did the rust work on my cowl didn’t adjust them correctly. It was a fairly simple task to adjust them so that they all lined up correctly. I loosened the adjustment screws, moved the the controls to the fully raised position and tightened the adjustment screws back down. Now the controls line up properly.
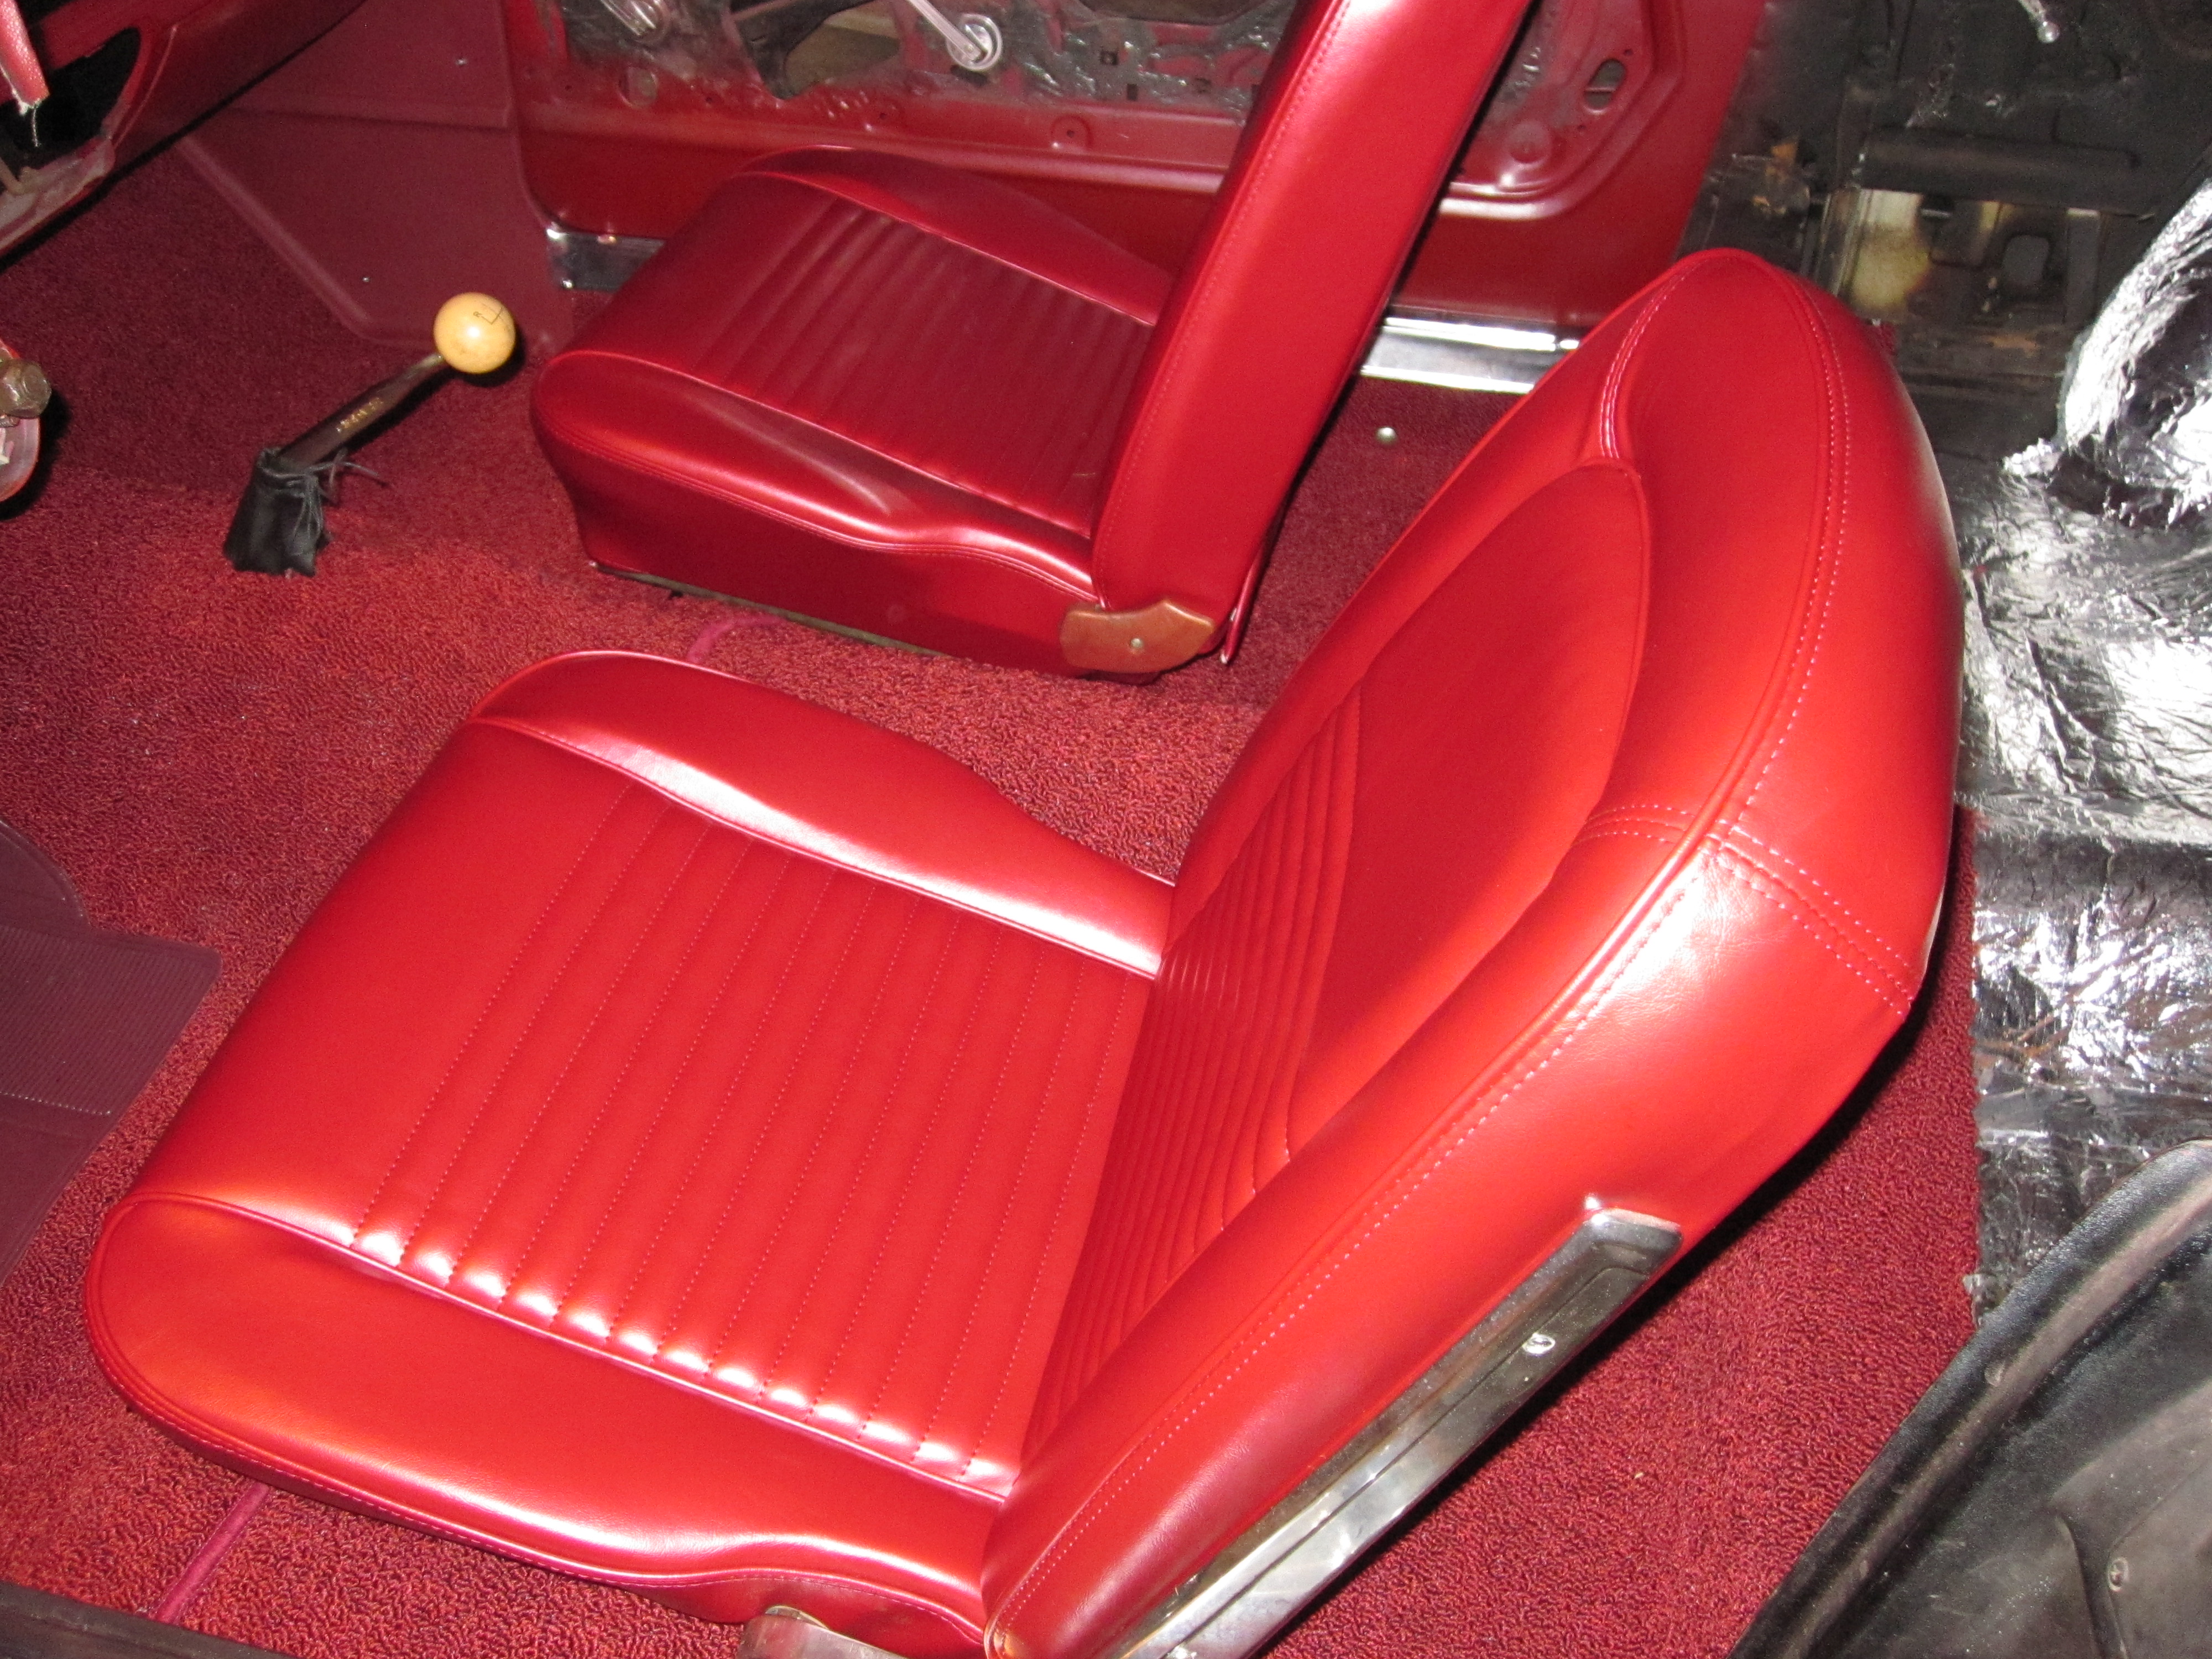
Now it was time to reinstall the front seats. I had already re-upholstered the passenger seat so I installed that one first. I had to poke some holes in the carpet using my trusty pick and then enlarged them by poking a screwdriver through the holes. When I got to the driver’s seat I debated whether to reinstall it and re-upholster it later or do everything now. I was still waiting for parts so I chose to re-upholster now. I installed new seat foam and covers on the driver’s seat, as well as recovering the rear seat. Then I installed the front seat. I’m leaving the rear seat until after I finish up installing the rear speakers and wiring, along with the package tray.
Here are some pictures of the work so far. They show the dash and pad, seats, carpet, and some of the AcoustiShield kit.


Since I’m still waiting for my instrument cluster parts, I plan to tackle the radio wiring and rear speakers next. I plan to install the new radio antenna since it is easy to drop down into the fender when it comes time to paint the car. I don’t have my new radio yet, but I can begin preparing the speaker and power wiring for it so that I won’t need access behind the instrument cluster when I do get around to installing it. However I know that I will be busy with personal matters for the next week or more. So no work will be done for a while. Hopefully my dash clock will arrive by then so I can button up the rest of the interior when I get back to work.