For several years and a number of road trips, I have felt like my car was missing an additional gear for driving on the highway. There have been many occasions while driving on the highway, where I have started to reach for another gear and then stopped myself when I remembered that there is no additional gear. I knew a 5th gear wasn’t strictly necessary, as the Mustang could cruise for hours at 2500 to 3000 rpm, so adding a 5-speed transmission was never at the top of my “must fix” list. But the urge to swap transmissions to a modern 5-speed with overdrive was always in the back of my mind.
Recently I had two transmission related issues that made me revisit a transmission upgrade. The first issue was that my clutch was chattering pretty bad on takeoff. I had to be very careful with the clutch when starting from a dead stop to avoid shaking the car badly. The other issue was transmission fluid leaking from the shifter arms where they pass through the transmission case. Addressing both of these issues would require removing the transmission from the vehicle. Fixing the fluid leak would require a transmission rebuild. I had purchased this transmission from a junkyard in the 1980’s and the transmission hadn’t been touched internally since I installed it. The transmission had issues going into and staying in second gear, so I suspected that more than just new seals would be required for a rebuild. I felt that this was a good opportunity/excuse to look into a swap to a 5-speed transmission with overdrive.
The obvious choice for a new transmission was the Tremec TKX. The TKX’s first 4 gear ratios matched very close to my Ford toploader 4-speed transmission, but with the addition of an overdrive gear. The TKX was designed to have a low profile for an easier fit into older cars. And there were several companies that make ready to install kits for my Mustang that included all of the required hardware, cables, wiring, shifter, and clutch. I did my research and compared all of the kits on the market. Most were fairly similar and all of the companies had good reputations, which made the choice more difficult. Eventually a sale price led me to purchase a kit from Silver Sport Transmissions.
| Gear | Toploader | TKX |
| 1 | 2.78 | 2.87 |
| 2 | 1.93 | 1.89 |
| 3 | 1.36 | 1.28 |
| 4 | 1.00 | 1.00 |
| 5 | 0.68 |
Normally I attempt to do most of the work on my car myself. But I quickly realized that installing this kit by somebody of my age lying on their back in a garage wasn’t going to work for me. Luckily, I found a local shop, Bruno’s Classic Muscle, that could handle the install for me. They were able to work me into their schedule, and I dropped off my car along with the transmission kit for the install. This shop is a high-end shop with a price to match, but after speaking with them I knew they were the right people for this job. Really nice people, great skills, and very accommodating.
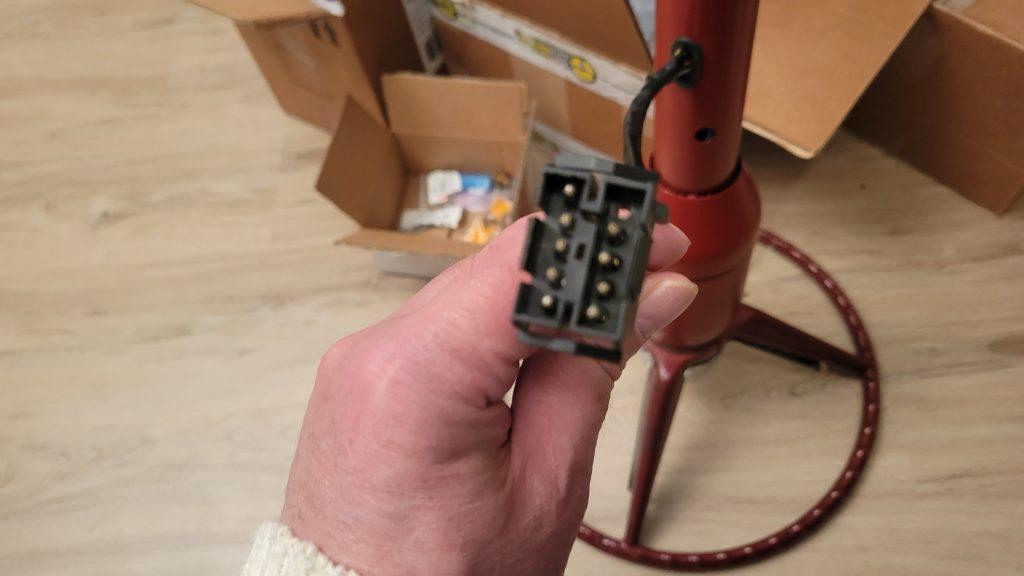
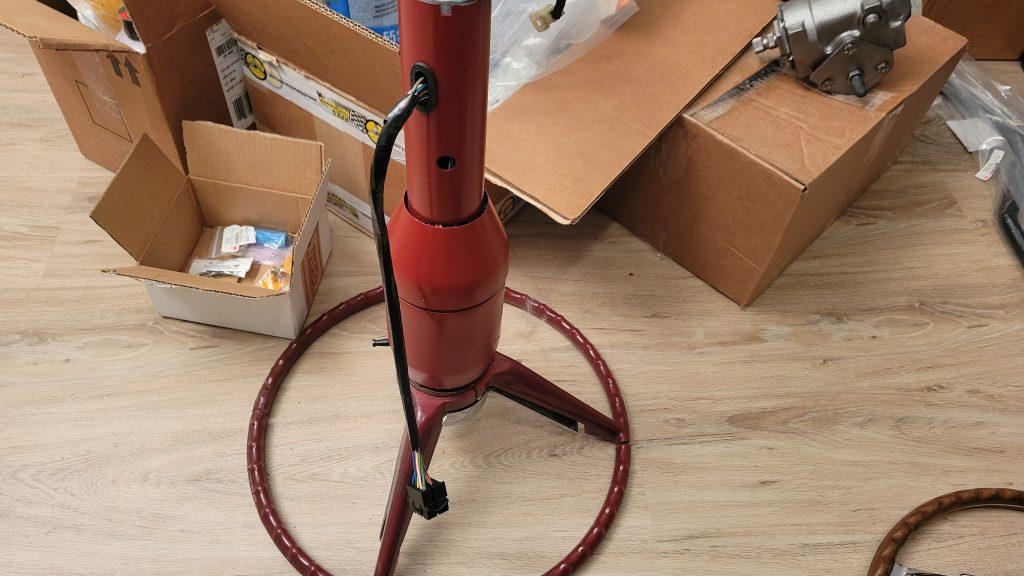
After about a week, I received a phone call from the shop asking me to come in and see some issues they had run into. The first issue was that the plug that was placed in the back of the transmission for shipping was stuck. Removing it would damage the rear seal on the tailshaft. They were able to remove the plug, and Silver Sport sent a replacement seal free of charge. The second problem was that the shifter didn’t align with the hole in the floor pan or with the console. The solution they recommended was to use a different shifter that had enough adjustment to line up with the floor pan and the console. They ordered the new shifter, and the rest of the transmission install proceeded with no major issues.
On my 1st test drive after the install, I had some difficulty with engaging the clutch smoothly. I feel that this was due to the change from relatively stock a Long style clutch to a heavy-duty diaphragm style clutch. After a while I was able to start and shift more smoothly, but I need a more practice. On the drive home the transmission shifted crisply, with nice short throws. I had an opportunity to drive a few miles on the highway, and the overdrive 5th gear had the engine at 2000 rpm while going 70 mph. Previously, that would have been 3000 rpm at 70 mph.
Here is a comparison between the Ford toploader and TKX transmissions showing the speeds in mph at 2000 rpm for each gear. For reference, my car has a 3.25 rearend gear ratio and P215/70R14 tires, which are 25.9 inches in diameter.
| Transmission: | Ford Toploader (wide) | Tremec TKX (close .68) | ||
|---|---|---|---|---|
| Gear | Ratio | Speed | Ratio | Speed |
| 1 | 2.78 | 17.06 | 2.87 | 16.52 |
| 2 | 1.93 | 24.57 | 1.89 | 25.09 |
| 3 | 1.36 | 34.87 | 1.28 | 37.04 |
| 4 | 1 | 47.42 | 1 | 47.42 |
| 5 | 0.68 | 69.73 | ||
I will post again about the transmission once all the snow has melted and the weather warms up so I can go for a longer test drive. For now, I can say I’m happy with the result and am ready to move on to more Mustang winter projects.