
Since this car show season was pretty much cancelled due to COVID-19, I’ve been inspecting the car and planning my projects for this upcoming winter. One plan that’s been on the back burner is to replace the car’s upper control arms. I purchased the replacement parts over a year ago but wasn’t able to install them when I replaced the spring perches due to health issues. I also planned to perform the Arning drop while the control arms were removed. I already have the template and drill bits on hand. I will talk some more about the Arning drop in just a bit.
I have already purchased new upper control arms from OpenTracker. He sells arms that he has blueprinted to ensure that the shaft is centered and the bushings are lubed and adjusted to move smoothly. It might cost a little extra but I felt it was worth it.
The Arning drop I referred to above is a modification to the upper control arm mounting point developed by then Ford engineer Klaus Arning that was adopted by Carrol Shelby for use in the early Shelby Mustangs. It has the benefit of lowering the center of gravity of the car and changing the camber curve to have more negative rather than positive camber as the suspension move up and down. Applying the drop requires drilling two new control arm mounting holes in the shock tower located one inch lower than the factory holes. If the upper control arm is already removed from the car it is a free modification. There are numerous write-ups on the Internet on how to perform the drop and its’ benefits. Dazecars has a good write up, but there are many others explanations out there as this is a very popular modification.
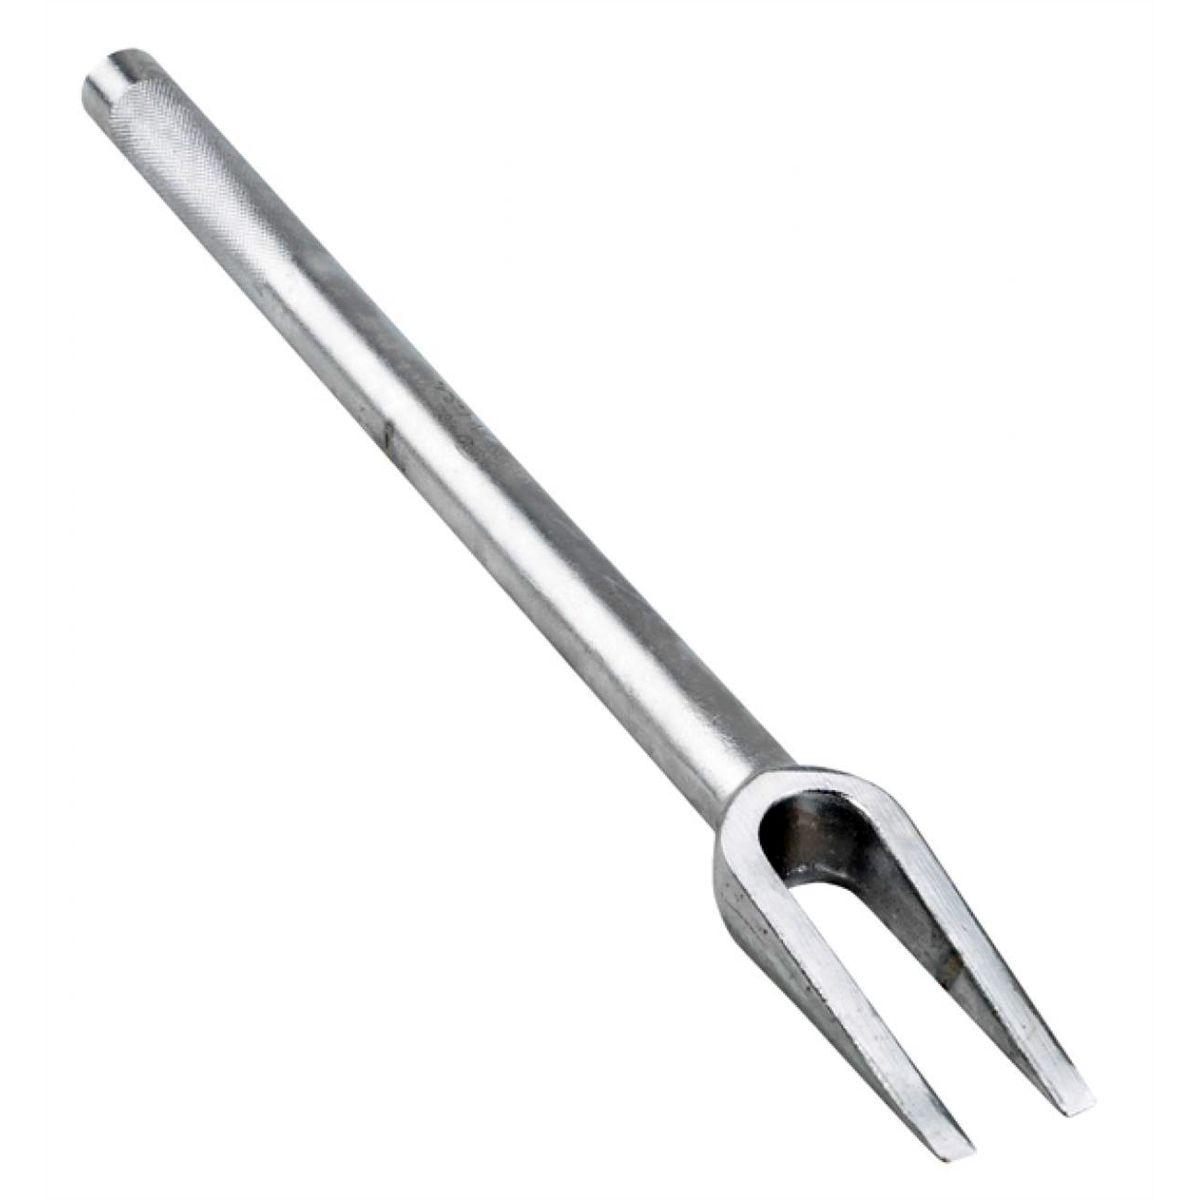
I have previously replaced my upper ball joints so I already have some tools on hand. In the past I used a pickle fork to separate the ball joints from the spindle. While eventually successful, using the fork took quite a lot of banging with a hand sledge hammer, repositioning, and prying to get it to work. It also damaged the ball joint and boot, and could mar up the spindle if you aren’t careful. I felt there had to be a better way to do this job.
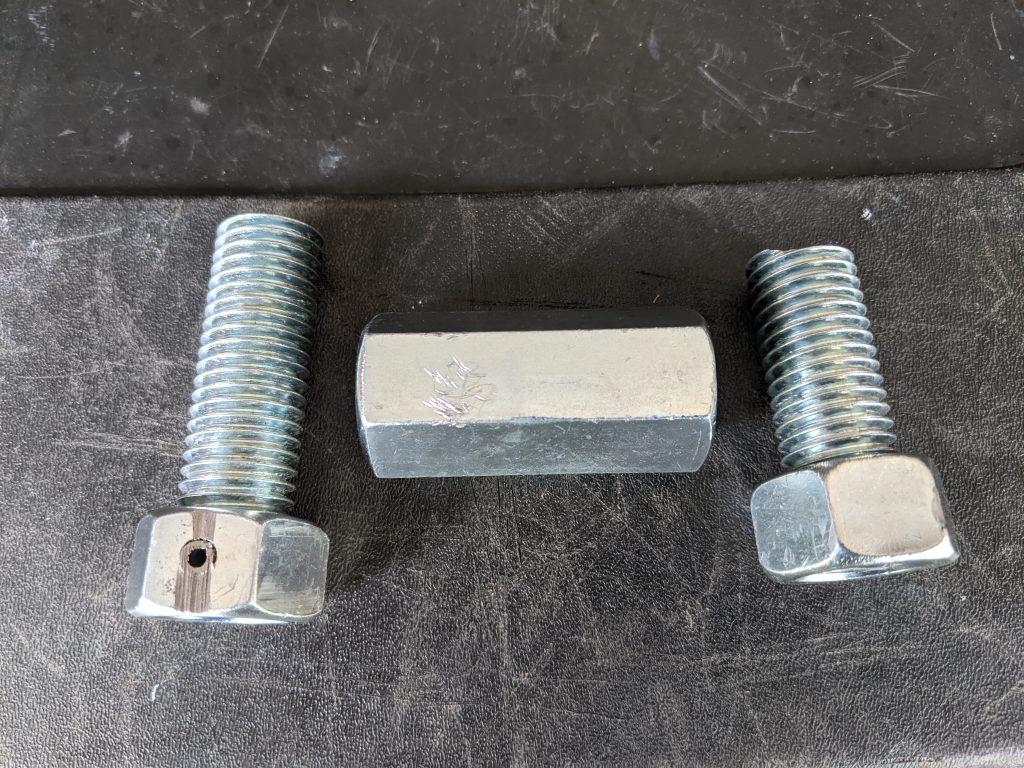
From searching the web I learned about a simple, easy to make tool that will press the ball joints out from the spindle. I found the plans at the Dazecars web site. (Scroll down the page past the spring compressor plans to find the ball joint removal tool plans.) It looked simple enough that even I could build it. All the parts were even available at my local hardware store. I don’t feel that I need to go into a lot of detail on the tool’s construction since Daze has published the plans on his site.
Here is what mine looked like just prior to assembling it and the finished product.
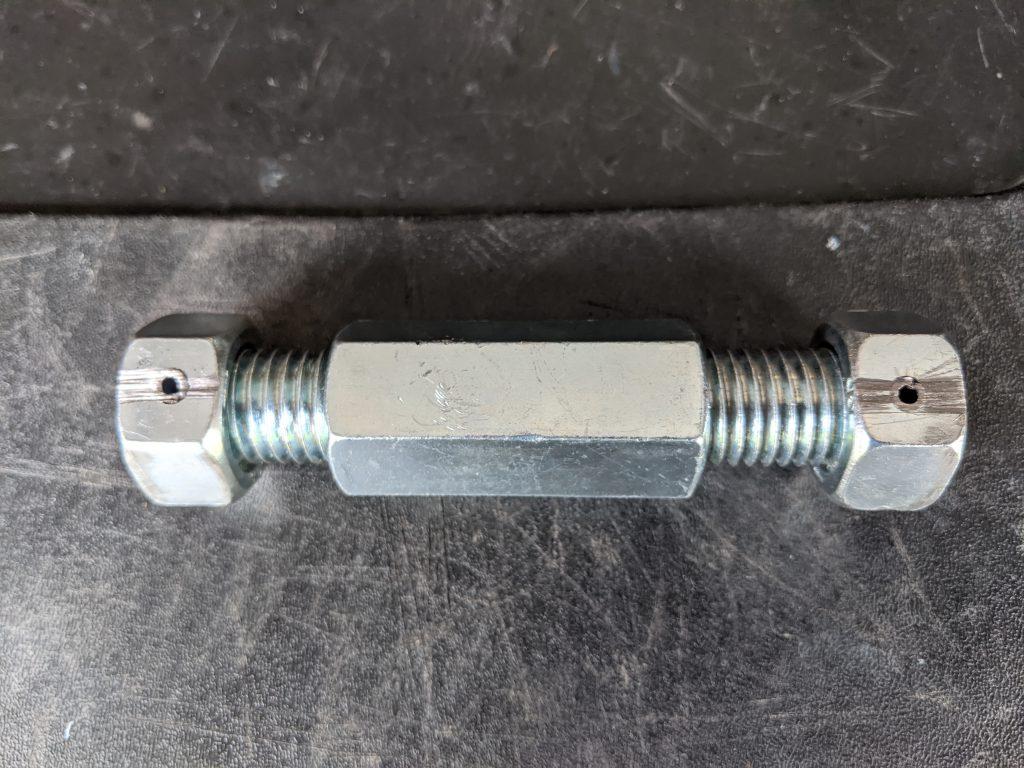
To use the tool you remove the ball joint cotter pins (or bend them out of the way) loosen the castle nut on the ball joint(s) to be removed (just loosen it, don’t remove it all the way yet), and insert the tool between the upper and lower ball joint studs. Then expand the tool until it is applying enough pressure to pop the ball joint stud out of the spindle. You can always give the spindle a good whack with a hammer at right angles to the stud to get it to pop out. Once the stud has popped out from the spindle you can remove the tool and then the castle nut.
I’ll post again as to how well it worked for me after I do the Arning drop and replace the control arms.