We had another nice weather day and it was time to get back to work on the MeterMatch installation. I disconnected the battery and pulled out the instrument cluster. I’ve done it so many times now that it doesn’t take me very long to remove it. I did notice that some of my previous wiring efforts could use some organizing. I decided to address that while i was building and installing my wiring harness for the MeterMatch. Unfortunately I didn’t give any thought to taking pictures and visually documenting my progress. Sorry about that.
I chose to start by installing the harness I had already built onto the instrument cluster. Since I had used my spare cluster to build the harness this step was easy. Everything plugged in as it should, and I used wire ties to attach the new harness to the original cluster harness. I also dressed up the tachometer wiring harness I built a few years back by using wire ties to attach it to the cluster harness as well. That looked a whole lot neater.
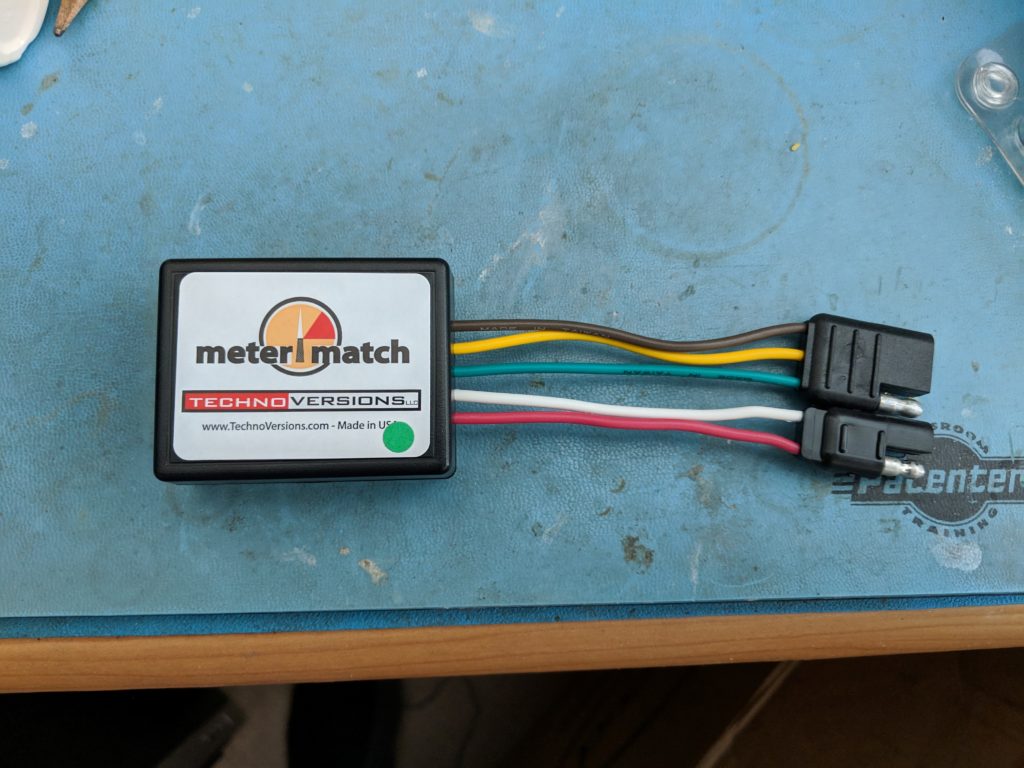
Next I measured wires to go from the console to the instrument cluster. Using those measurements I built a wiring harness to go from the instrument cluster fuel gauge to the MeterMatch which I planned to install in the console. I used connectors I got from a trailer supply house as they matched some of the factory connectors. Then I routed the harness and used wire ties to attach it to the existing behind dash wiring harness. I also cleaned up more of the tachometer wiring I had previously added.
The last harness to build was the wiring for power to the MeterMatch. I also installed a glass fuse holder and a 2 amp fuse for protection. I got the 12 volts required from the accessory port of the ignition switch. I used an existing screw behind the dash as a ground.
At this point I was ready for a quick test to make sure I had wired everything correctly. I connected the instrument cluster back up and turned the key to accessory. I had already determined that the tank should be about 3/4 full. Prior to installing the MeterMatch the gauge read closer to 3/8 full. I turned the ignition key to the accessory position and the fuel gauge slowly moved up to indicate 3/4 tank. I tested out everything else in the cluster and it all appears to be working properly. I still need to test the speedometer before I button everything back up.
My plan is to test drive the car and then fill the tank up after the drive. That will let me see how much gas it takes to fill the car compared to what the gauge read just prior to filling up. Then I can adjust the full setting on the MeterMatch if required. Further calibration will need to take place “on the fly” as I drove and fill the tank over the next show season. I’ll make another post after I have burned up a few tanks of gas and made any calibration adjustments.