The car is now sitting safely in the garage and I’m rested up from my vacation. Time to get back to work. The job that I had set for myself to perform next was painting the interior and cleaning and lubricating the window and door lock mechanisms. Val had done some work on one of the rear windows, but the rest of the car hadn’t been cleaned and lubricated in a very long time.
I decided to tackle the interior one part or section at a time. This would permit me to keep the car drivable while I was working on it. This decision would force me to perform tasks in an order that wasn’t the most optimal, but would help prevent the car from being disassembled and then risking having it sit for a long time. So I chose to work on the interior prior to painting. This is in contrast to dissembling the entire car, painting it, and then reassembling.
The paint on the interior of the driver’s side door had some rust poking up through the paint. The most likely cause was from the sweat of a person’s arm resting on the top edge of the door while driving. This rust has been peeking up through the paint for as long as I’ve owned the car. I tried to repair it years ago with a wire wheel and some paint. The end result was some remaining rust and paint that was so thick it was starting to fill in the grain in the metal on the door. I decided that the best fix was to completely strip and repaint both doors.
Step number one was to take off the door handle and window crank. The door panel and arm rest were already removed. Then I removed the vent window assembly. It was pitted and the weatherstrip on it had hardened and was falling apart. Finally I pried out the door run weather stripping and scraped off the lower door opening weather strip.
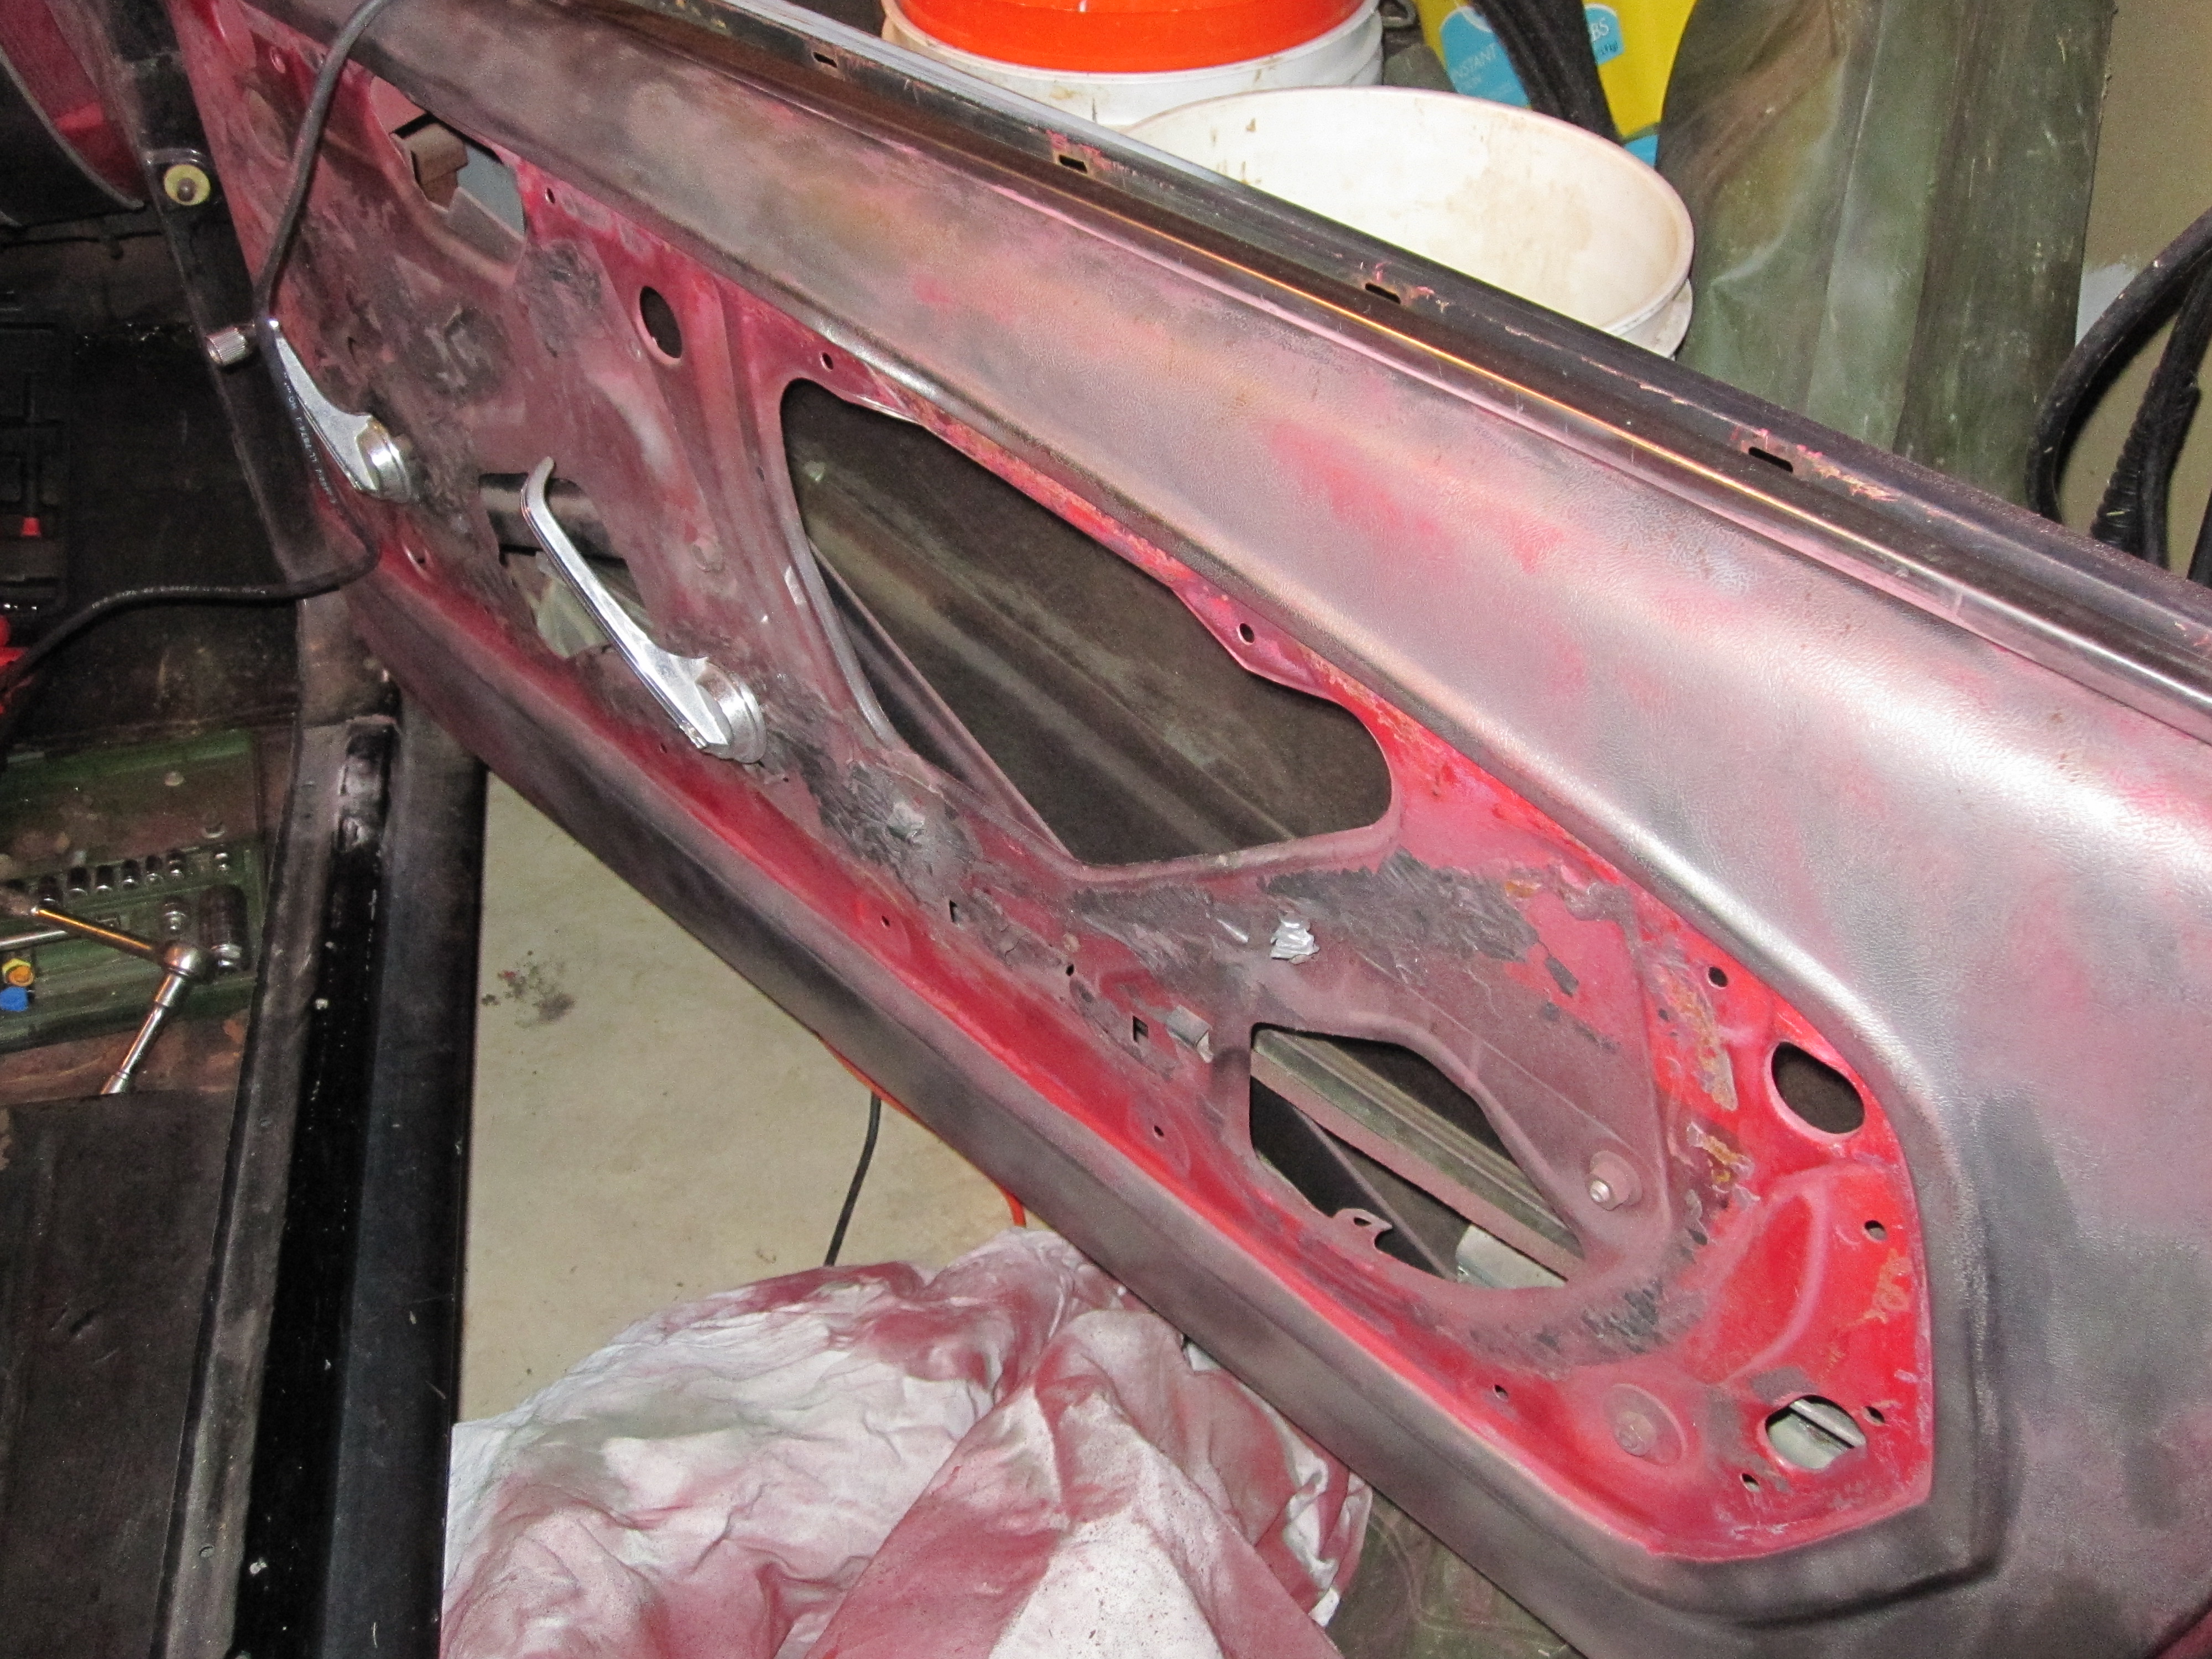
The next step was to apply paint stripper and try to get the many layers of paint off of the door. It took several applications and scraping sessions to remove some of the paint. Then I spent about two hours with a drill and a wire wheel to remove the rest of the paint and the rust. The metal on the door was looking nice and shiny at this point. There were a couple of very noticeable dents in the lower part of the door. I used a hammer and dolly to try and knock the dents back out as much as I could. I’m not an experienced body man, and I couldn’t use any filler as it would fill in the grain in the door. So it didn’t come out absolutely perfect, but the dents are much harder to see.
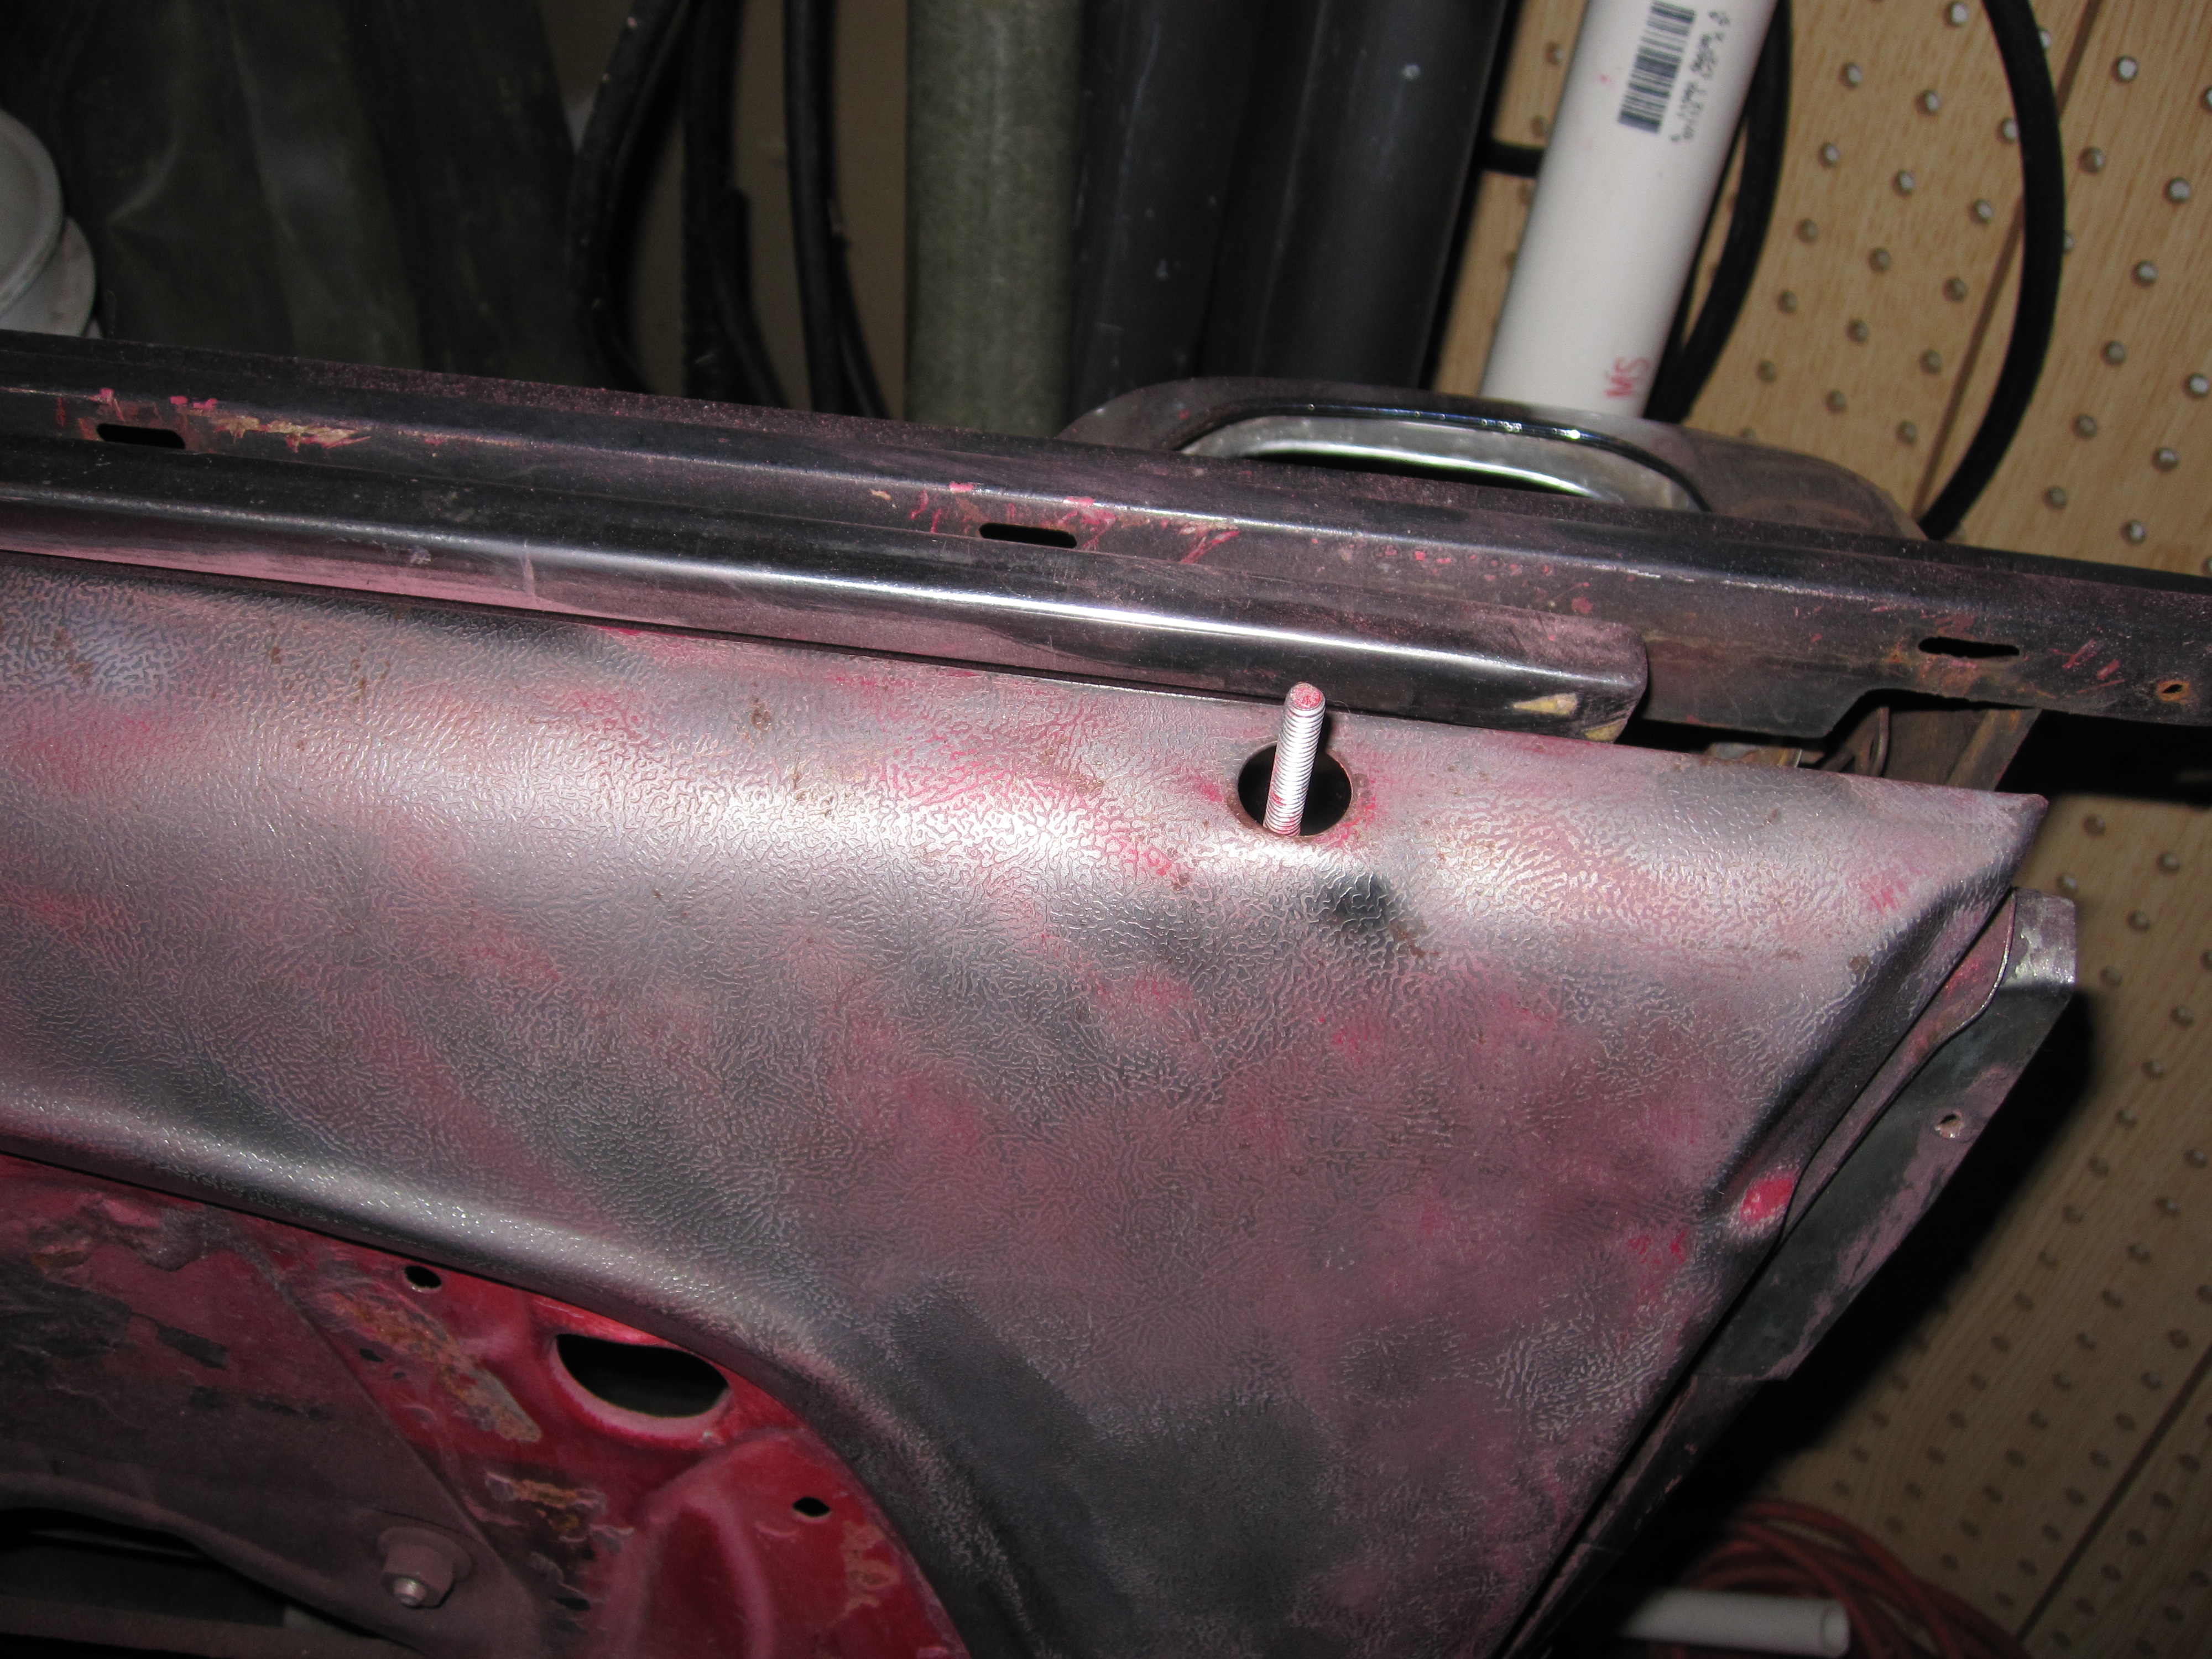
Here’s a couple of pictures of the passenger door after stripping.
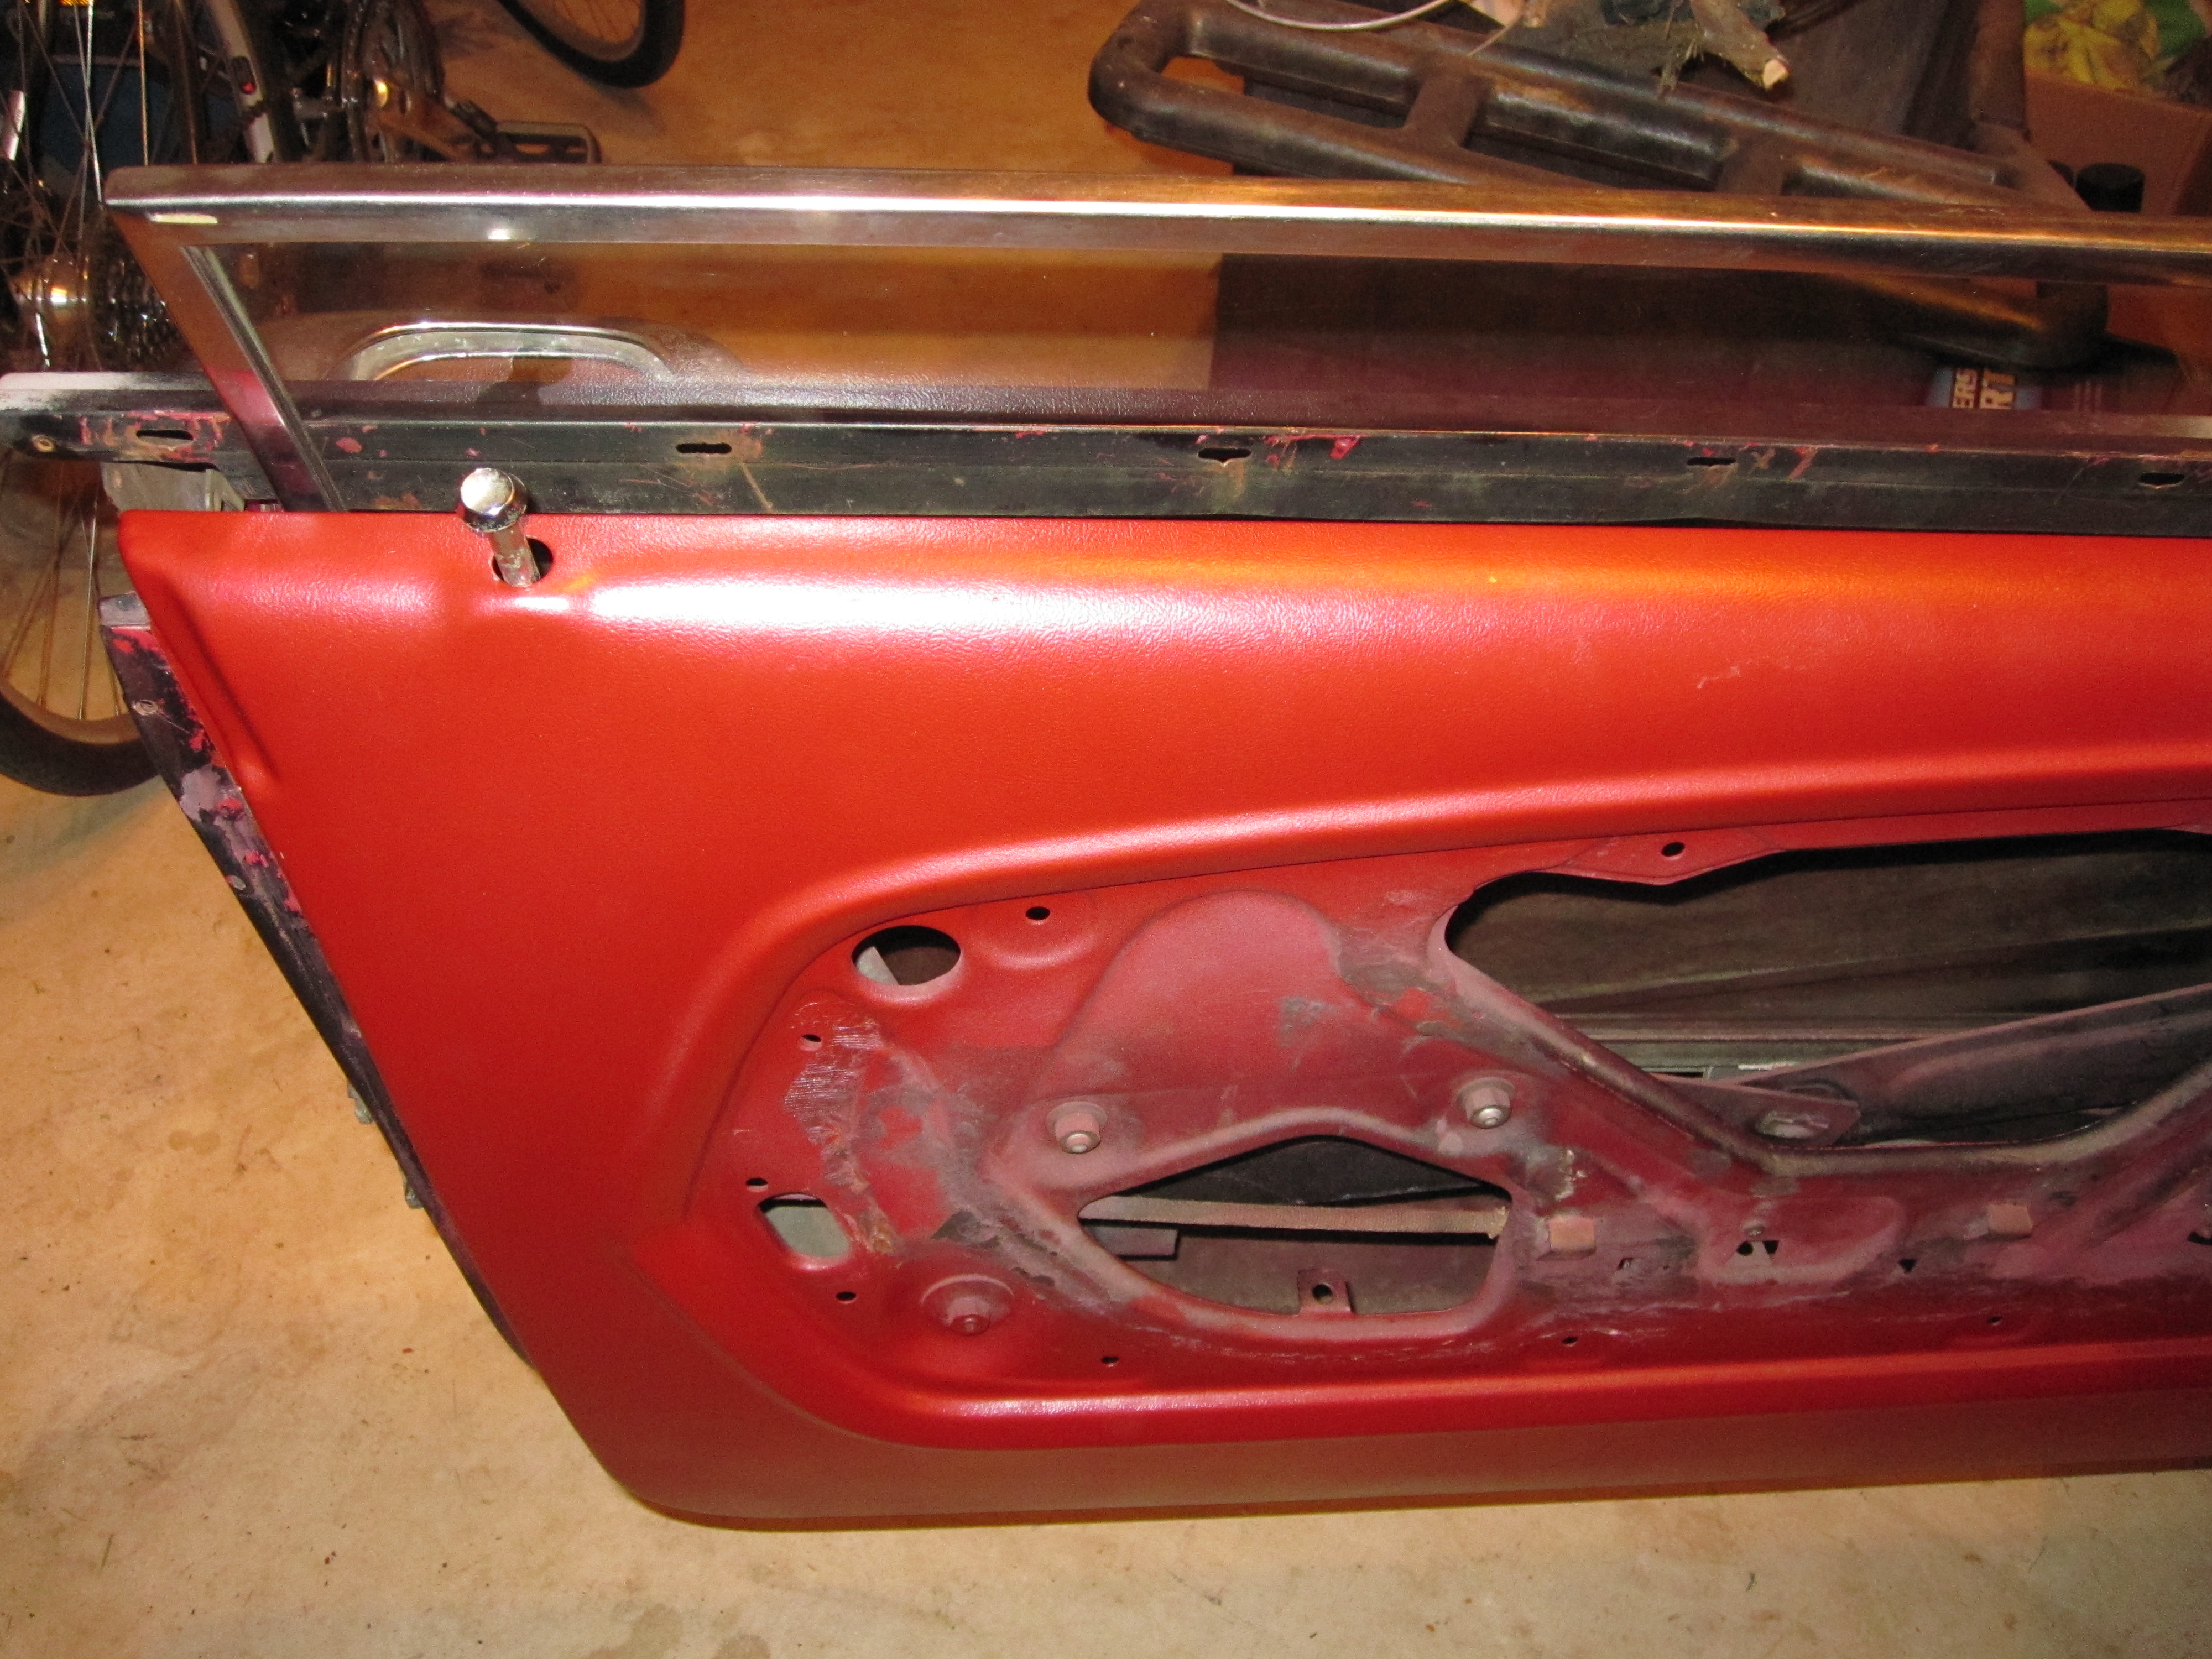
Now I was ready to paint. I taped up the areas I didn’t want to paint and cleaned off the metal with mineral spirits. I started with a coat of self etching primer. That went on nice and smooth, and the door looked pretty god after the primer had flashed. For color I used a can of interior paint I purchased from one of the mustang parts vendors. It is supposed to match the original paint used by Ford at the factory. To my eye it matches pretty well. I applied a very light coat for the first coat. Not even enough to completely cover the primer. I let that dry for about 15 minute and applied another very thin coat. The idea was to cover everything but not fill in the metal grain. It probably isn’t show car worthy, but I think it came out pretty well.
Next I disassembled the vent window, removed all of the weather stripping, and cleaned it thoroughly. The chrome was a bit pitted and scratched. I cleaned and polished it the best I could, but it still looks a bit shabby. I decided to live with it and spare the expense of replacing both vent window frames. I hope i don’t regret that decision later. There are several pieces of weather stripping on the vent window. There is one that goes along the side of the frame, One that goes on teh front of the frame, one that surrounds the vent window, and the front door run. I replaced all of them since none of them were in serviceable condition.
Here’s a picture of the door after painting and reinstalling the vent window. The light isn’t the best in my garage but hopefully it shows enough detail.