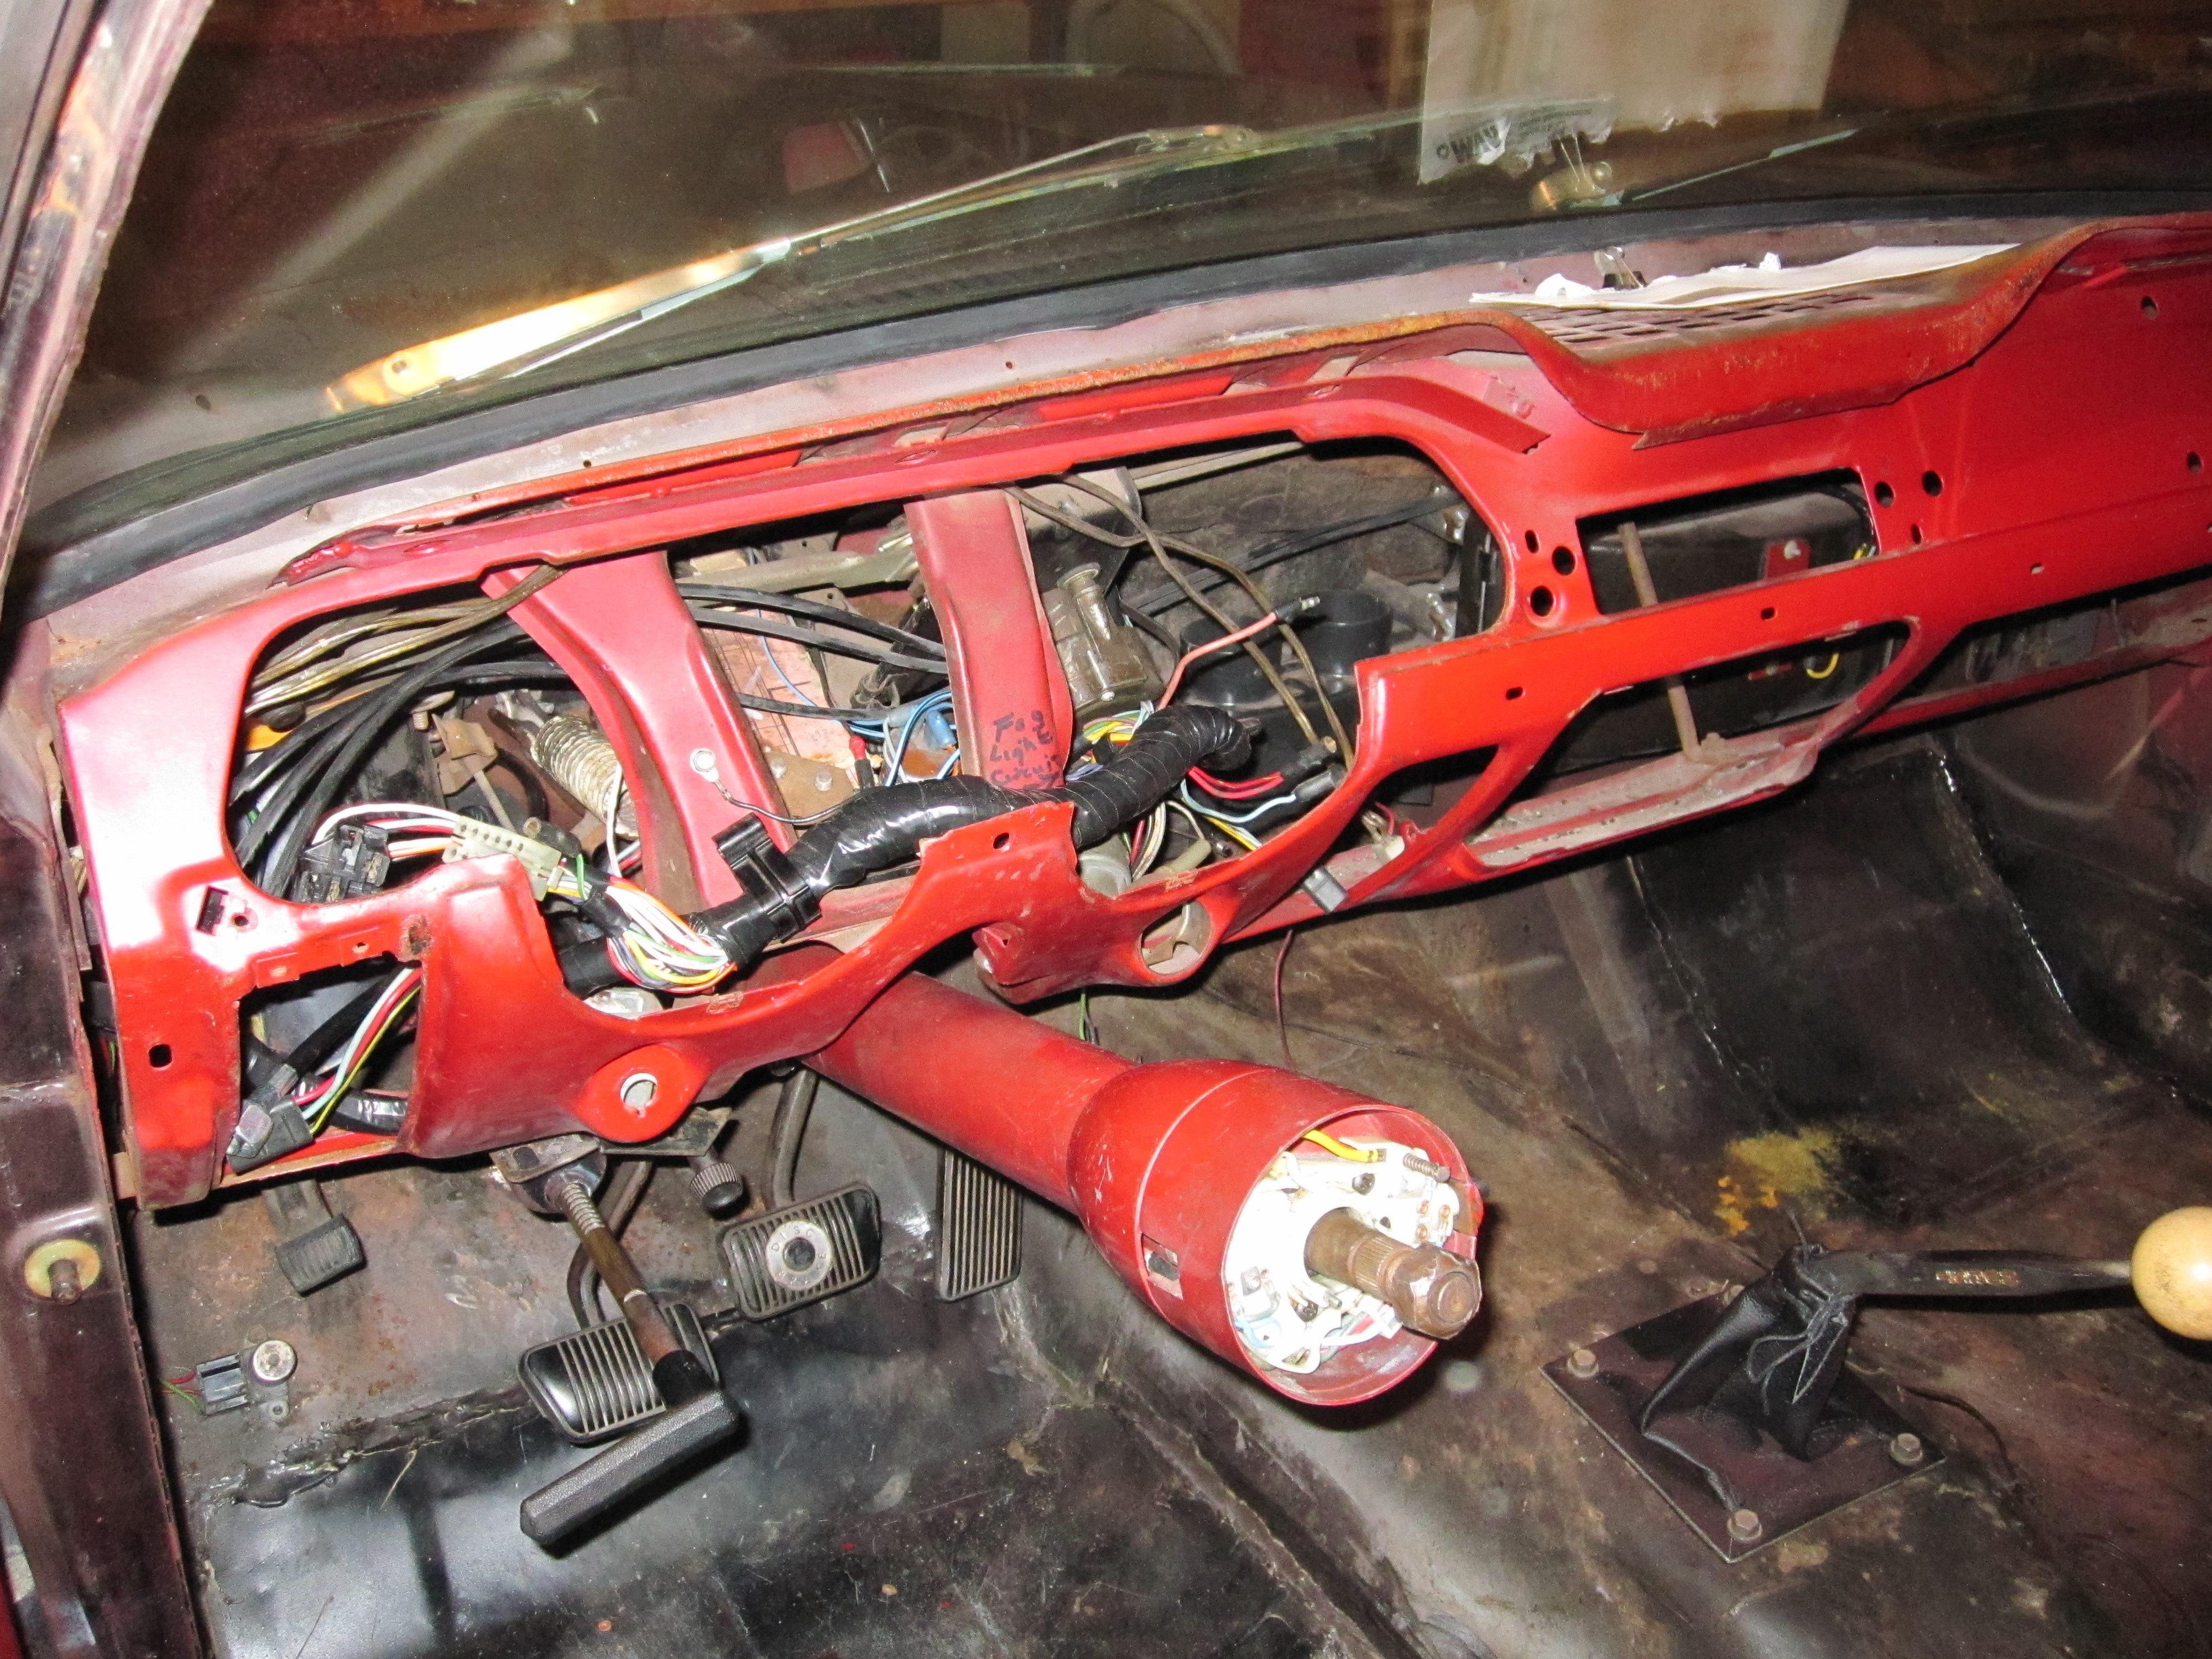
Next on my list is to repaint the dashboard. It doesn’t look too bad but could definitely use some sprucing up. I went right to work stripping off all the trim panels, the defroster controls, the instrument cluster, the knee kick pad, and the dash pad. I also removed the headlight switch, the ignition switch, the seat belt warning light, the fog light switch, the parking brake handle and the vent control. Finally I pulled the steering wheel, turn signal lever and emergency flasher switch. Then I dropped the steering column and removed the rubber bumpers for the glove box. At this point I did some looking around and noticed that the one of the defroster hoses had a tear in it. So I removed the defroster vents from the dash and replaced the hoses with a pair I had on the shelf.
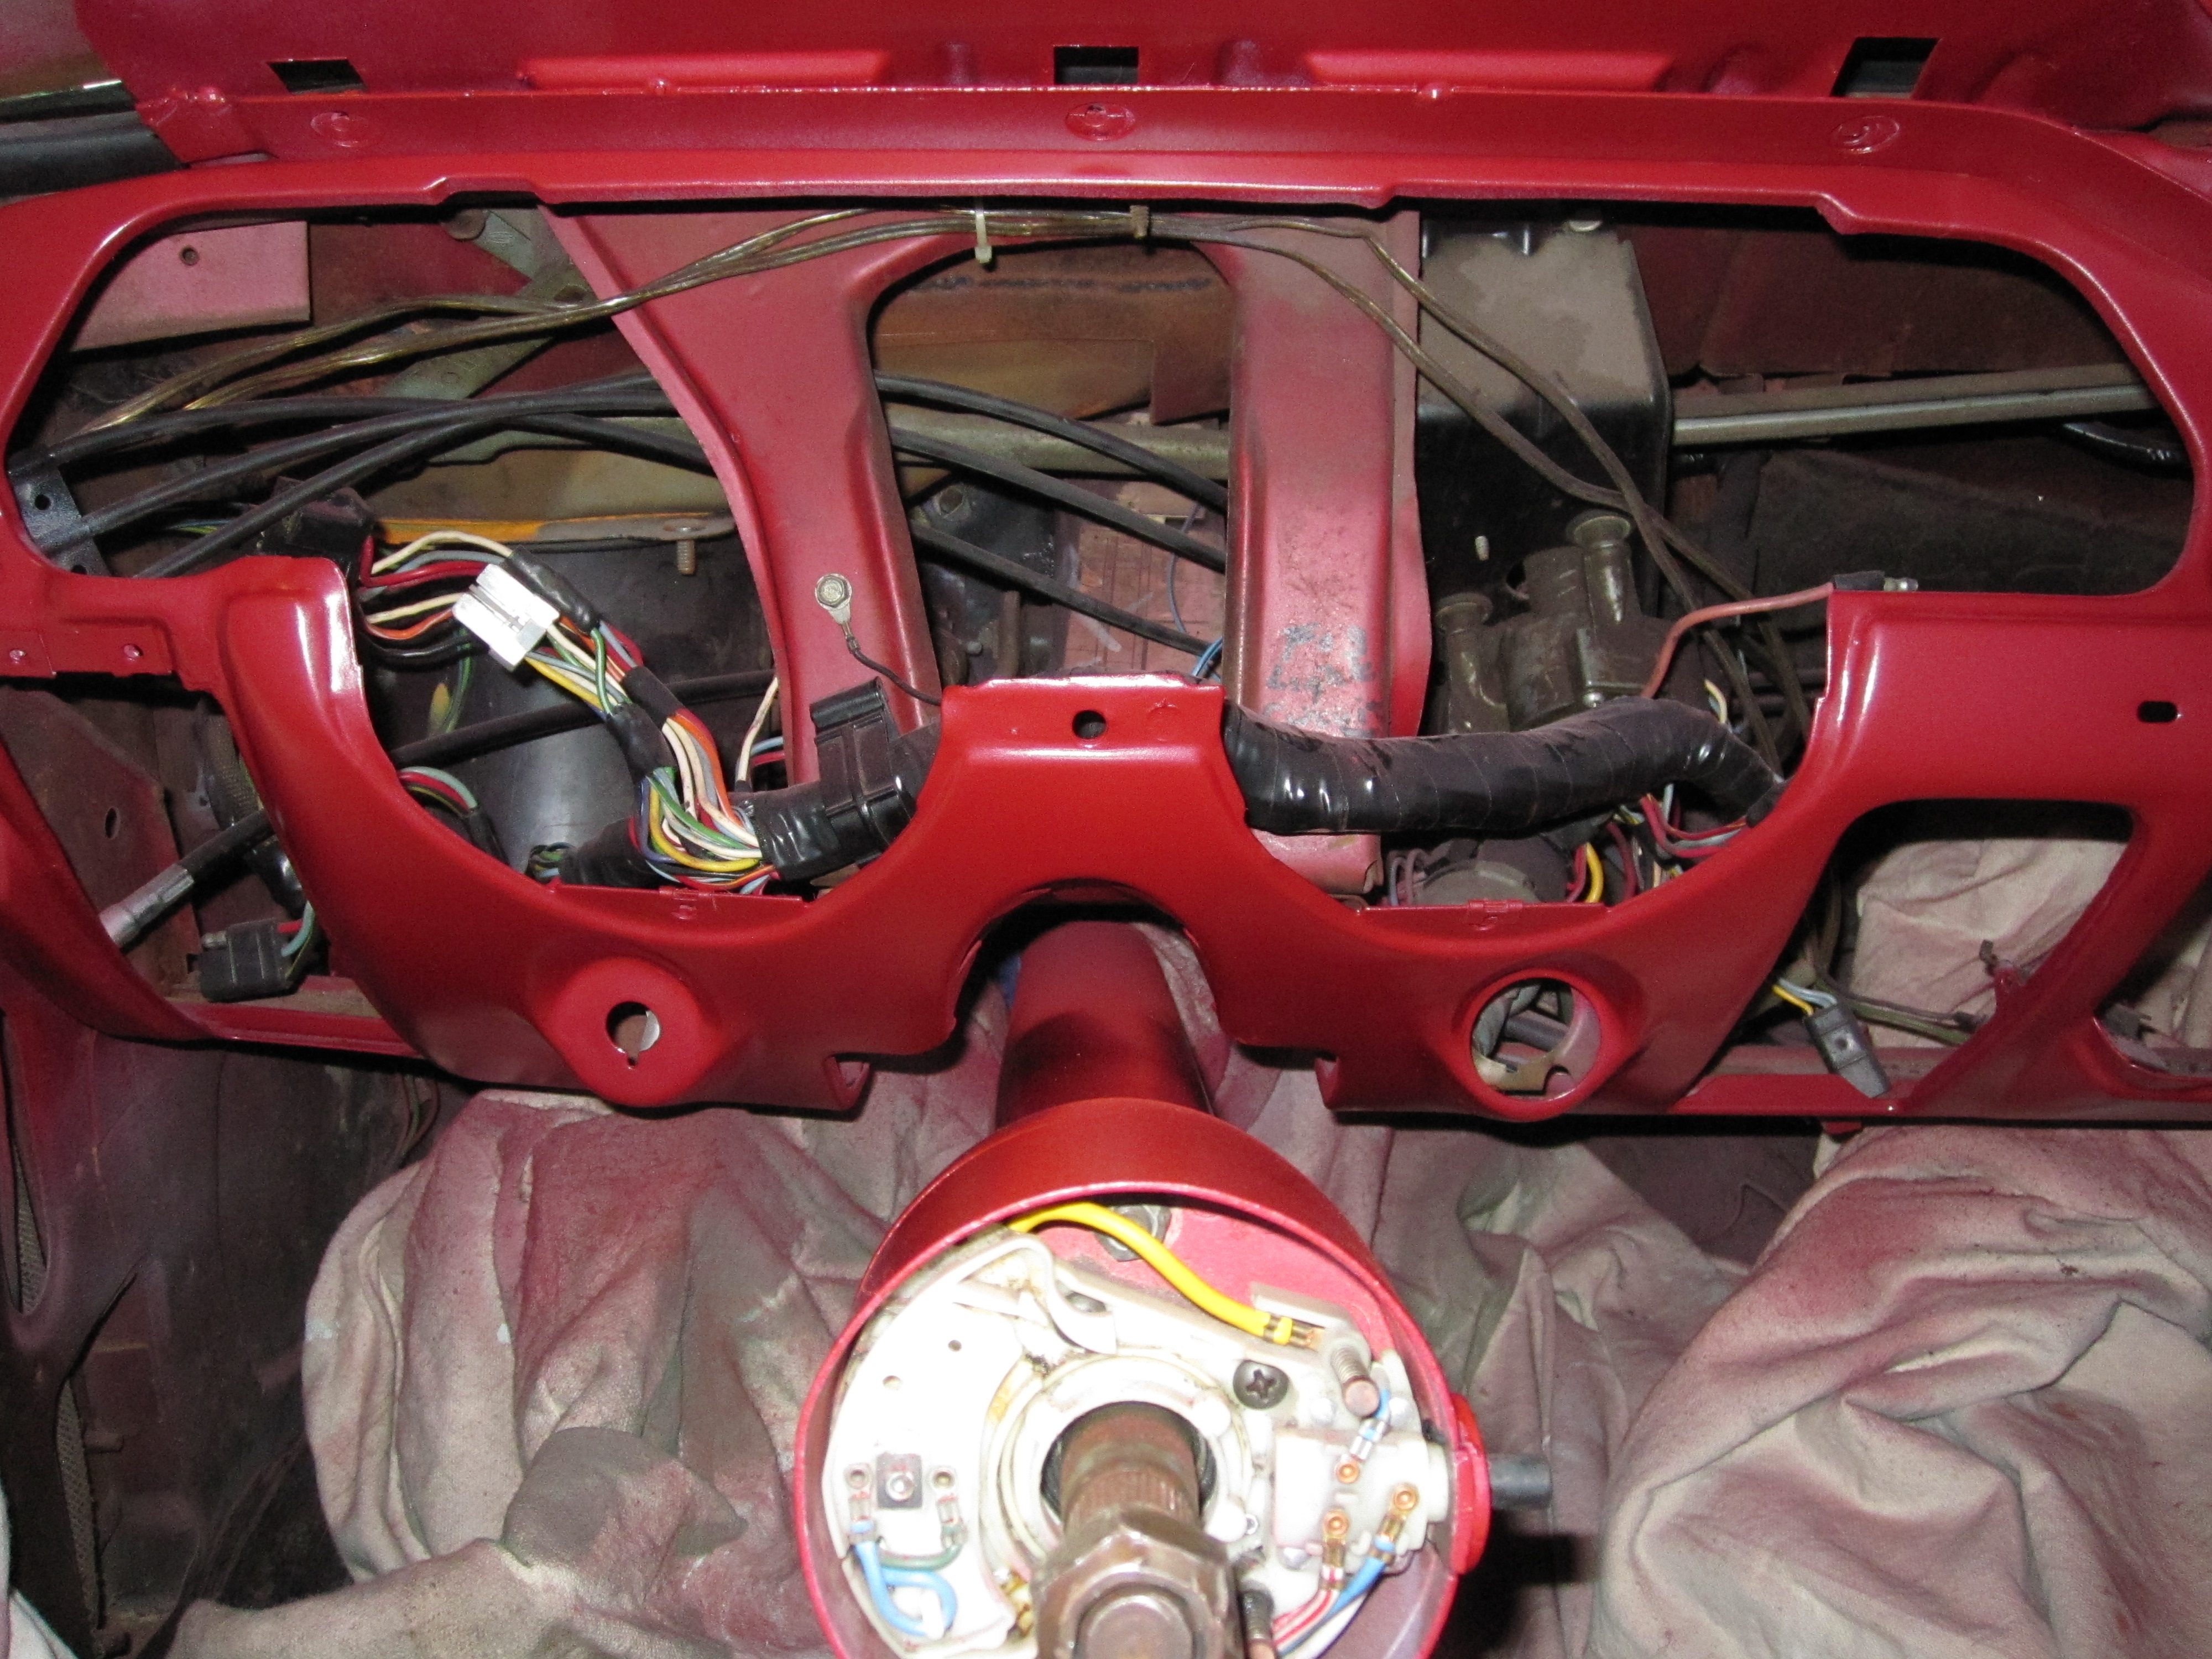
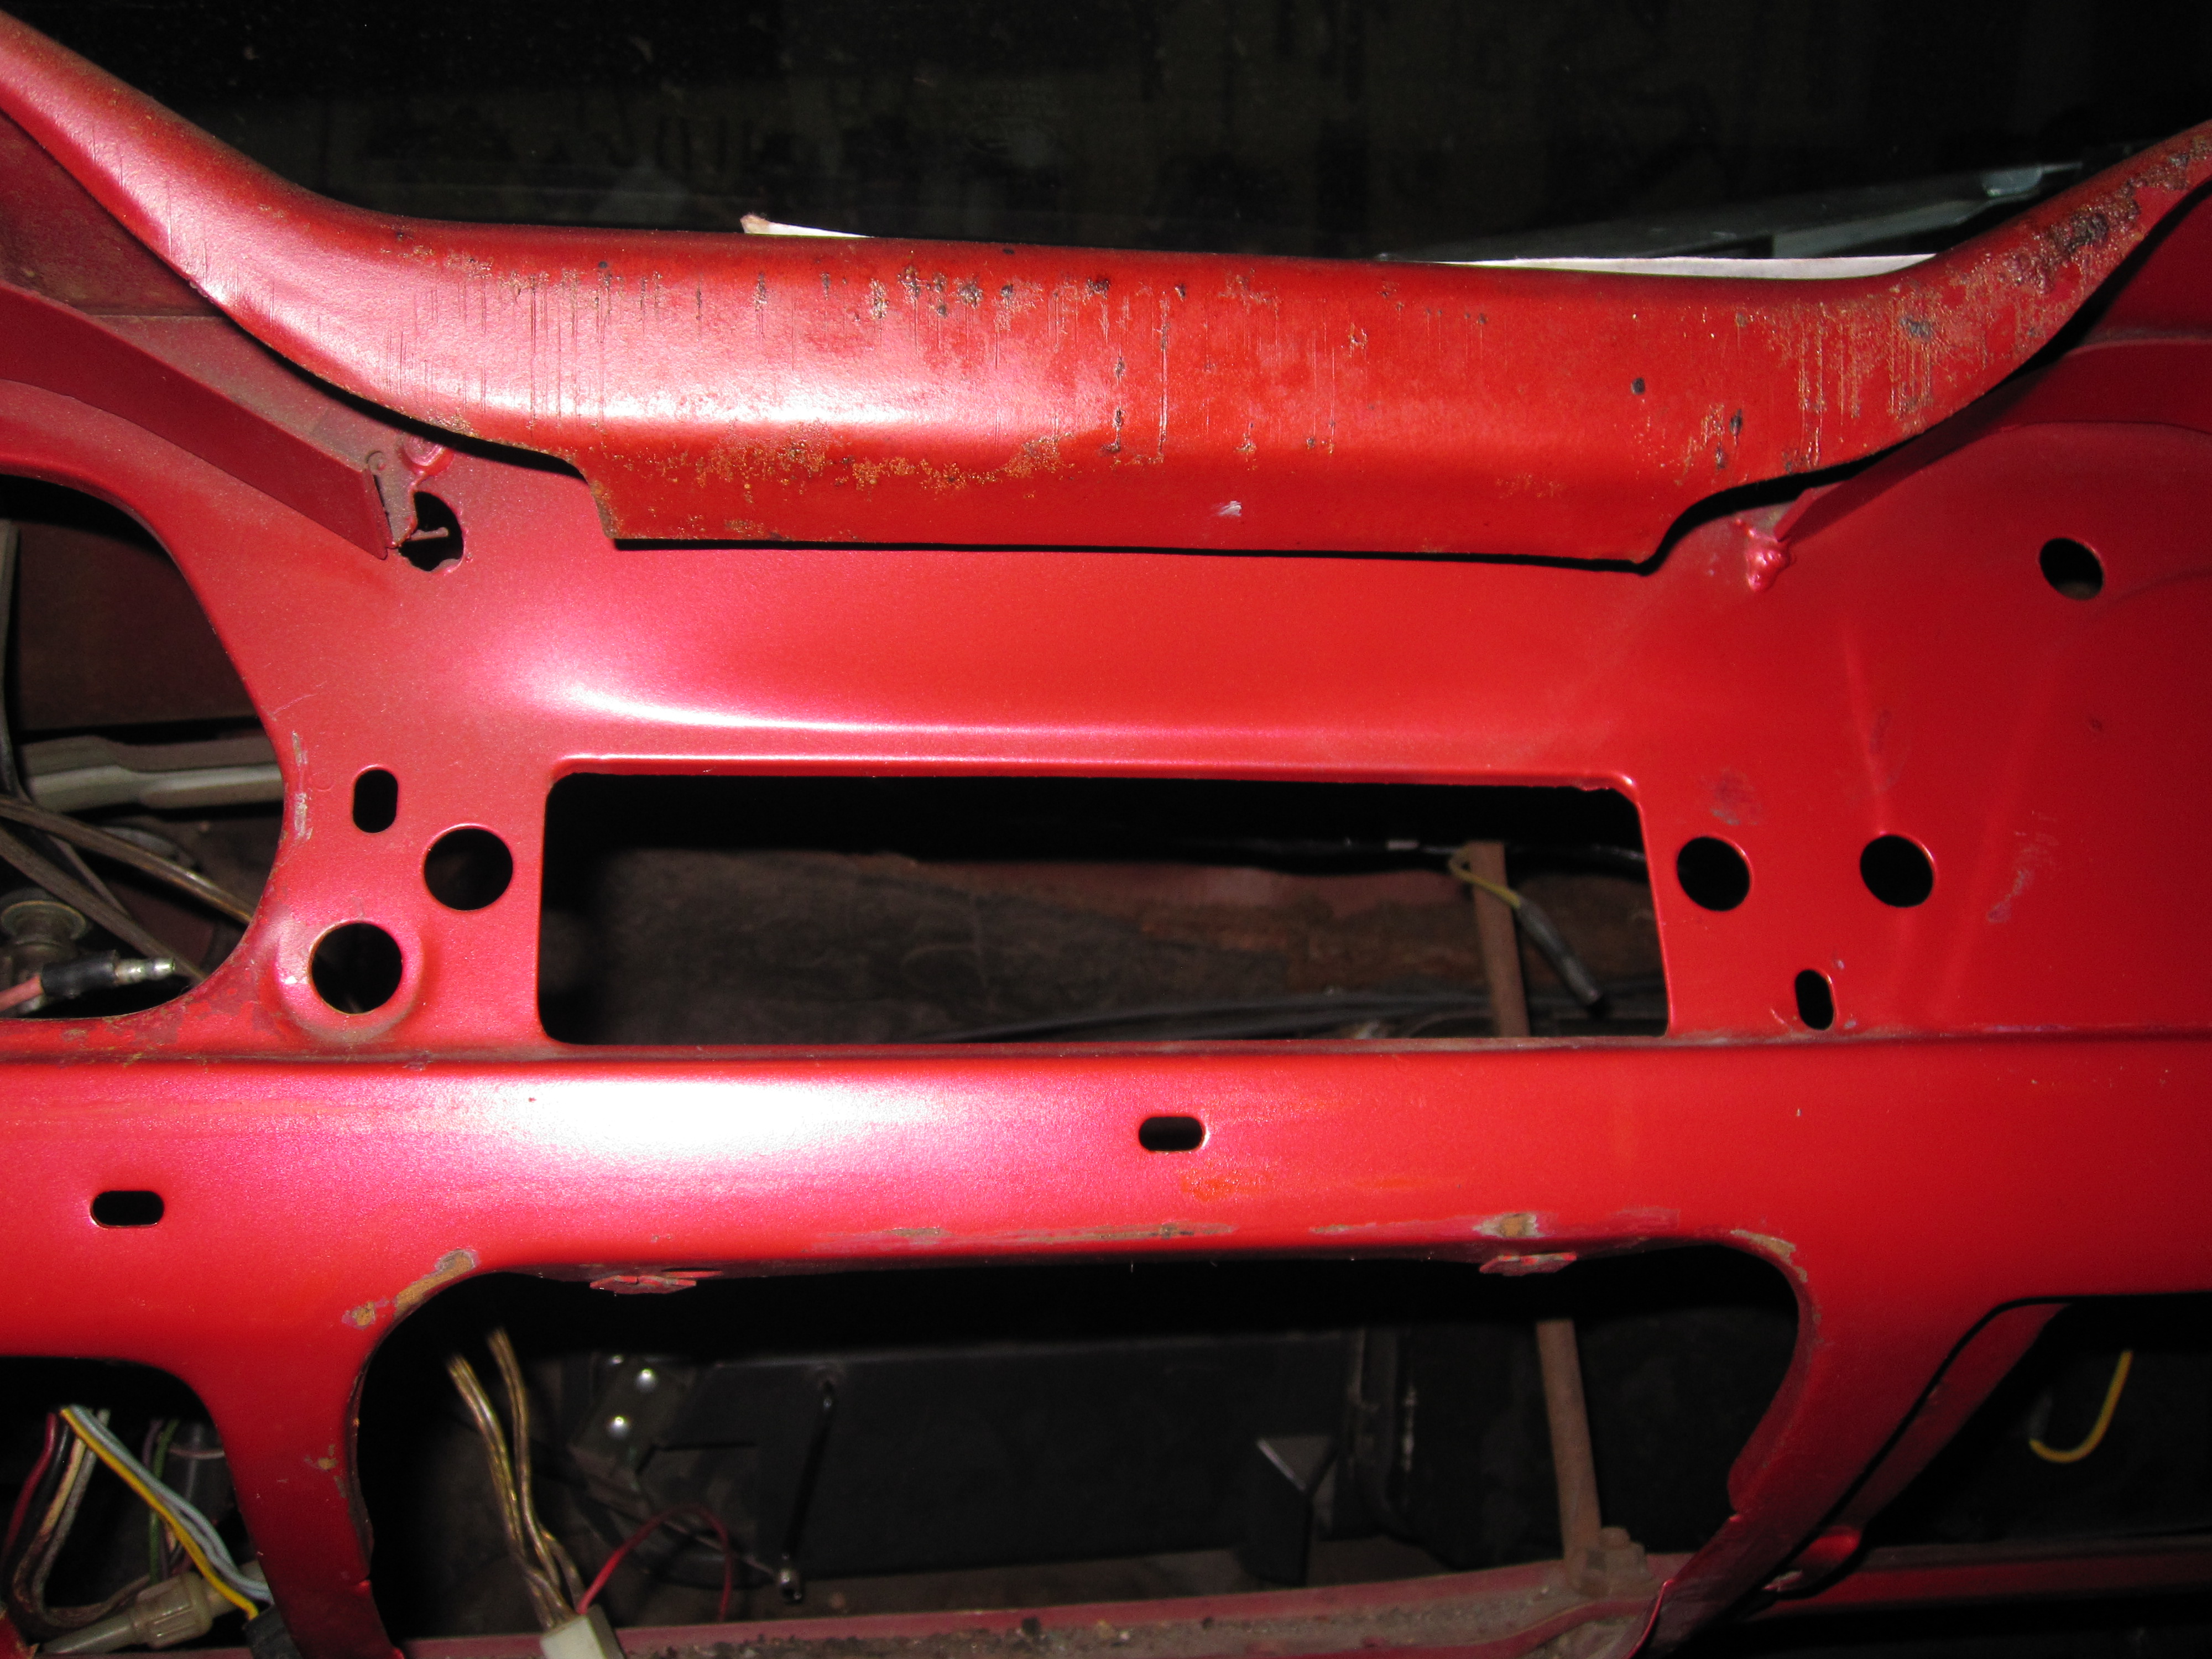
Here are some pictures of the stripped dashboard. The paint is really much worse than it looks in the pictures.


I spent some time looking over some of the old parts and comparing colors with the new parts. I decided to keep the steering wheel pad and the knee kick pad. I gave them a thorough cleaning and then used some vinyl paint to make them look a little bit newer. I also did some scrubbing with 0000 steel wool on the ash tray compartment. It cleaned up quite a bit but still isn’t as good as new. I’ll probably use it for now and think about replacing it at a later date. The defroster controls could also use some cleaning up. The chrome is a bit pitted bit I think I can make it look passable with some more cleaning and polishing.
Update: Today I scuffed up the dash and steering column. Then I cleaned everything carefully with mineral spirits and masked as best as I could. After two coats of primer here’s how everything looked. I will admit that I got a lot of over-spray on the heater and defroster boxes. That was because I forgot to pull the drop cloth I was using to cover the floor far enough up under the dash. I’ll have to try and clean up that mess after I finish with the painting.
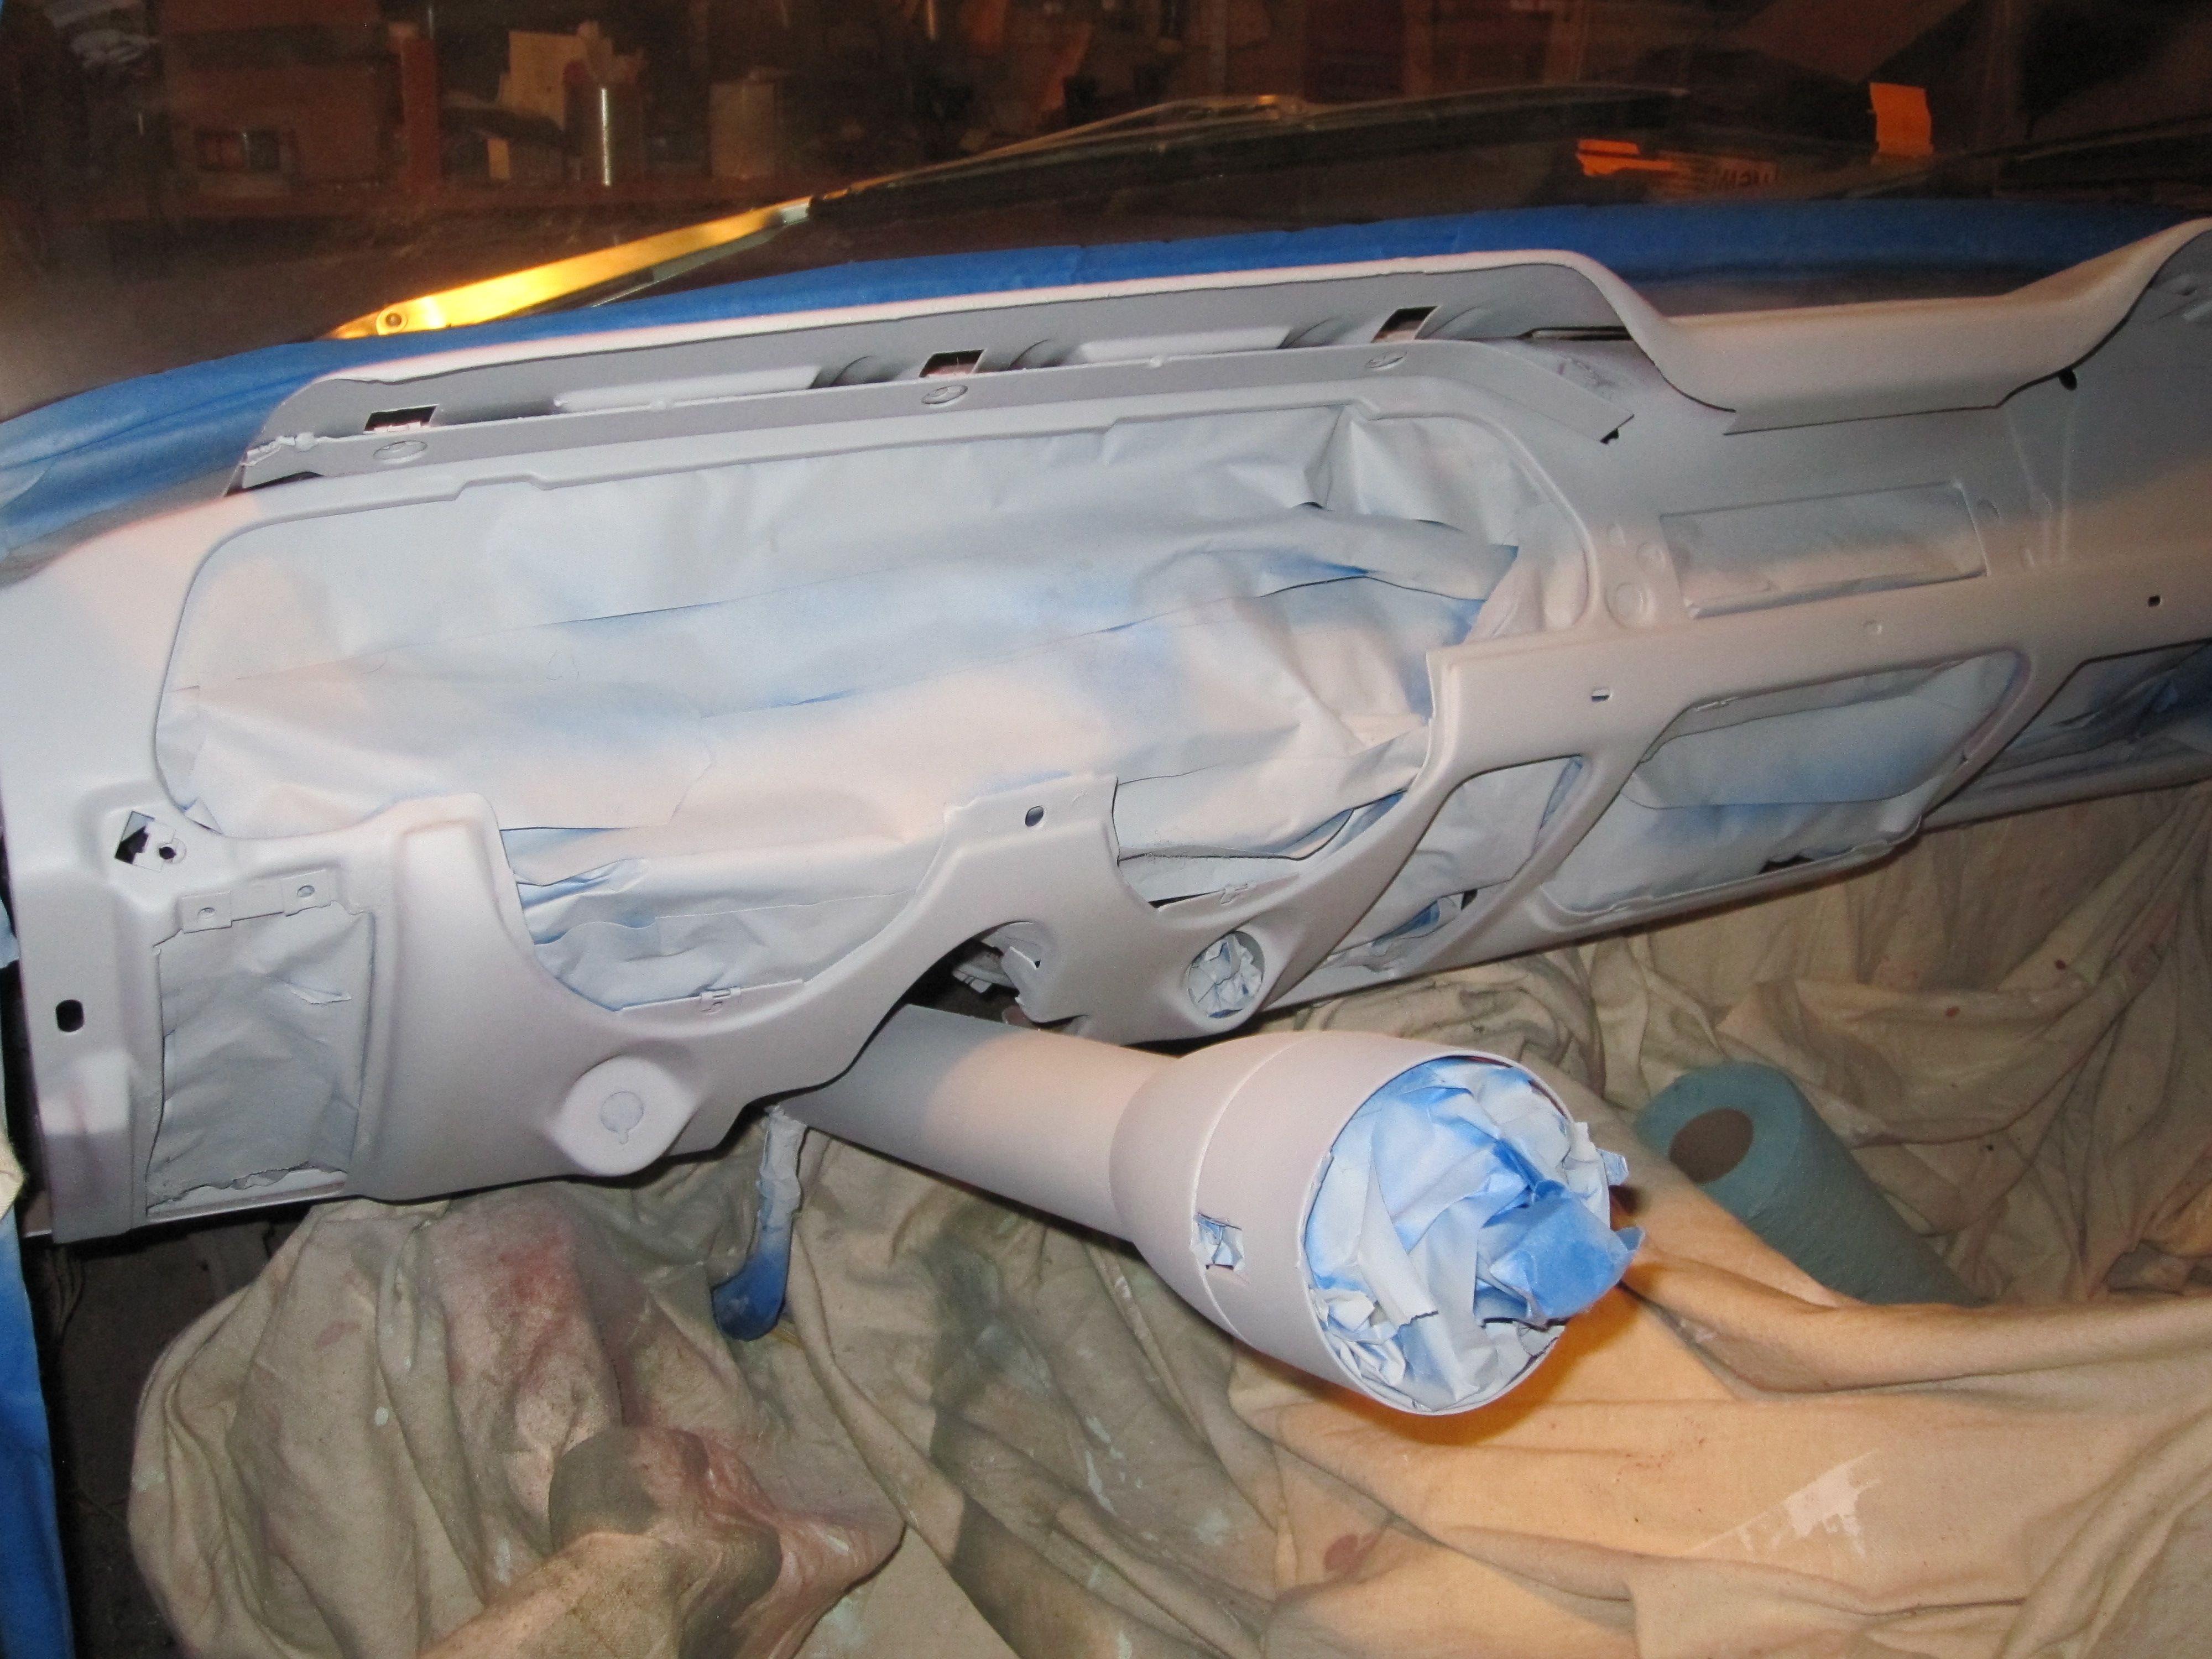
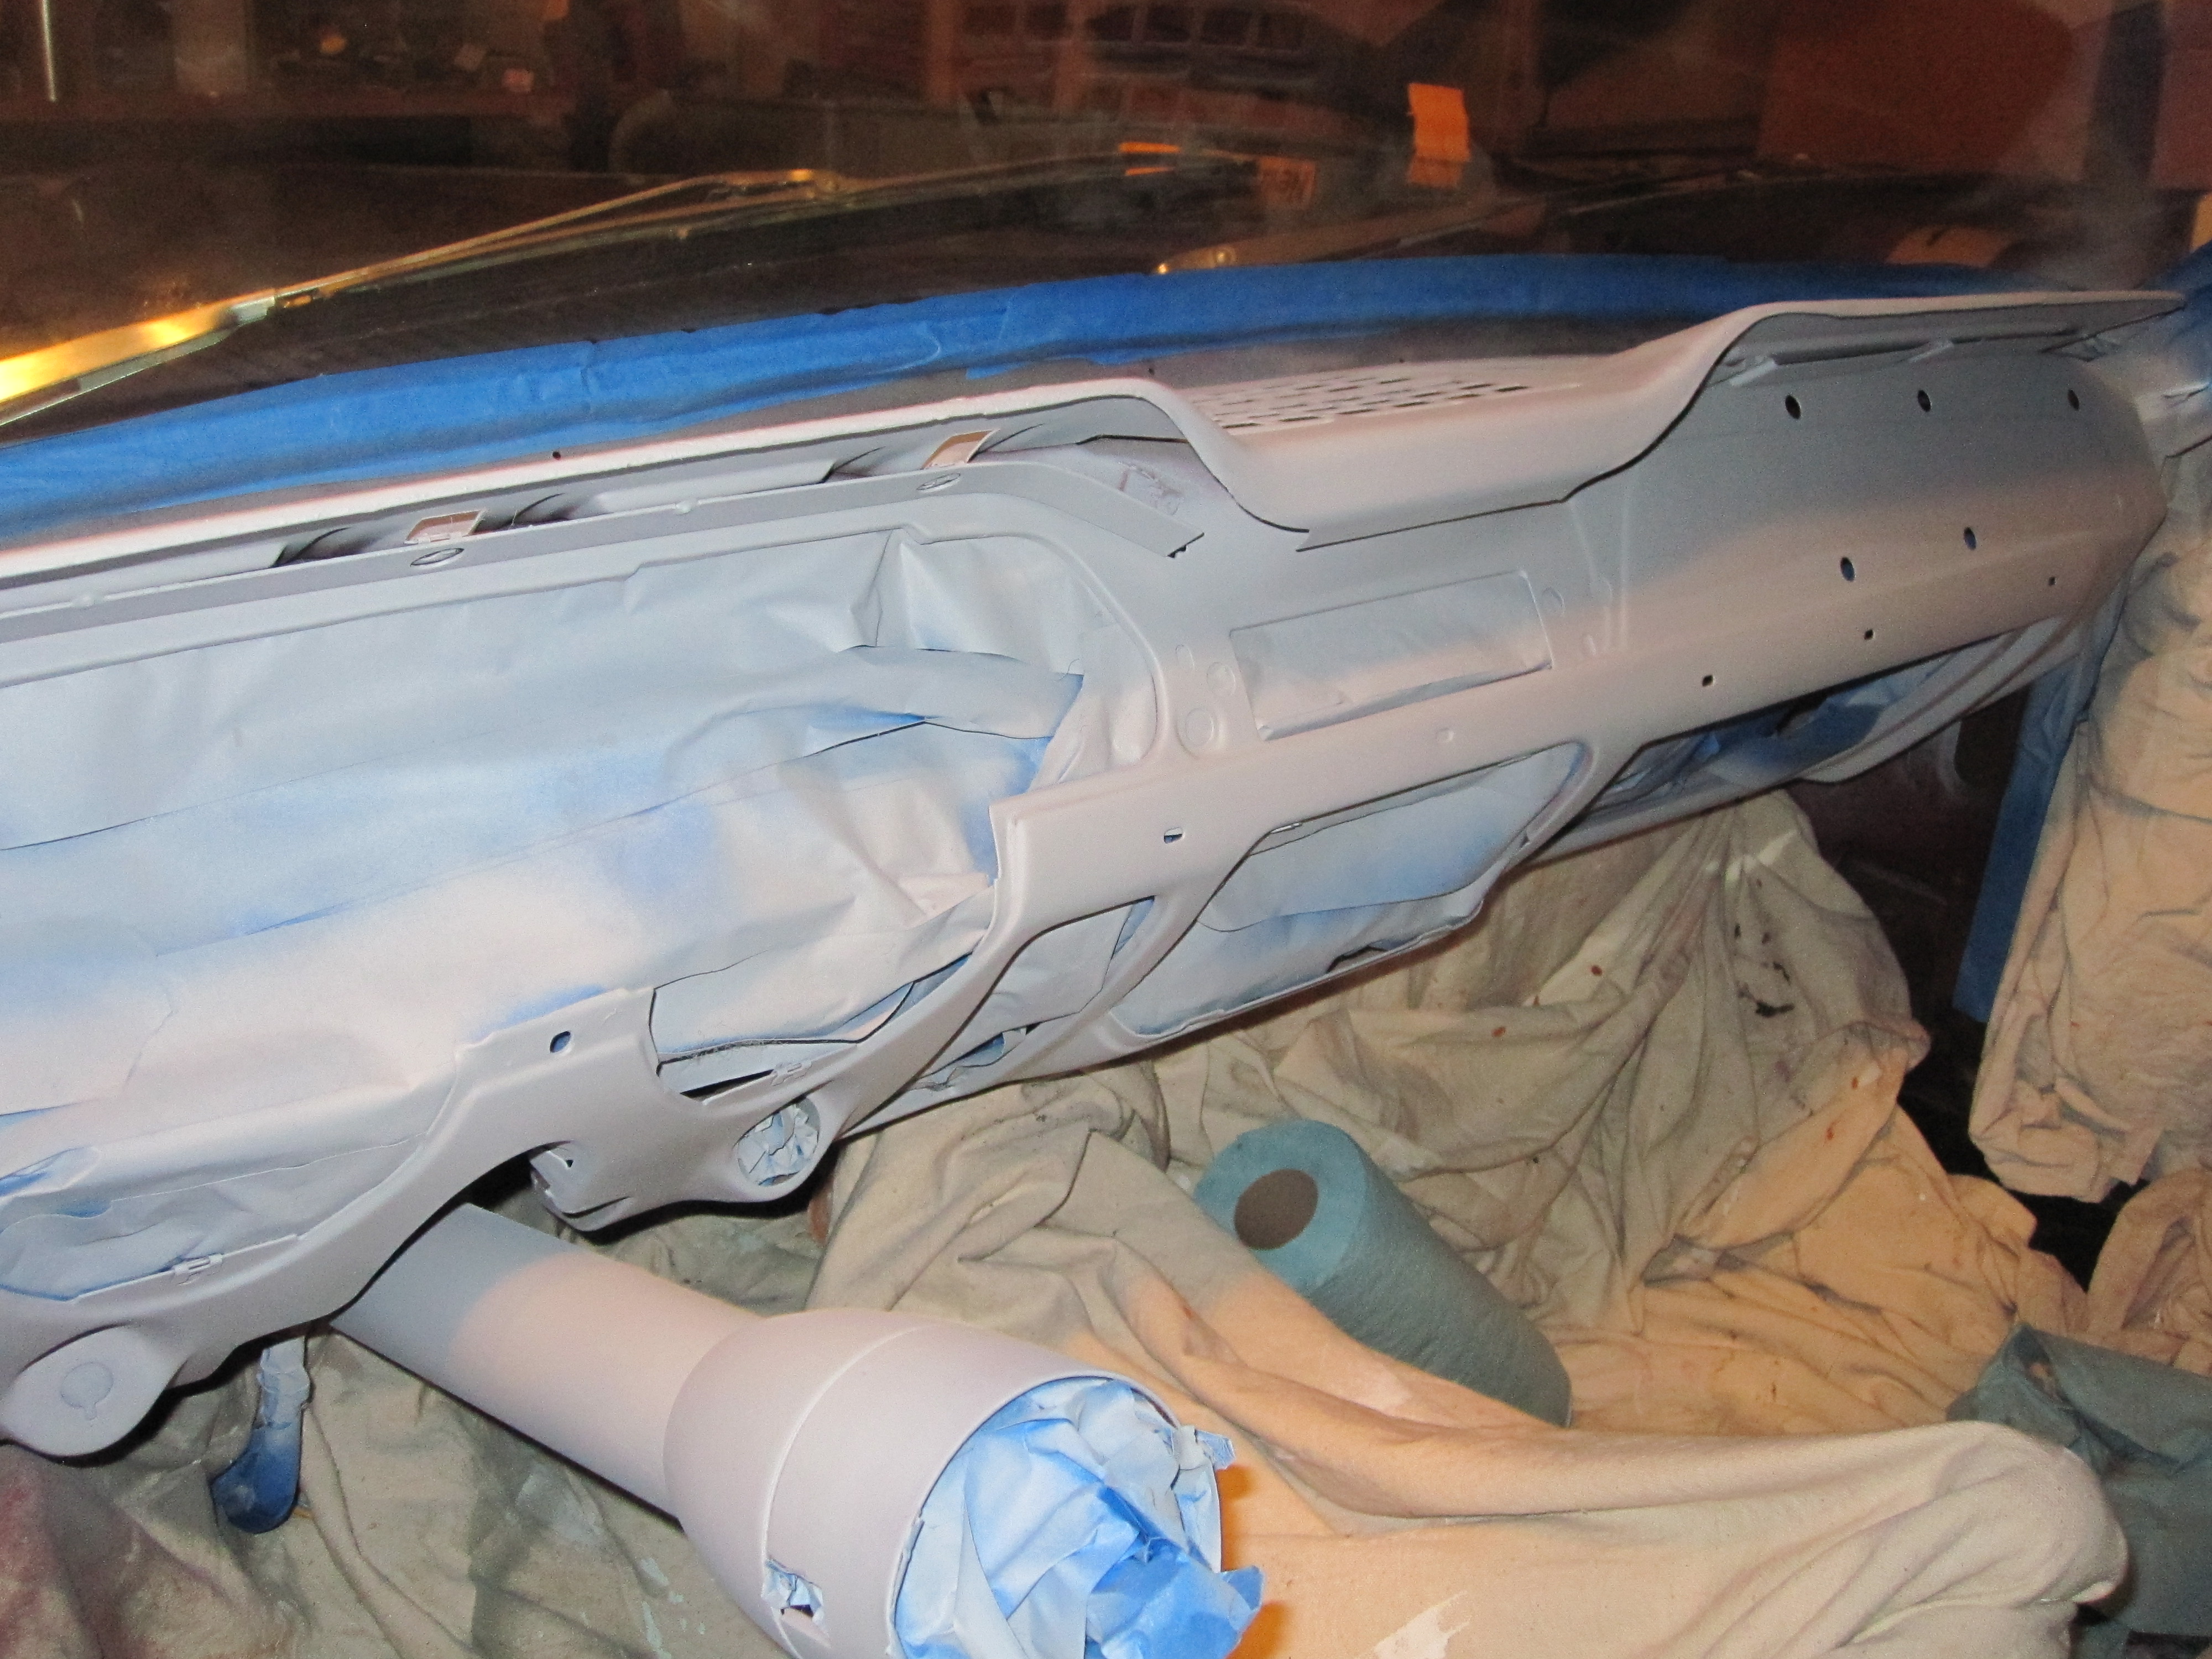
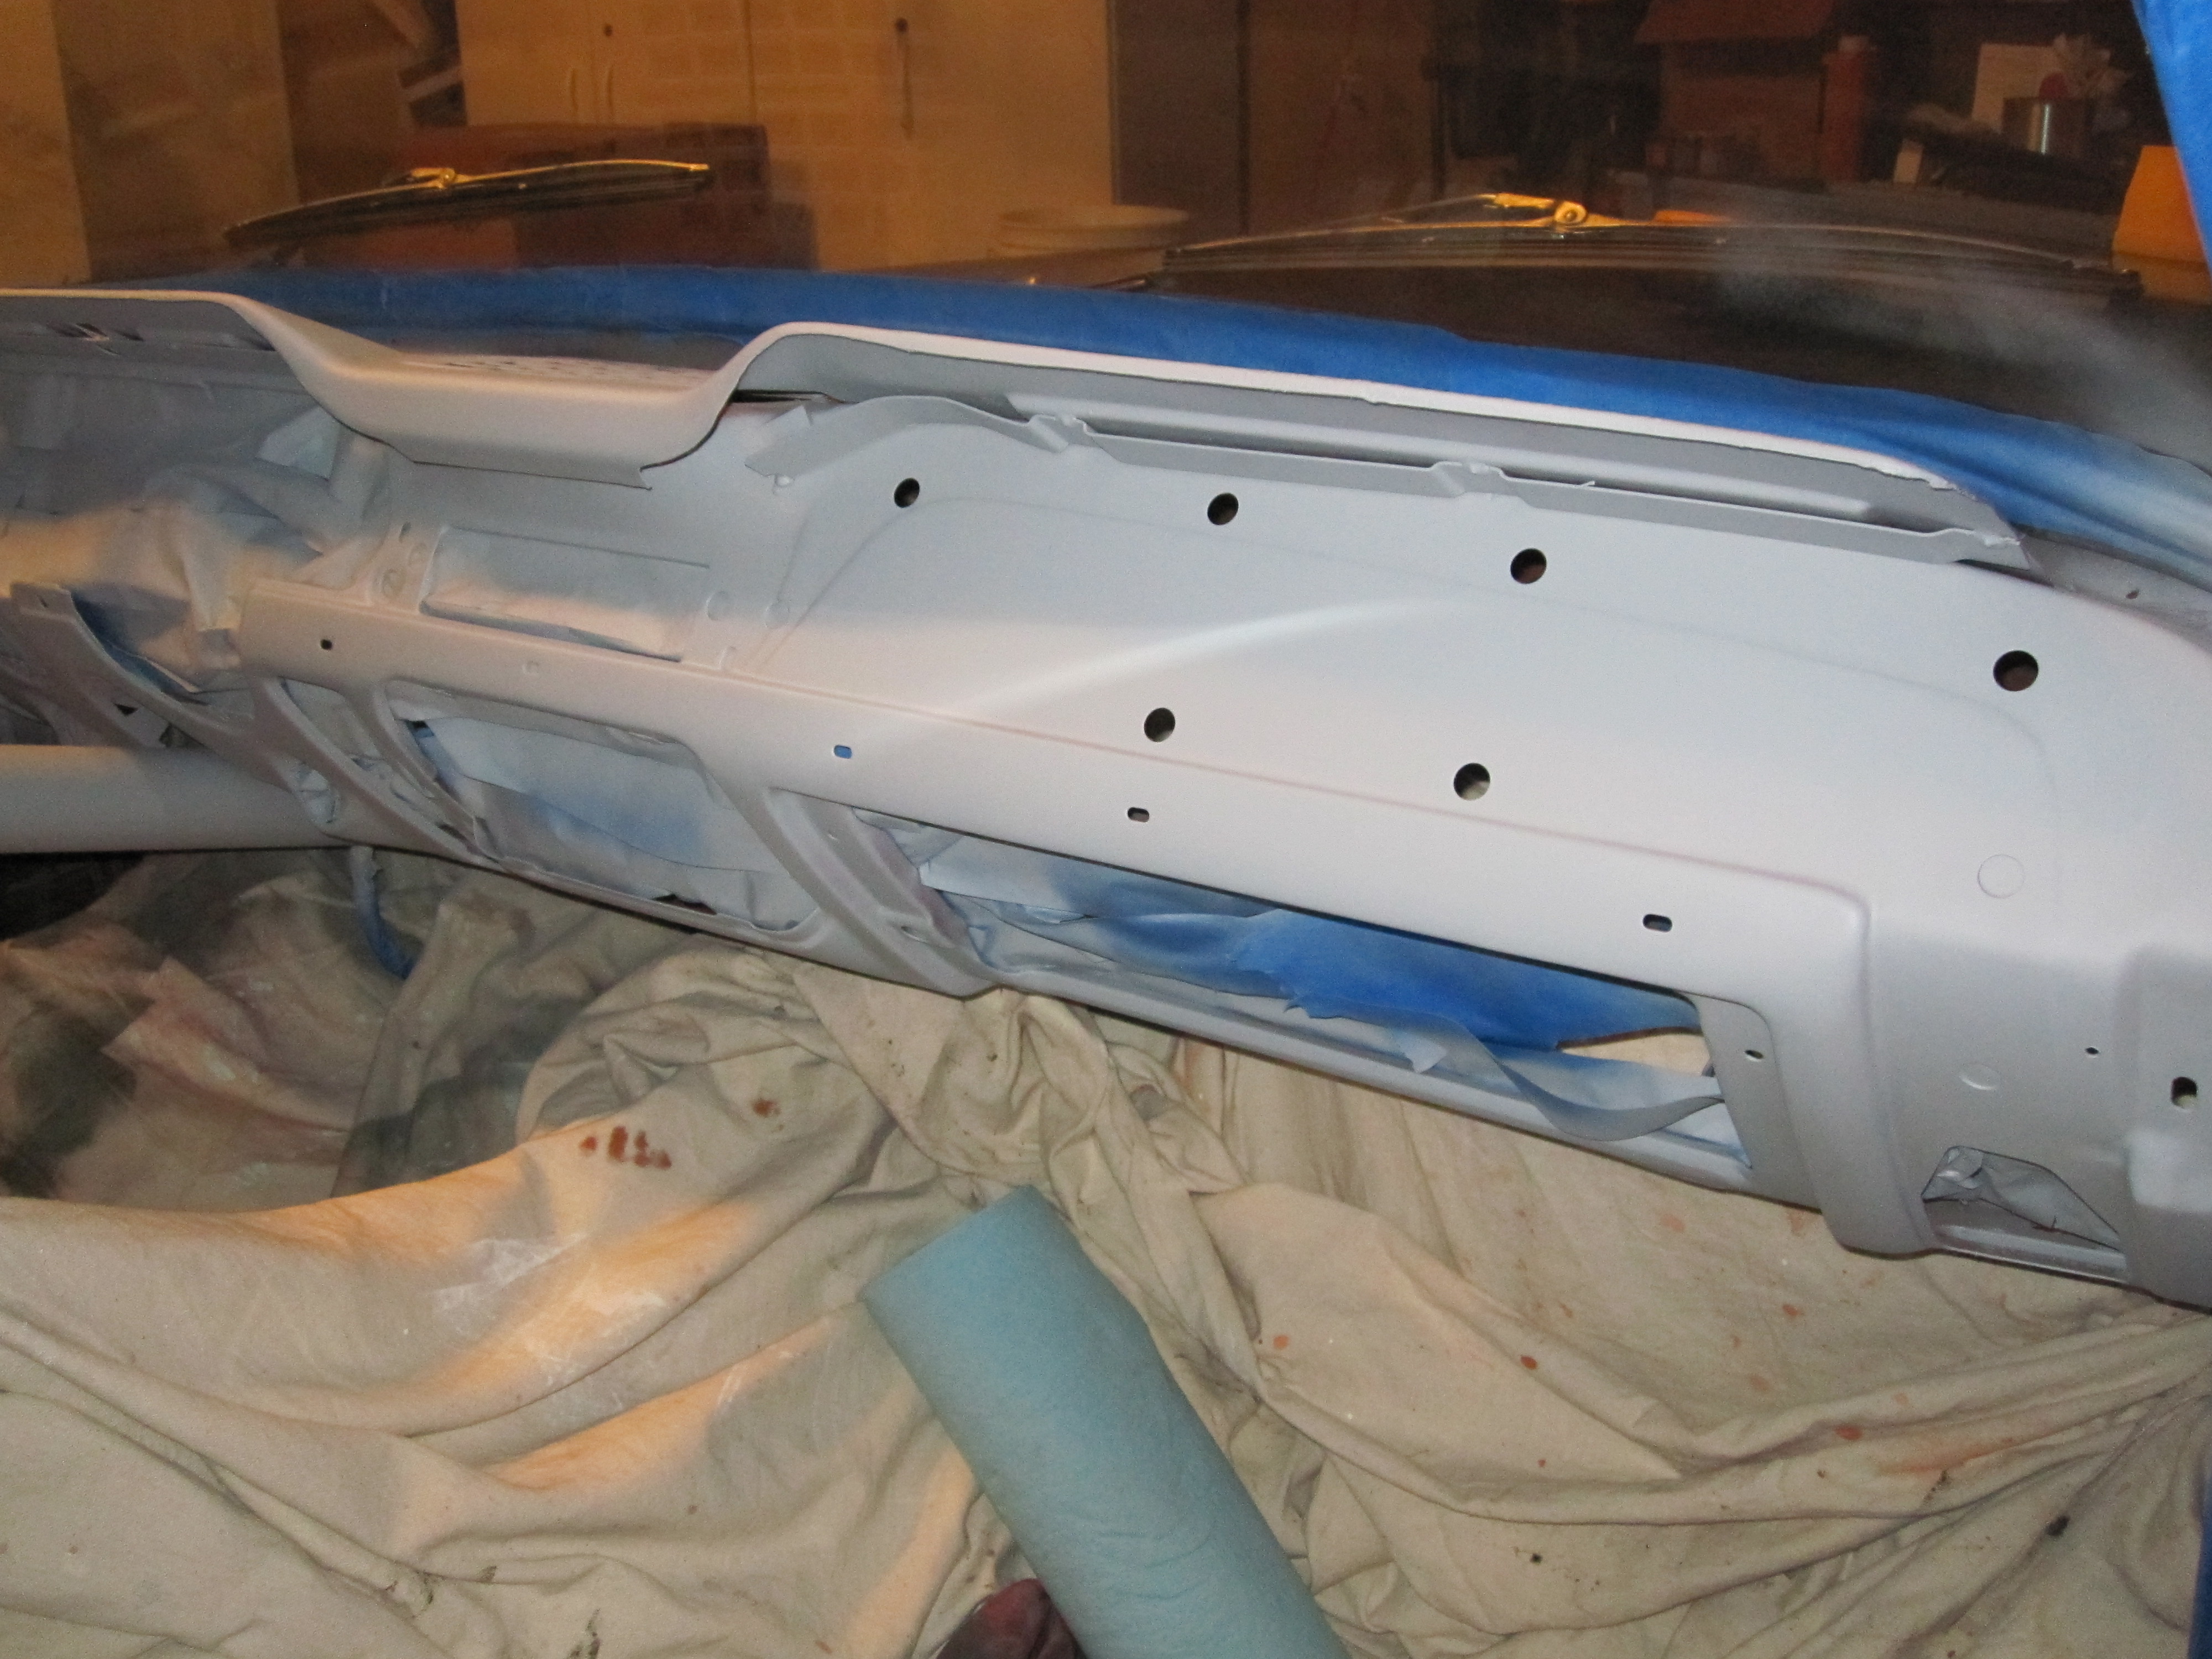

I let the primer flash for about 30 minutes. Then on to the actual painting. I used two light coats rather than one heavy coat. The first coat just barely colored the primer. After the second coat everything was covered fairly well. I’m not ready to reinstall all the dash parts yet because I’m still waiting for my acoustic and heat shielding to arrive. Some of the shielding will go on the dash so I want to keep everything as open as i can until after I install the shielding. It should be here in the next few days. In the mean time I can clean up the over-spray mess I made as well as cleaning up any of the old hardware I need to reuse.
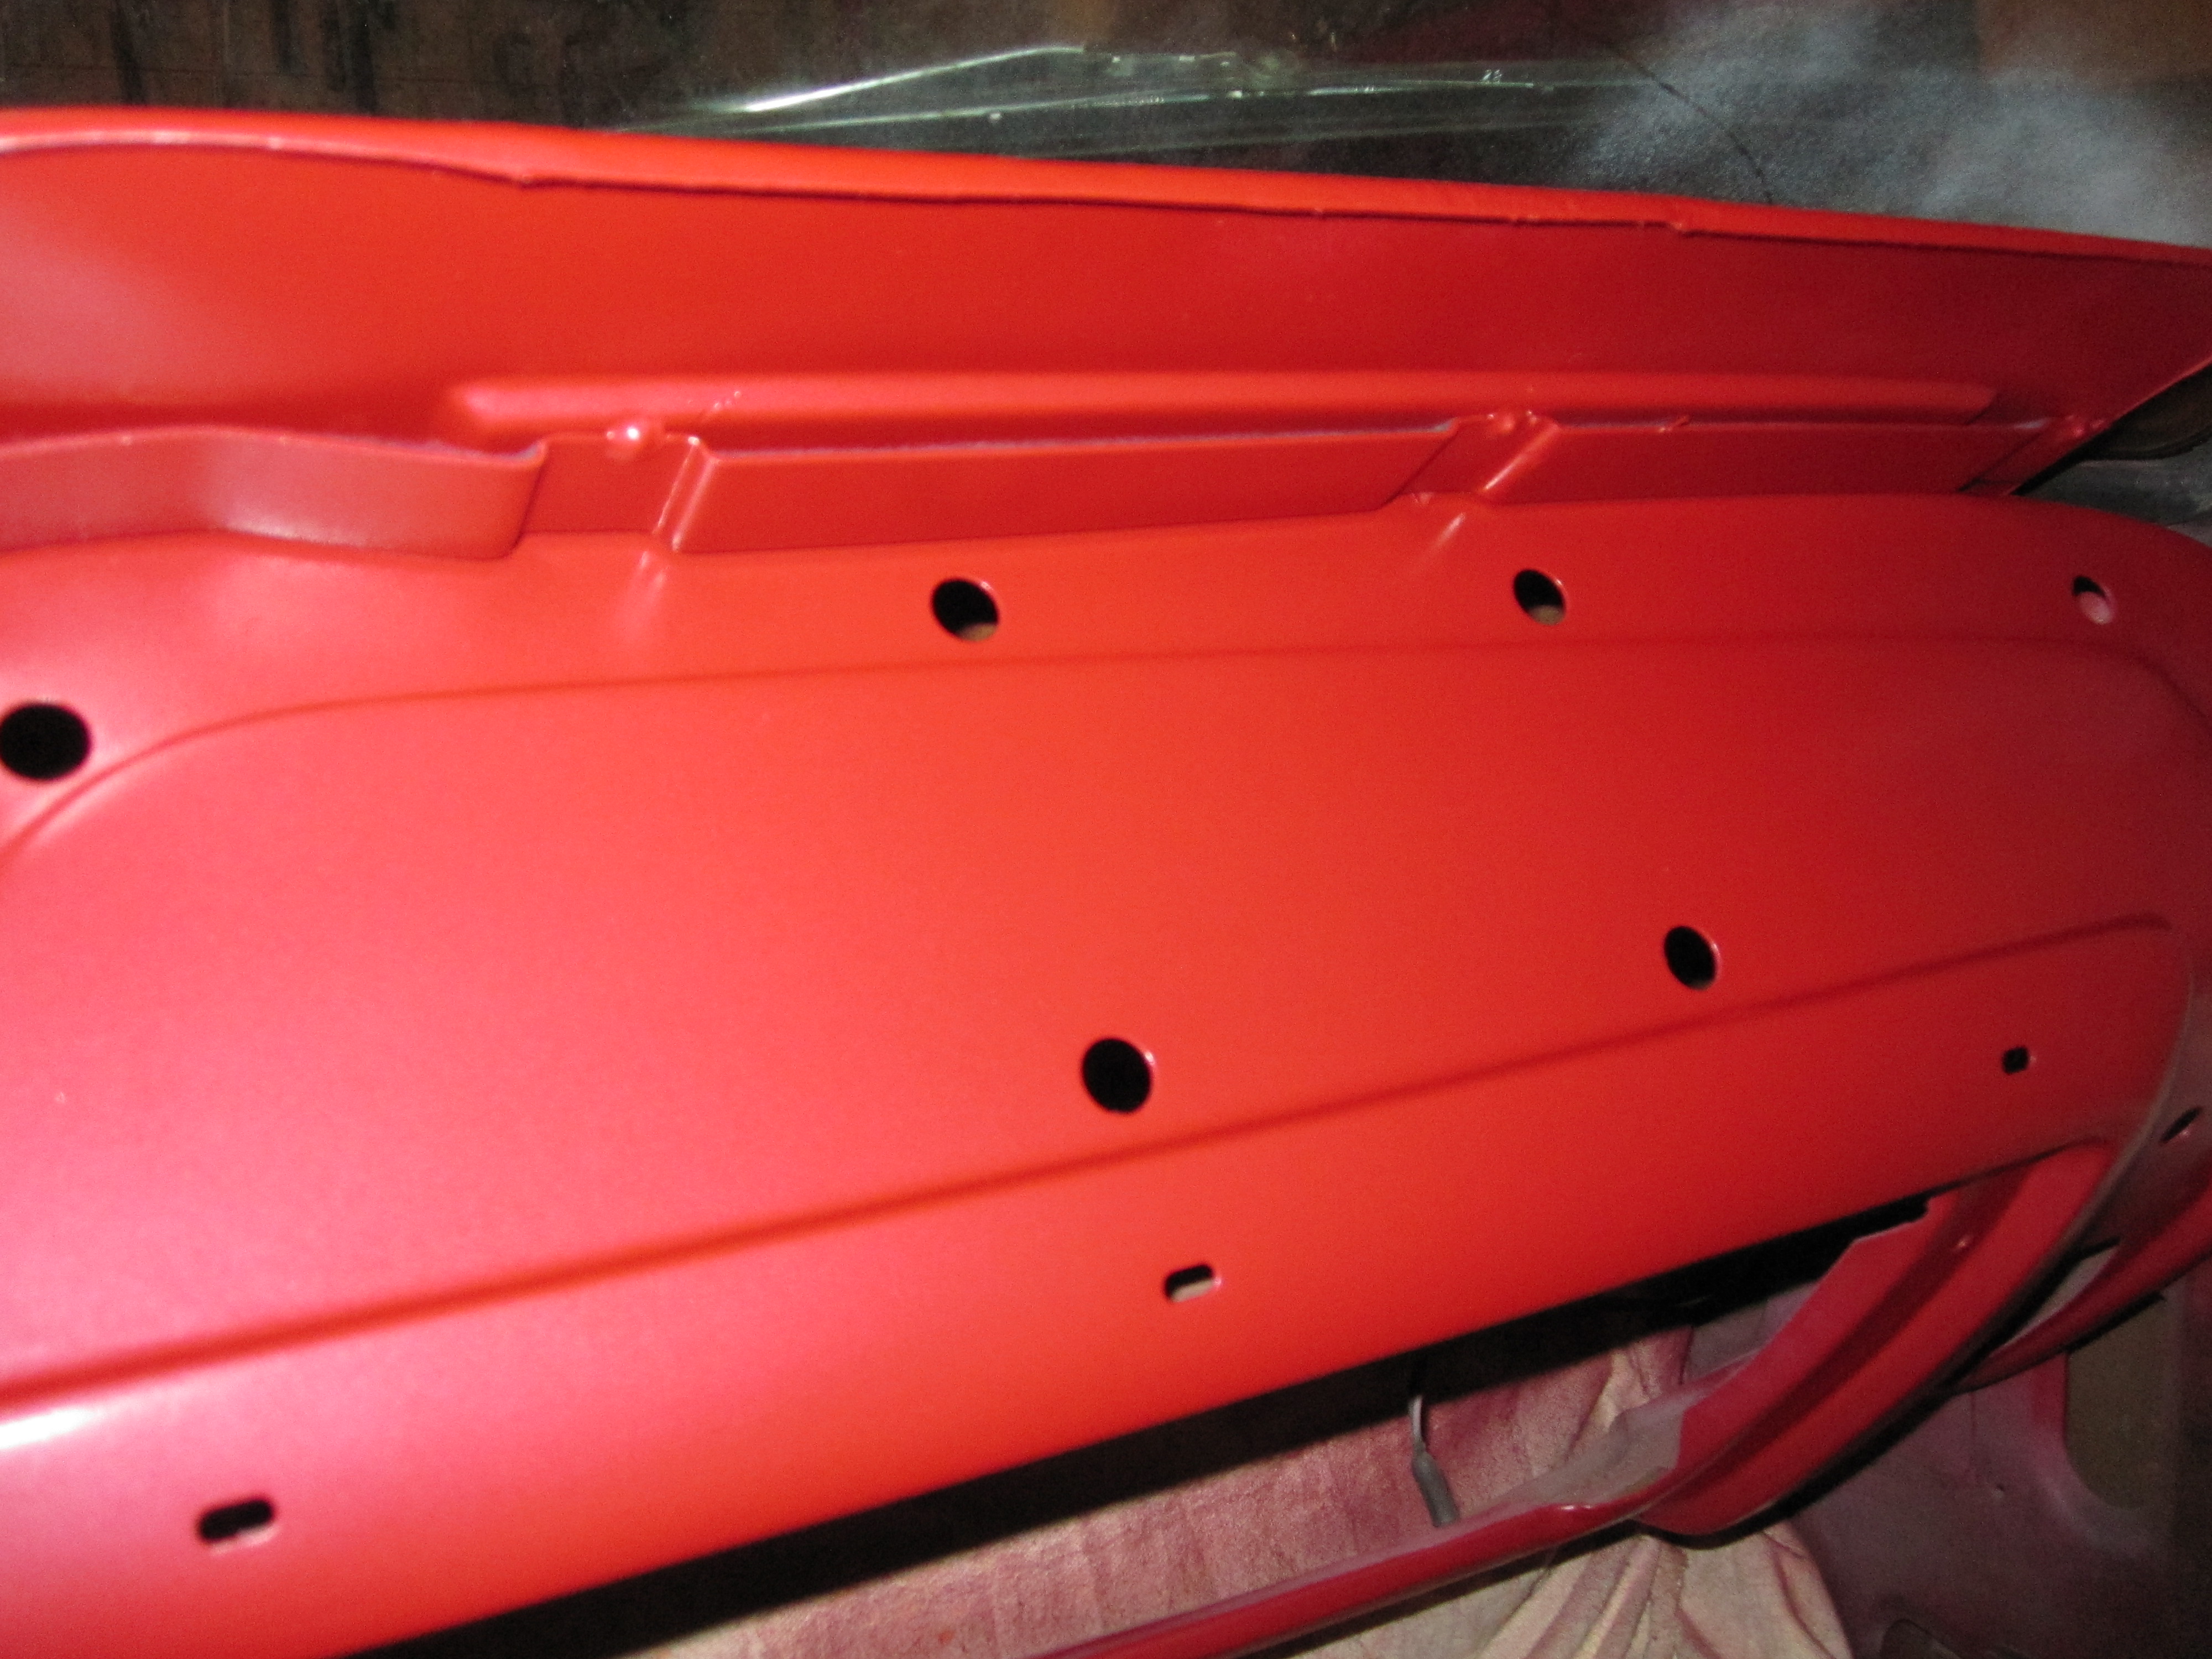
Here’s some pictures showing how the paint on the dash came out.