
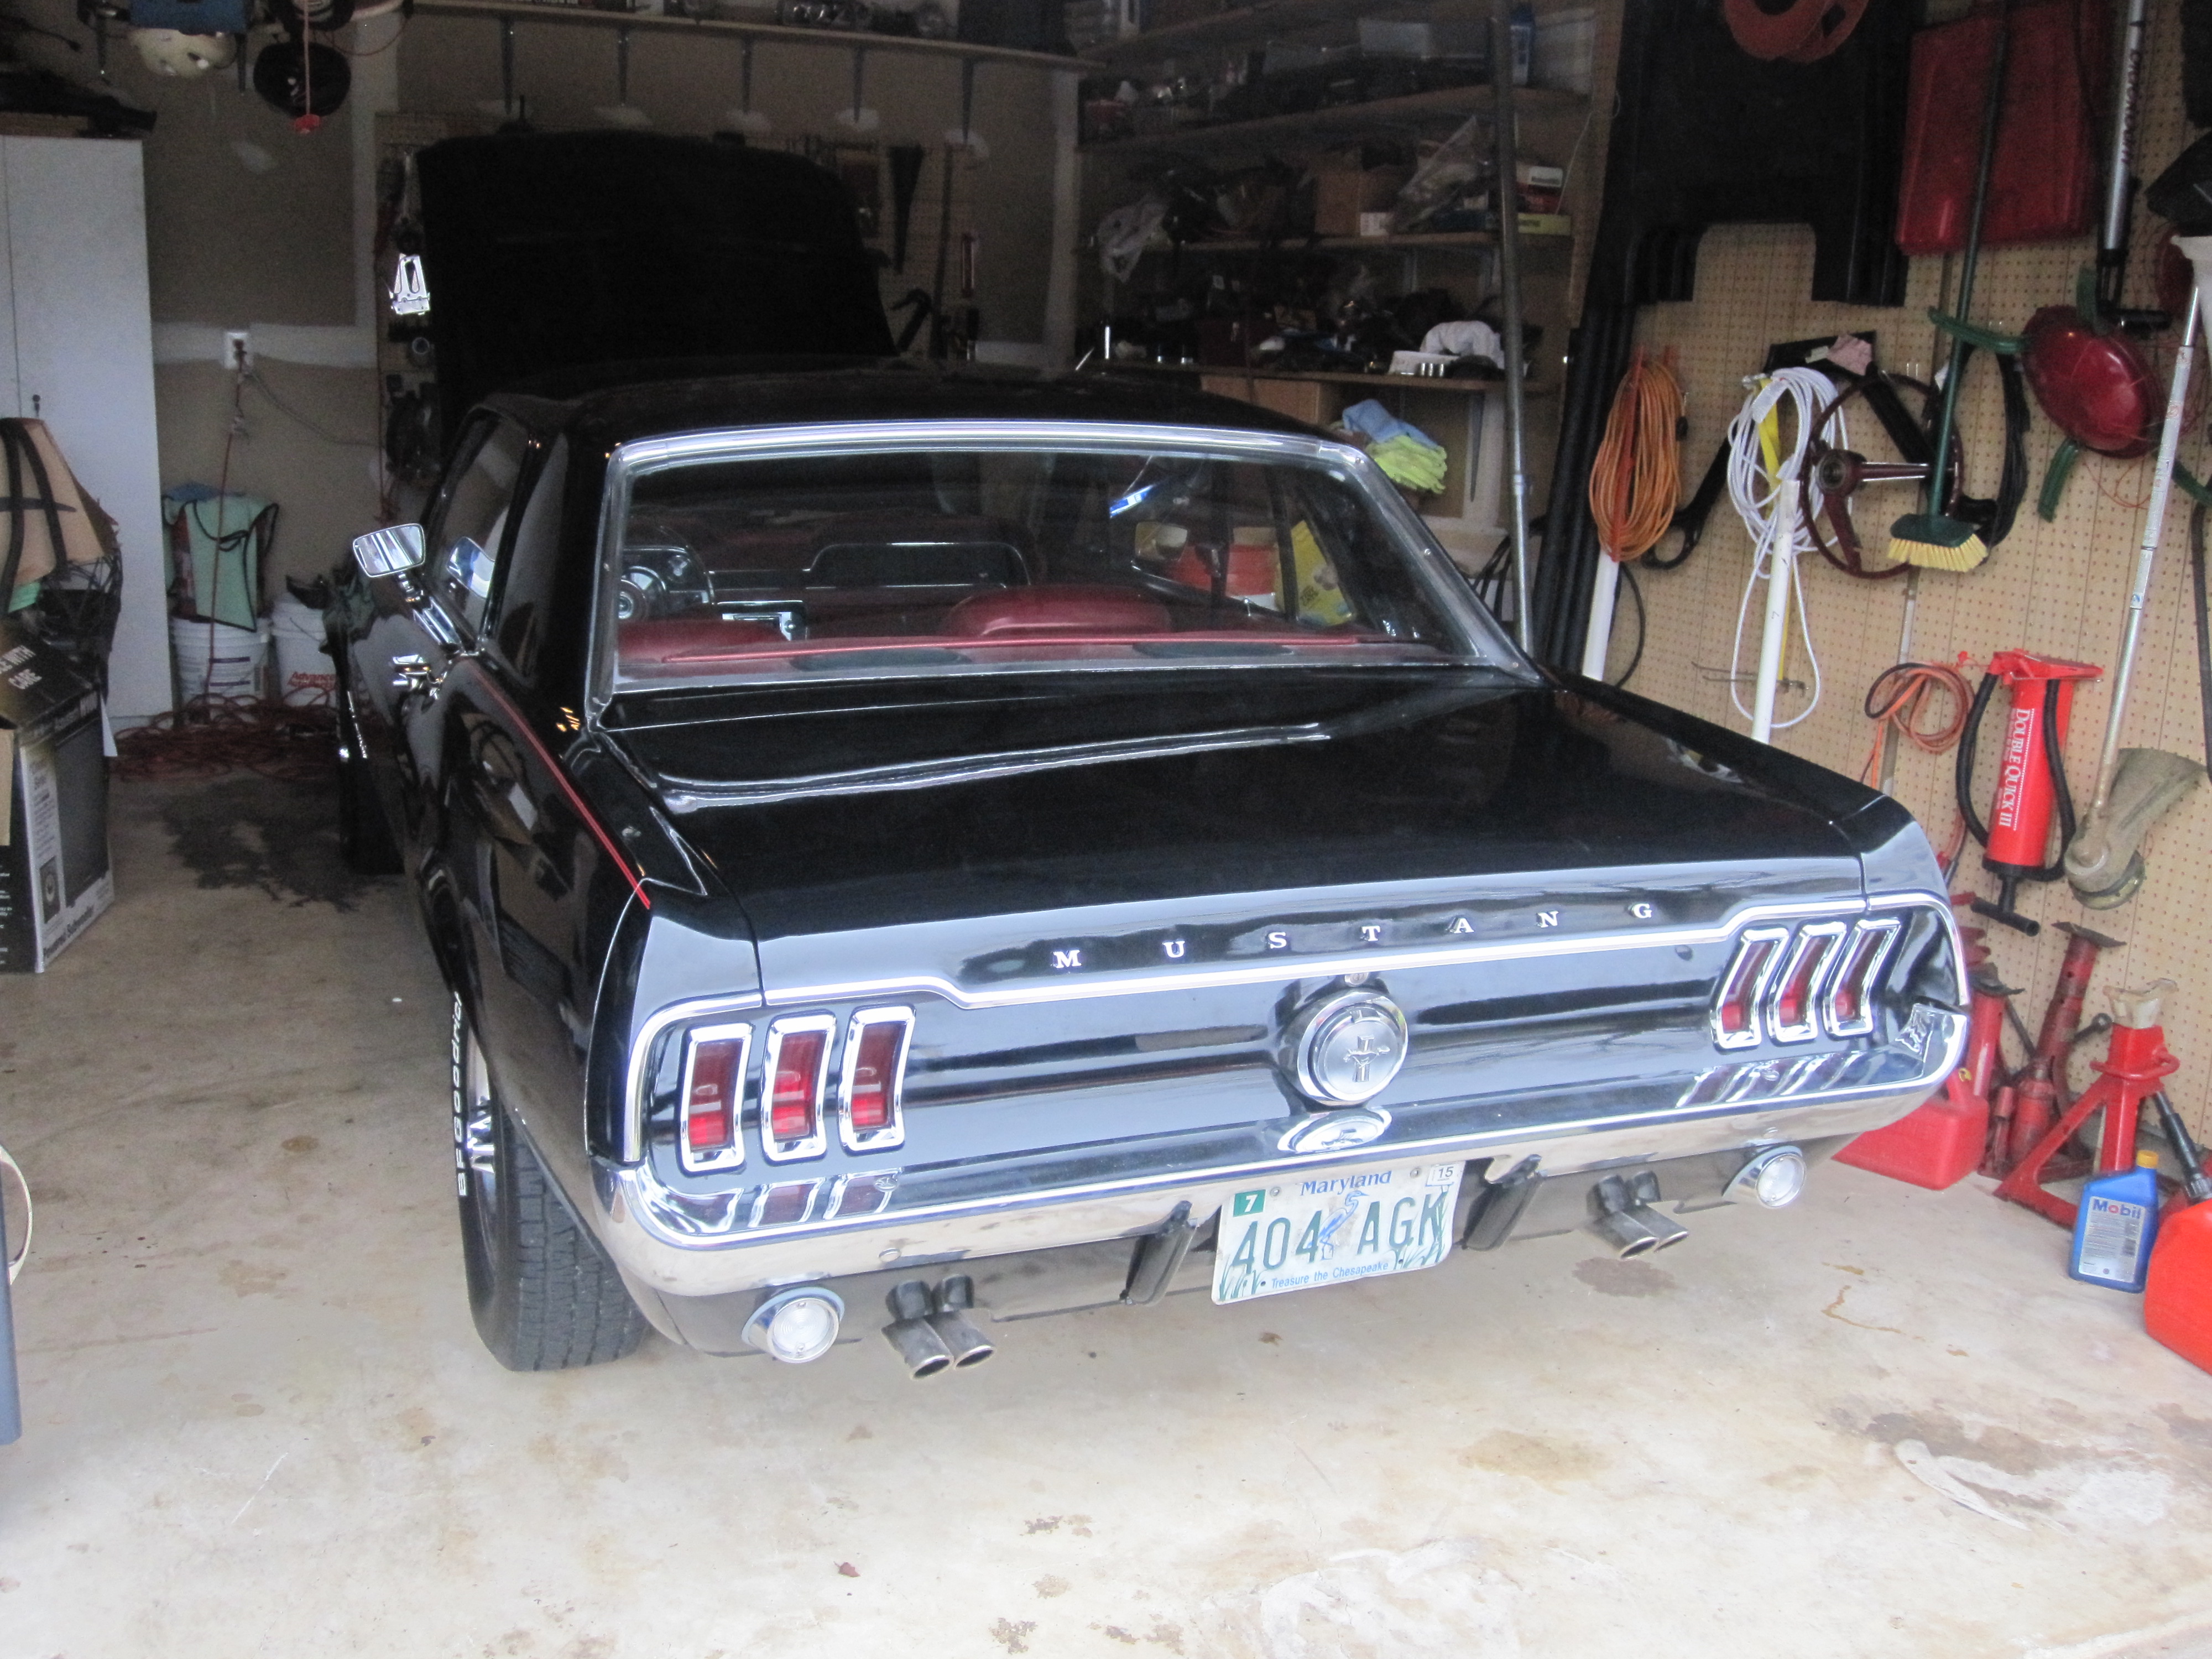
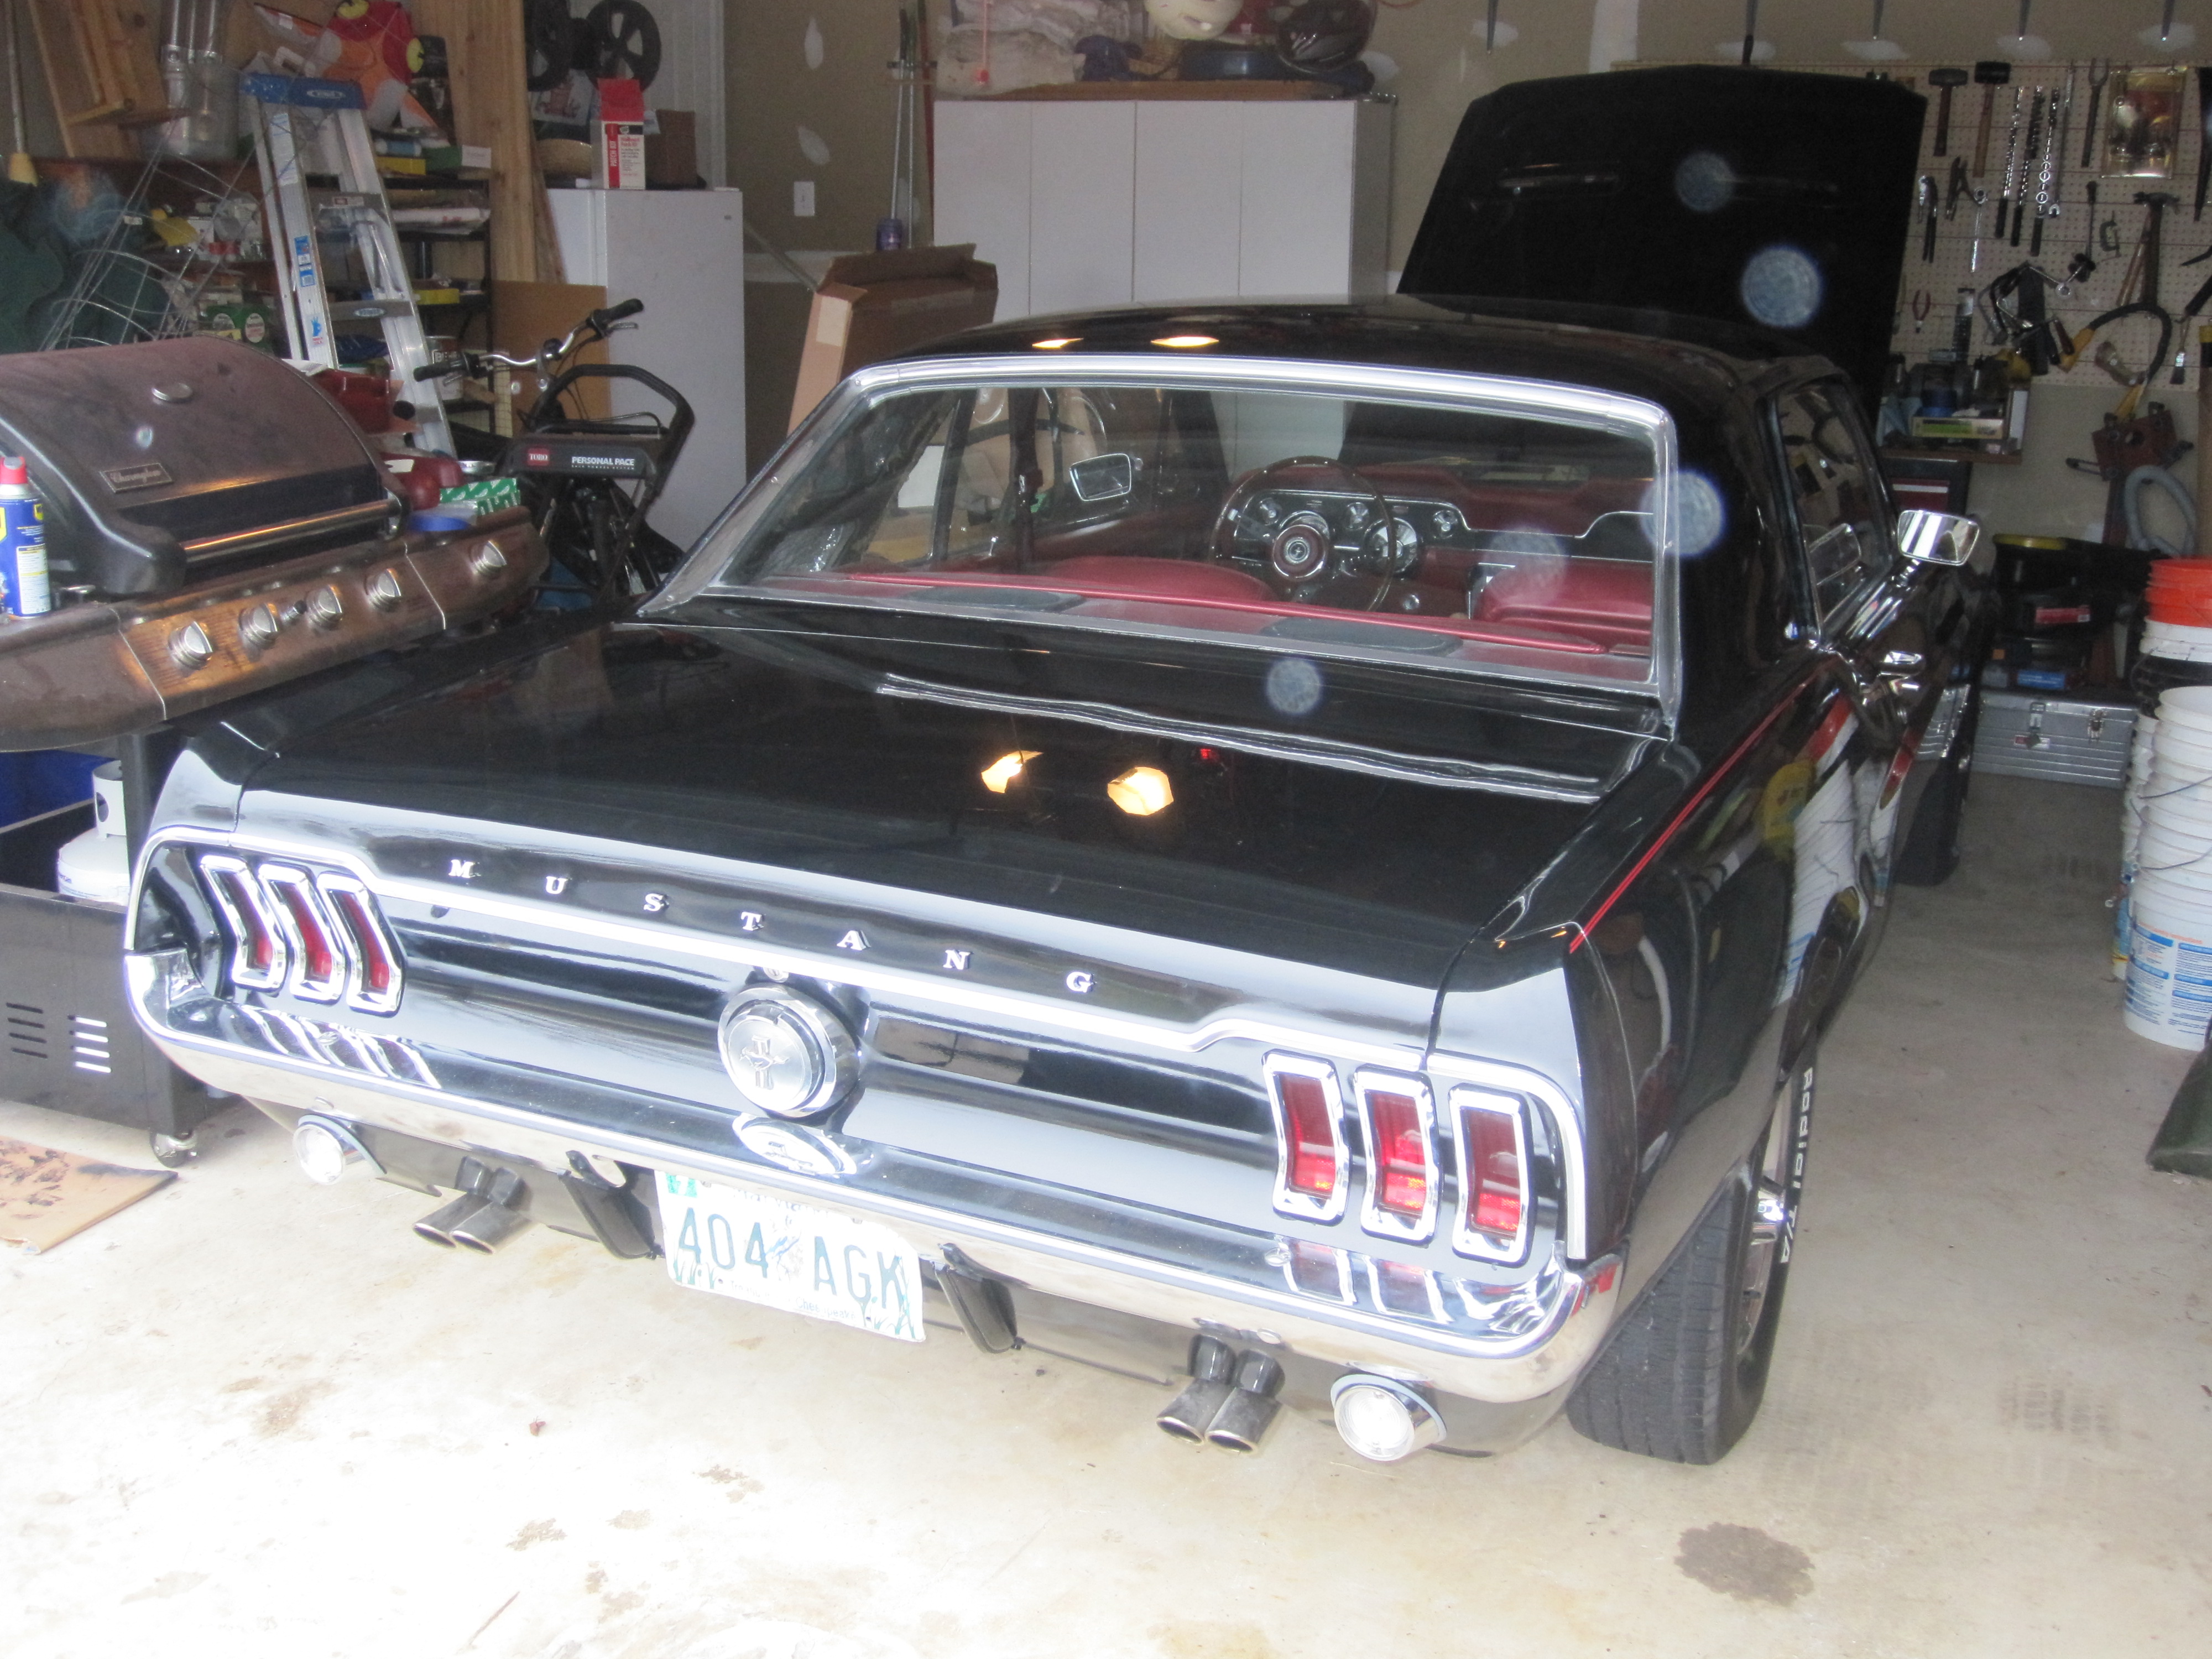
At 7:30 AM this morning I heard a package being delivered. Could it be the tail light housing being delivered this early in the morning? I went down stairs and opened the front door in anticipation of seeing a box of dried fruit or a fruit cake. To my delight I instead found a package from the Mustang parts vendor. Upon opening it I found the tail light housing I had ordered. I was anxious to get to work installing it but it hadn’t warmed up outside yet and it was raining as well. So of course that meant that I went out to the garage and got to work anyway.
The tail light housing was the first item I tackled. I had new gaskets for it as well. I polished up the original lens and it came out OK so I put the housing back together. Then I placed the housing inside the trunk and inserted the new bezels to hold everything in place. A set of new bulbs went in and I was then ready to test both lights out. I flipped on the emergency flashers and walked around the car to check all the turn signal lights. They all were working fine so I moved on to the next project.
Since I was working on lighting and was at the back of the car I chose to tackle the backup lights next. I had new housings and attaching hardware all ready to go. I had also installed new LED bulbs in the housings and tested them on my bench using a 12 volt power supply. I learned that the bulbs were polarized and would only light up if they were inserted the correct way. I’m glad I decided to test them before installing them on the car so that I could get the polarity correct and prevent me from chasing my own tail attempting to diagnose some non-working backup lights.
I found it a bit challenging getting the backup lights installed with the rear splash pan installed on the car. There was very little room to maneuver around the rear leaf spring shackles and the exhaust tips. I eventually decided to unbolt the ends of the splash pan to gain some additional clearance. I was concerned that I might scratch or chip the paint but in the end everything went together OK. A quick test of the backup lights showed that they both worked.
I was on a roll and didn’t want to stop just yet. So I removed the rear bumper and rear quarter end caps so that I could install the end cap molding. I had new hardware and gaskets for the end caps so I installed them as well. The molding fit fine and everything went back together with no new scratches or paint chips. I was careful to try and line everything back up the way it was when the paint and pin striped were applied. I think it came out fairly well. Here are a few pictures so that you can judge for yourself. Try to ignore the dirty license plate and messy garage. I’ll try to address both of those issues later.

At this point I put away the tools and took a break. I may take a shot at installing some of the weather stripping later today. If not it may be as much as a week before I have an opportunity to continue working on this project. I’ll just have to wait and see how things work out with family time over the holidays. So until then…see you later.