
The cold weather has dampened my enthusiasm for working out in the garage, so progress has been very slow on the Vintage Air install. There are some steps in the assembly that I can complete inside my warm house, so I concentrated on those steps first.
I started with installing the brackets and drier on the condenser. First I needed to install the drier bracket on the front of the condenser. The instructions specified which way to orient the condenser (larger hose fitting goes towards the top) as well as which mounting holes to use for the bracket. Then I flipped the condenser over and installed the left and right mounting brackets, again paying attention to which mounting holes to use. Finally I installed the drier in the drier bracket using the two supplied clamps that go around the drier. There is a metal hose that I still need to install from the condenser to the drier. The instructions suggest waiting to install that hose until you are ready to install the condenser.
Here are some pictures of the condenser after I installed the mounting brackets and drier.
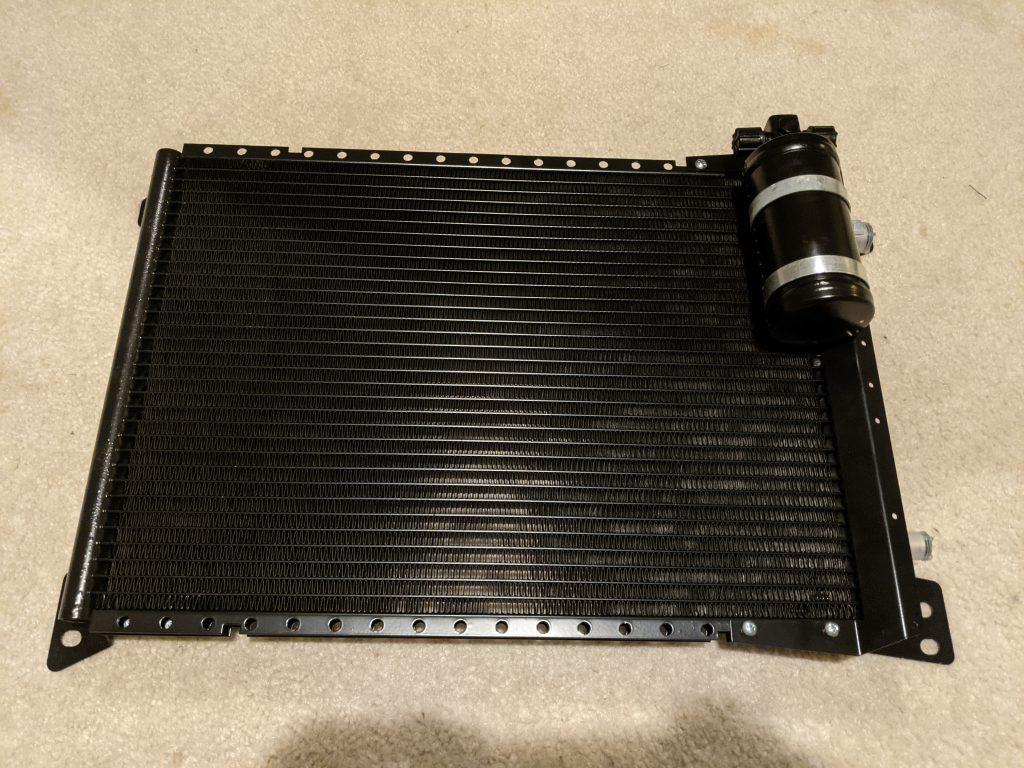
Condenser wtth drier 
Condenser with brackets


With the condenser prepared, I moved on to the evaporator. First I installed the evaporator mounting brackets. There are two brackets for the rear and one for the front. The two rear brackets also have some studs to install. It took a bit of hand strength to get the studs installed but it wasn’t too bad.
Once the brackets were installed there are four metal hoses to install. Before installing them I needed to install O-rings on the ends of the hoses and lubricate them with the supplied mineral oil. I found that the hoses required some light tweaking to make them line up and come out with the correct spacing. I found one of the evaporator hoses especially difficult to get a wrench on to tighten. Hopefully it is tight enough that it won’t leak. I still need to wrap the hoses with the press tape that came in the kit, but wanted to post some photos of how it looked before I wrapped it.
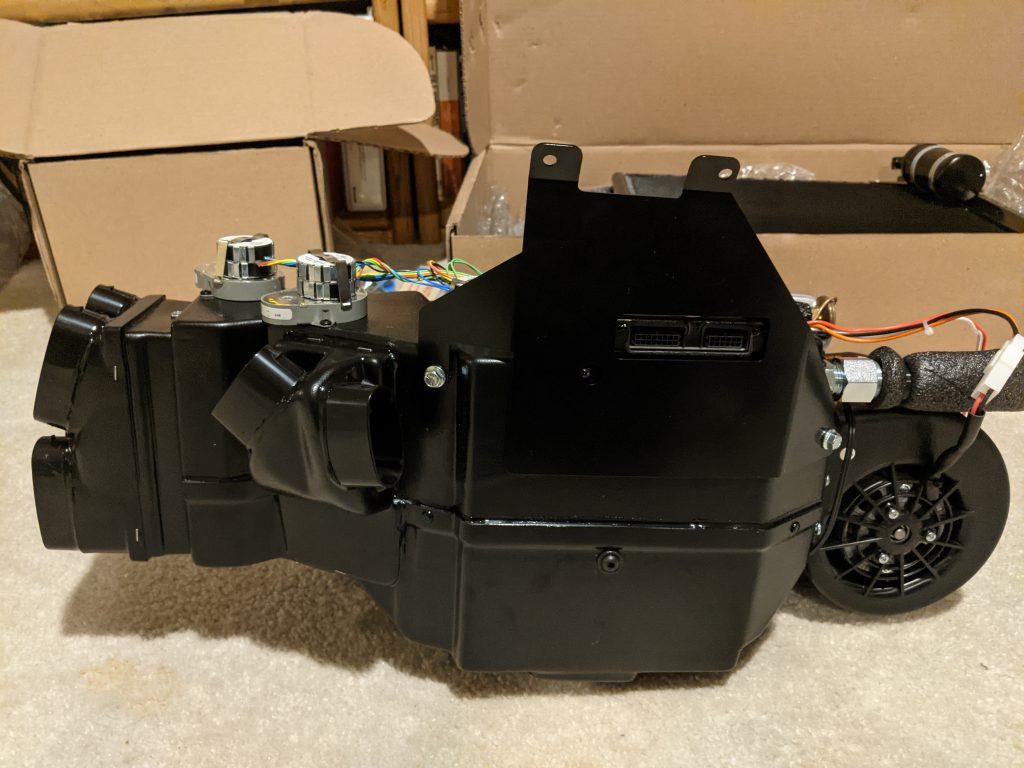
Front of evaporator 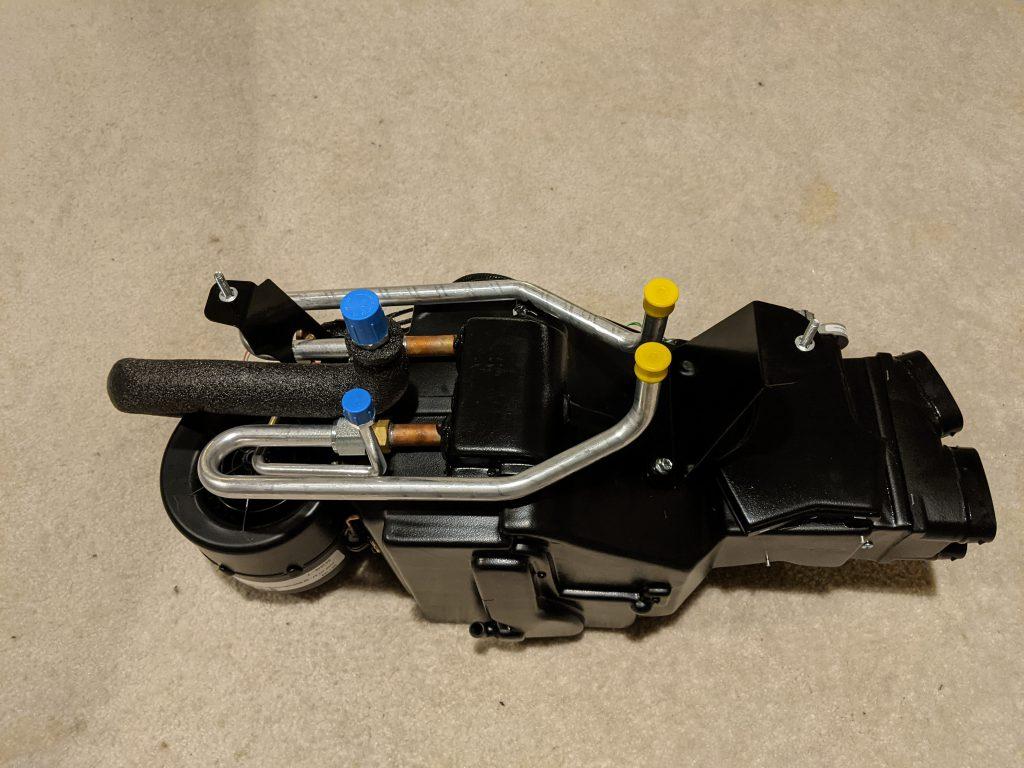
Rear of evaporator
(turned on its’ side)


My next post will show how I prepared the original heater controls for use with the Vintage Air Kit.