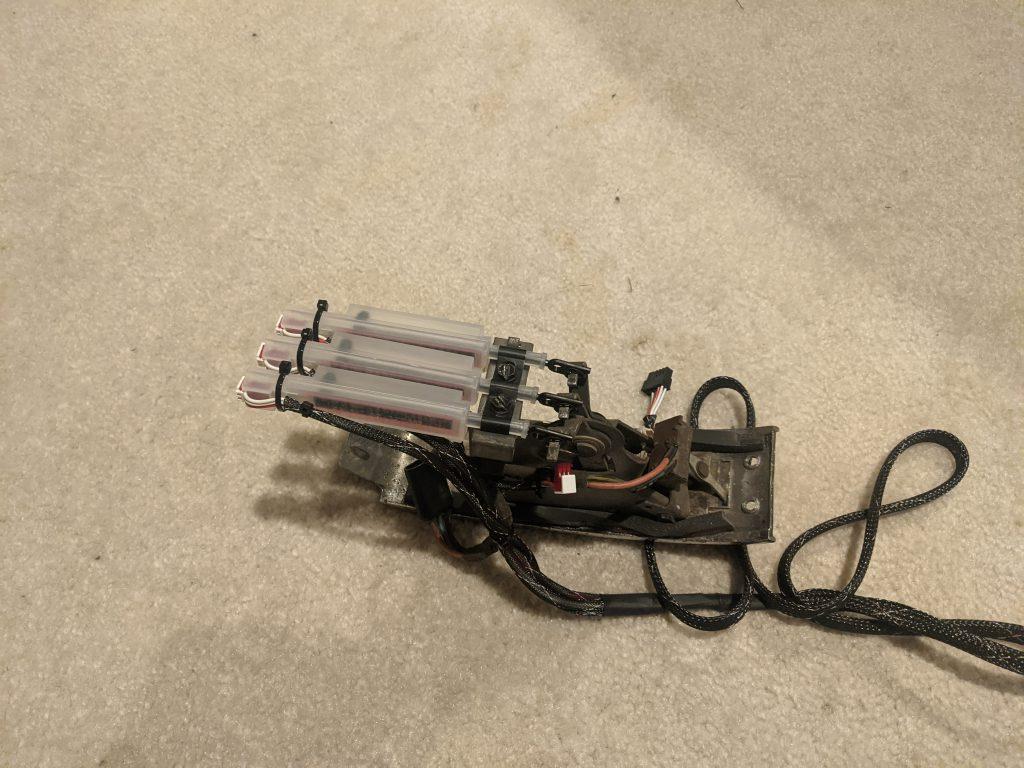
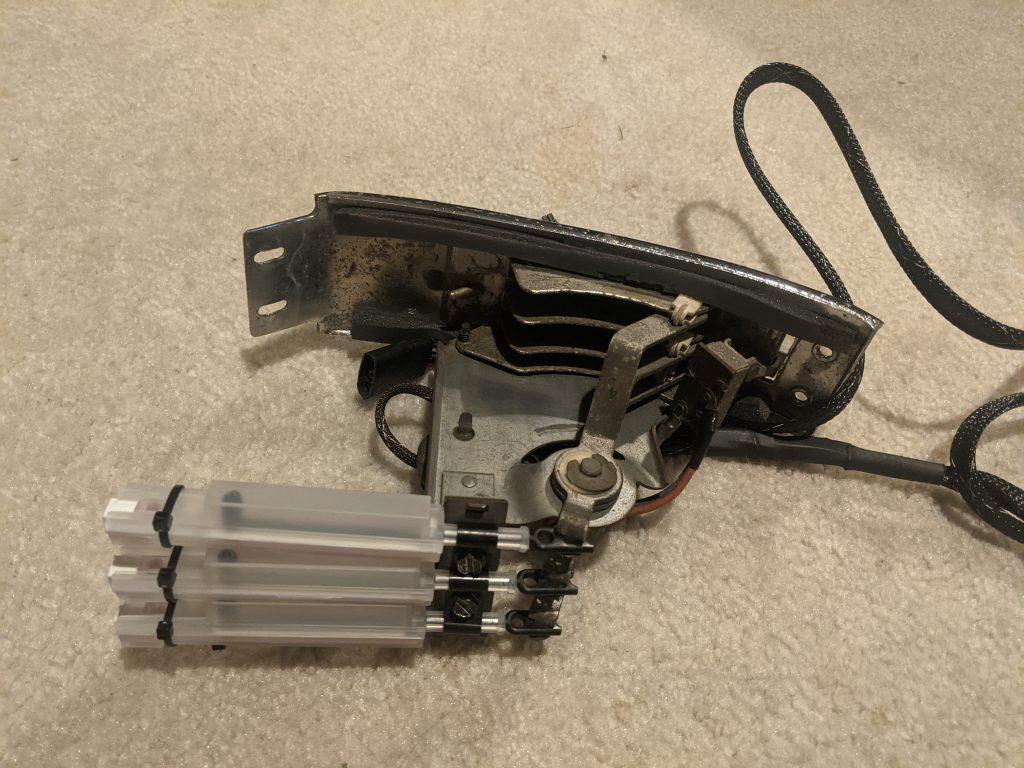
The Vintage Air kit includes a retrofit for the original non-AC heater controls that converts them from a cable system to electronic. Installation isn’t very difficult using the instructions and parts included with the Vintage Air kit. Once you have completed the conversion the controls will operate differently from the originals, but you will be able to control all of the necessary functions of the AC. After conversion the HEAT slider will control the blower speed, the TEMP slider will control the temperature, and the DEF slider will control the mode (AC, heat, defrost, or blend). The original blower speed switch is not used after the conversion.
The first step is to trim the cable converter actuator rods to length. The correct length is specified clearly in the instructions. I used some sandpaper to smooth the edges after I cut them to length. Once all the actuator rods were cut and the ends cleaned up I could work on attaching them to the controls.
Attaching the actuators is done one at a time, in the order specified in the instructions. For each actuator you install a clamp, connect the end of the actuator to the original heater control, and secure it with a push on ring. Then you locate the proper connector on the wiring harness using the color coded wires and connect to the actuator. Finally you dress the wiring using the provided tie wraps. I found the clamps a bit challenging to install as they require a bit of bending to get into place. But I was able to get everything installed without too much trouble.
Here are a couple of pictures showing the completed conversion.
Once the kit is installed in the car there is a calibration process that must be followed so that the Vintage Air ECU can learn the range of motion of the controls. But I have a lot more work to do before I get to that step.


