I have pretty much exhausted the steps I can complete indoors without access to the car. It was a fairly warm day so I decided to start working on the engine compartment portion of the installation.
I started with the condenser installation. The first step requires drilling a 1.25 ” hole in the radiator core support. The kit includes a template to help with marking the hole location. It turned out that the location of the hole matched up with an indentation that was already present in my factory radiator support. I used a step drill bit to drill out the hole.
Once the hole had been made, I installed 4 j-clips over some existing holes in the core support, installed the condenser, and then bolted it in to the j-clips using the supplied bolts and washers. Once the condenser was in place I test fitted the radiator. Unfortunately it came into contact with the condenser retaining bolts that I had just installed. I’m not sure if the radiator was damaged or not when this happened , but it does have some marks where it was touching the condenser bolts. I was able to space the radiator out a bit farther from the core support and it no longer comes into contact with the condenser bolts. I may remove the radiator and have it pressure tested again, but I haven’t decided for certain yet.
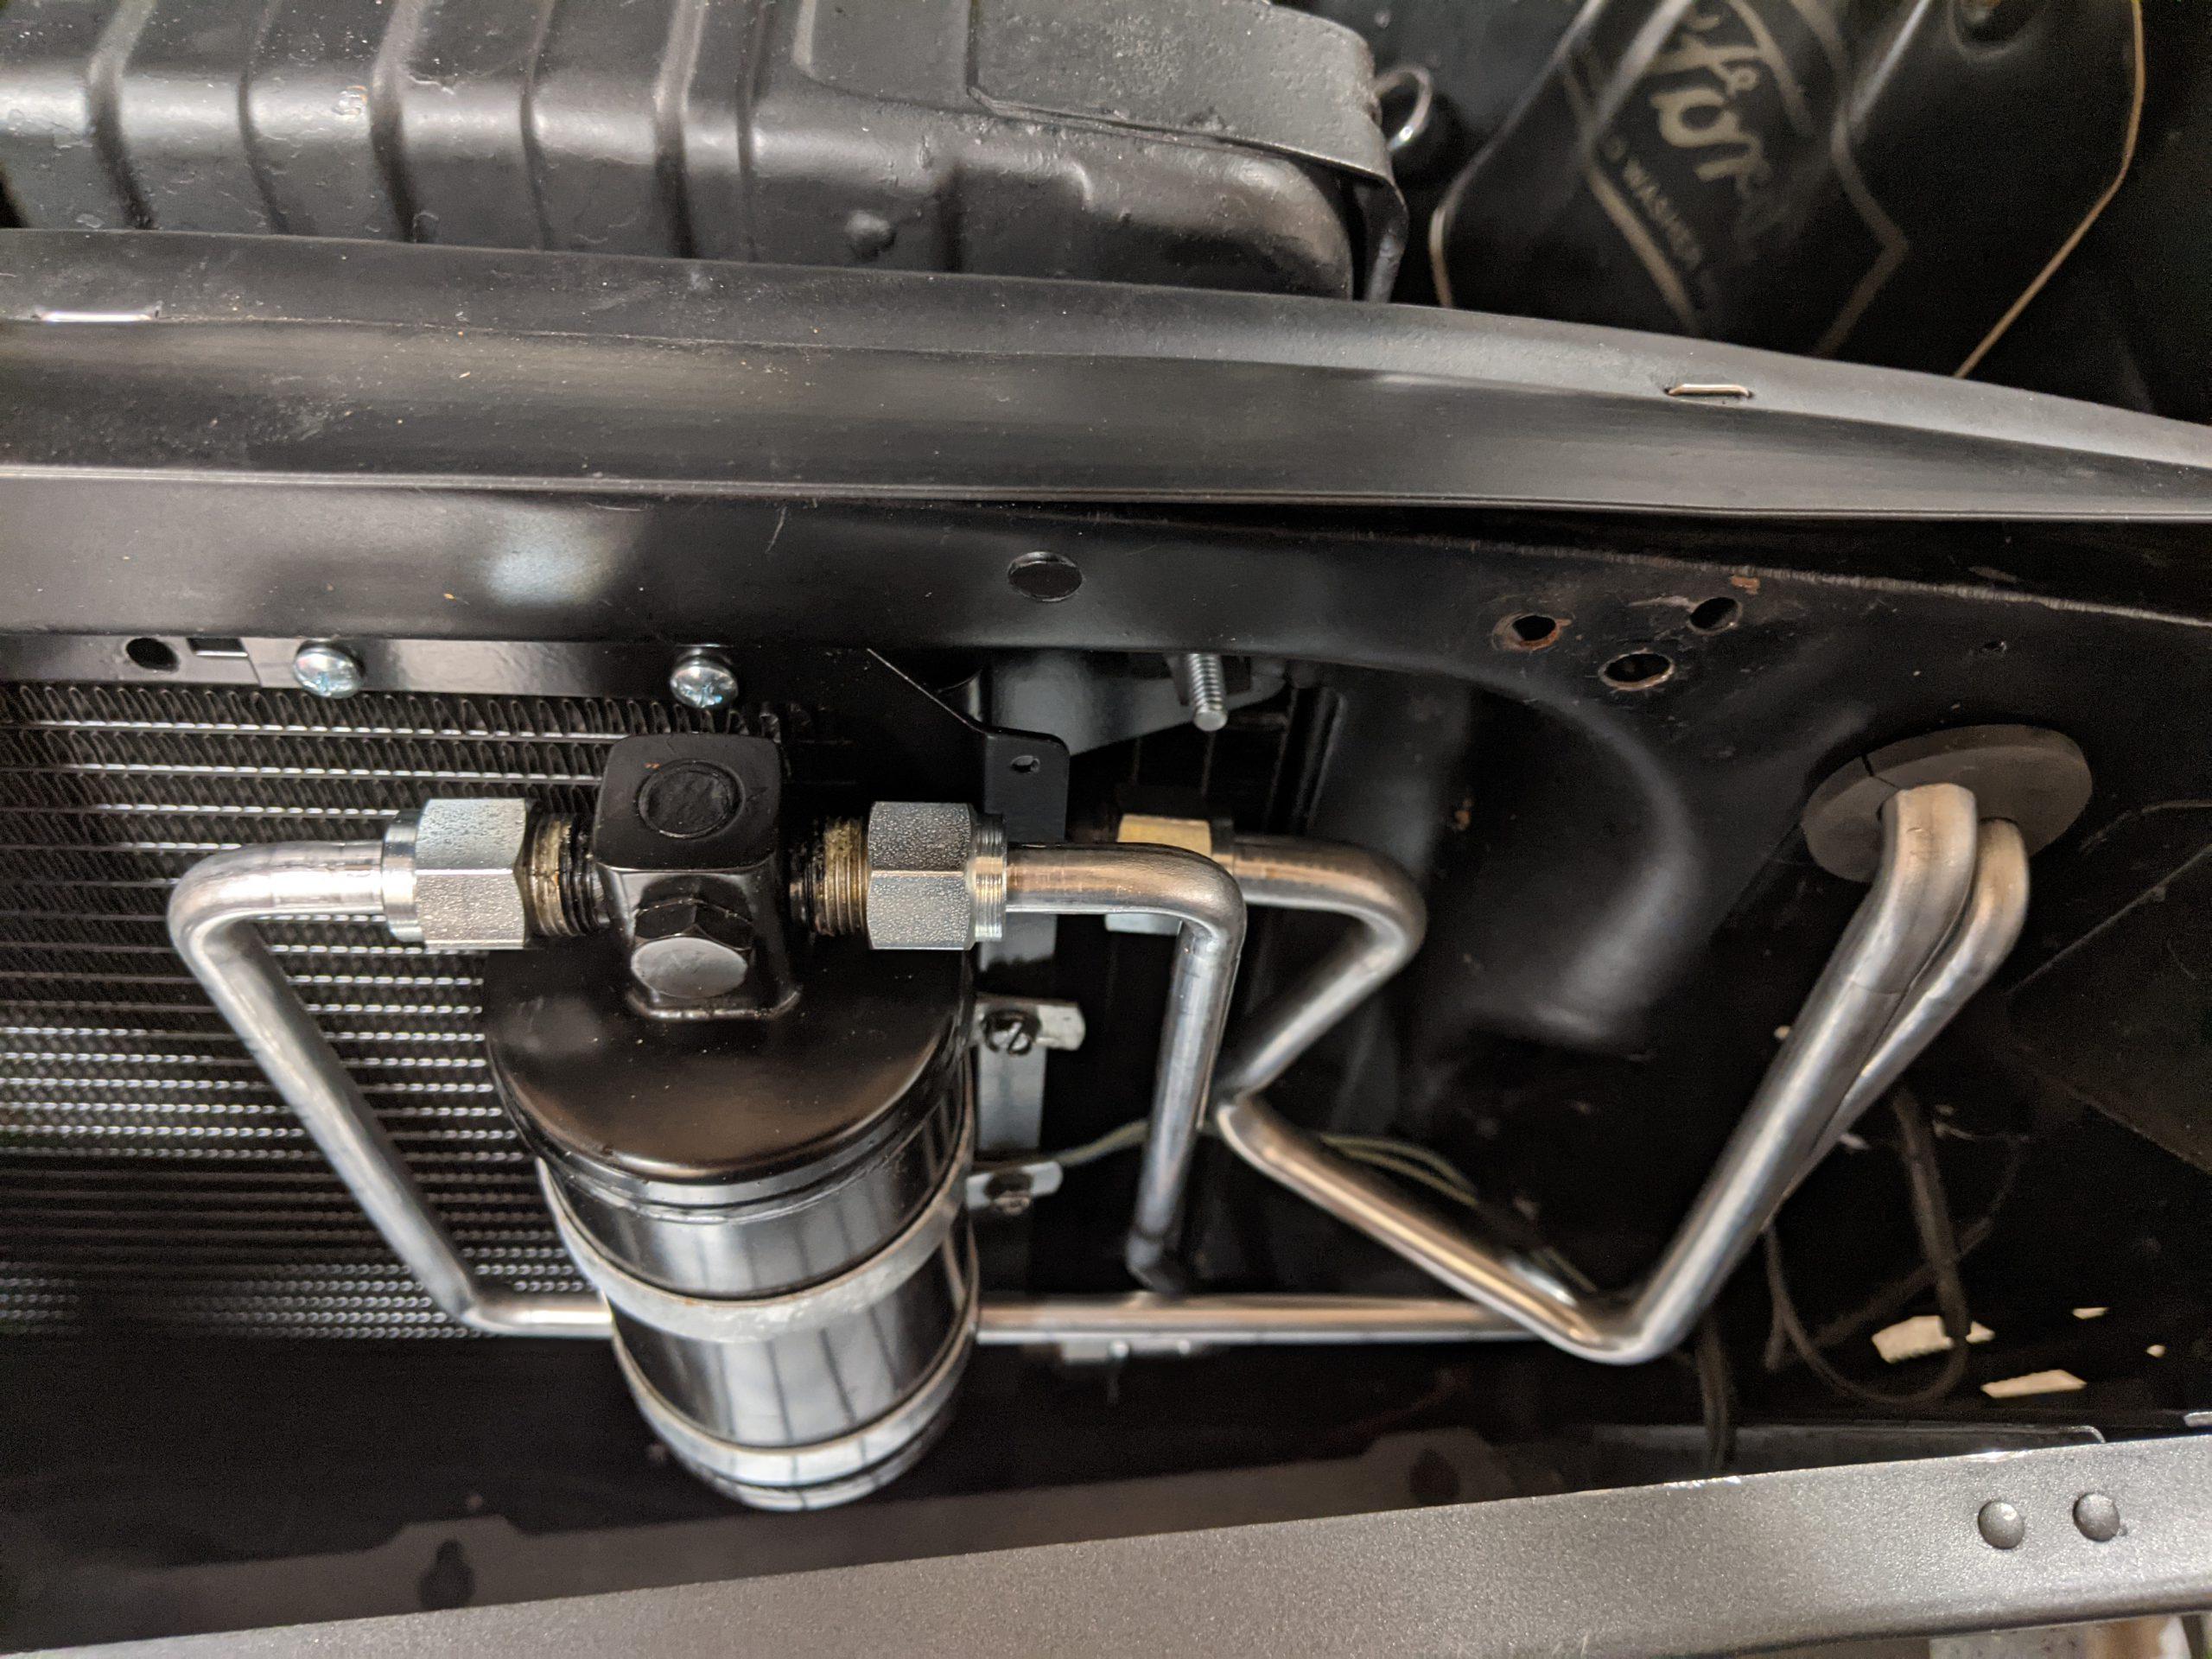
The next step was installing the hard lines that go through the radiator core support. The driver’s side horn interfered with the installation so I removed it temporarily. I installed new O-rings on the hard lines and bolted them into place. I had to do some minor tweaking of the hard lines to get everything lined up and into position. Then I could reinstall the horn, rotating it a bit from it’s factory position so that it would clear all the hard lines.
Here are some pictures showing the condenser hard lines and the hole in the radiator support.
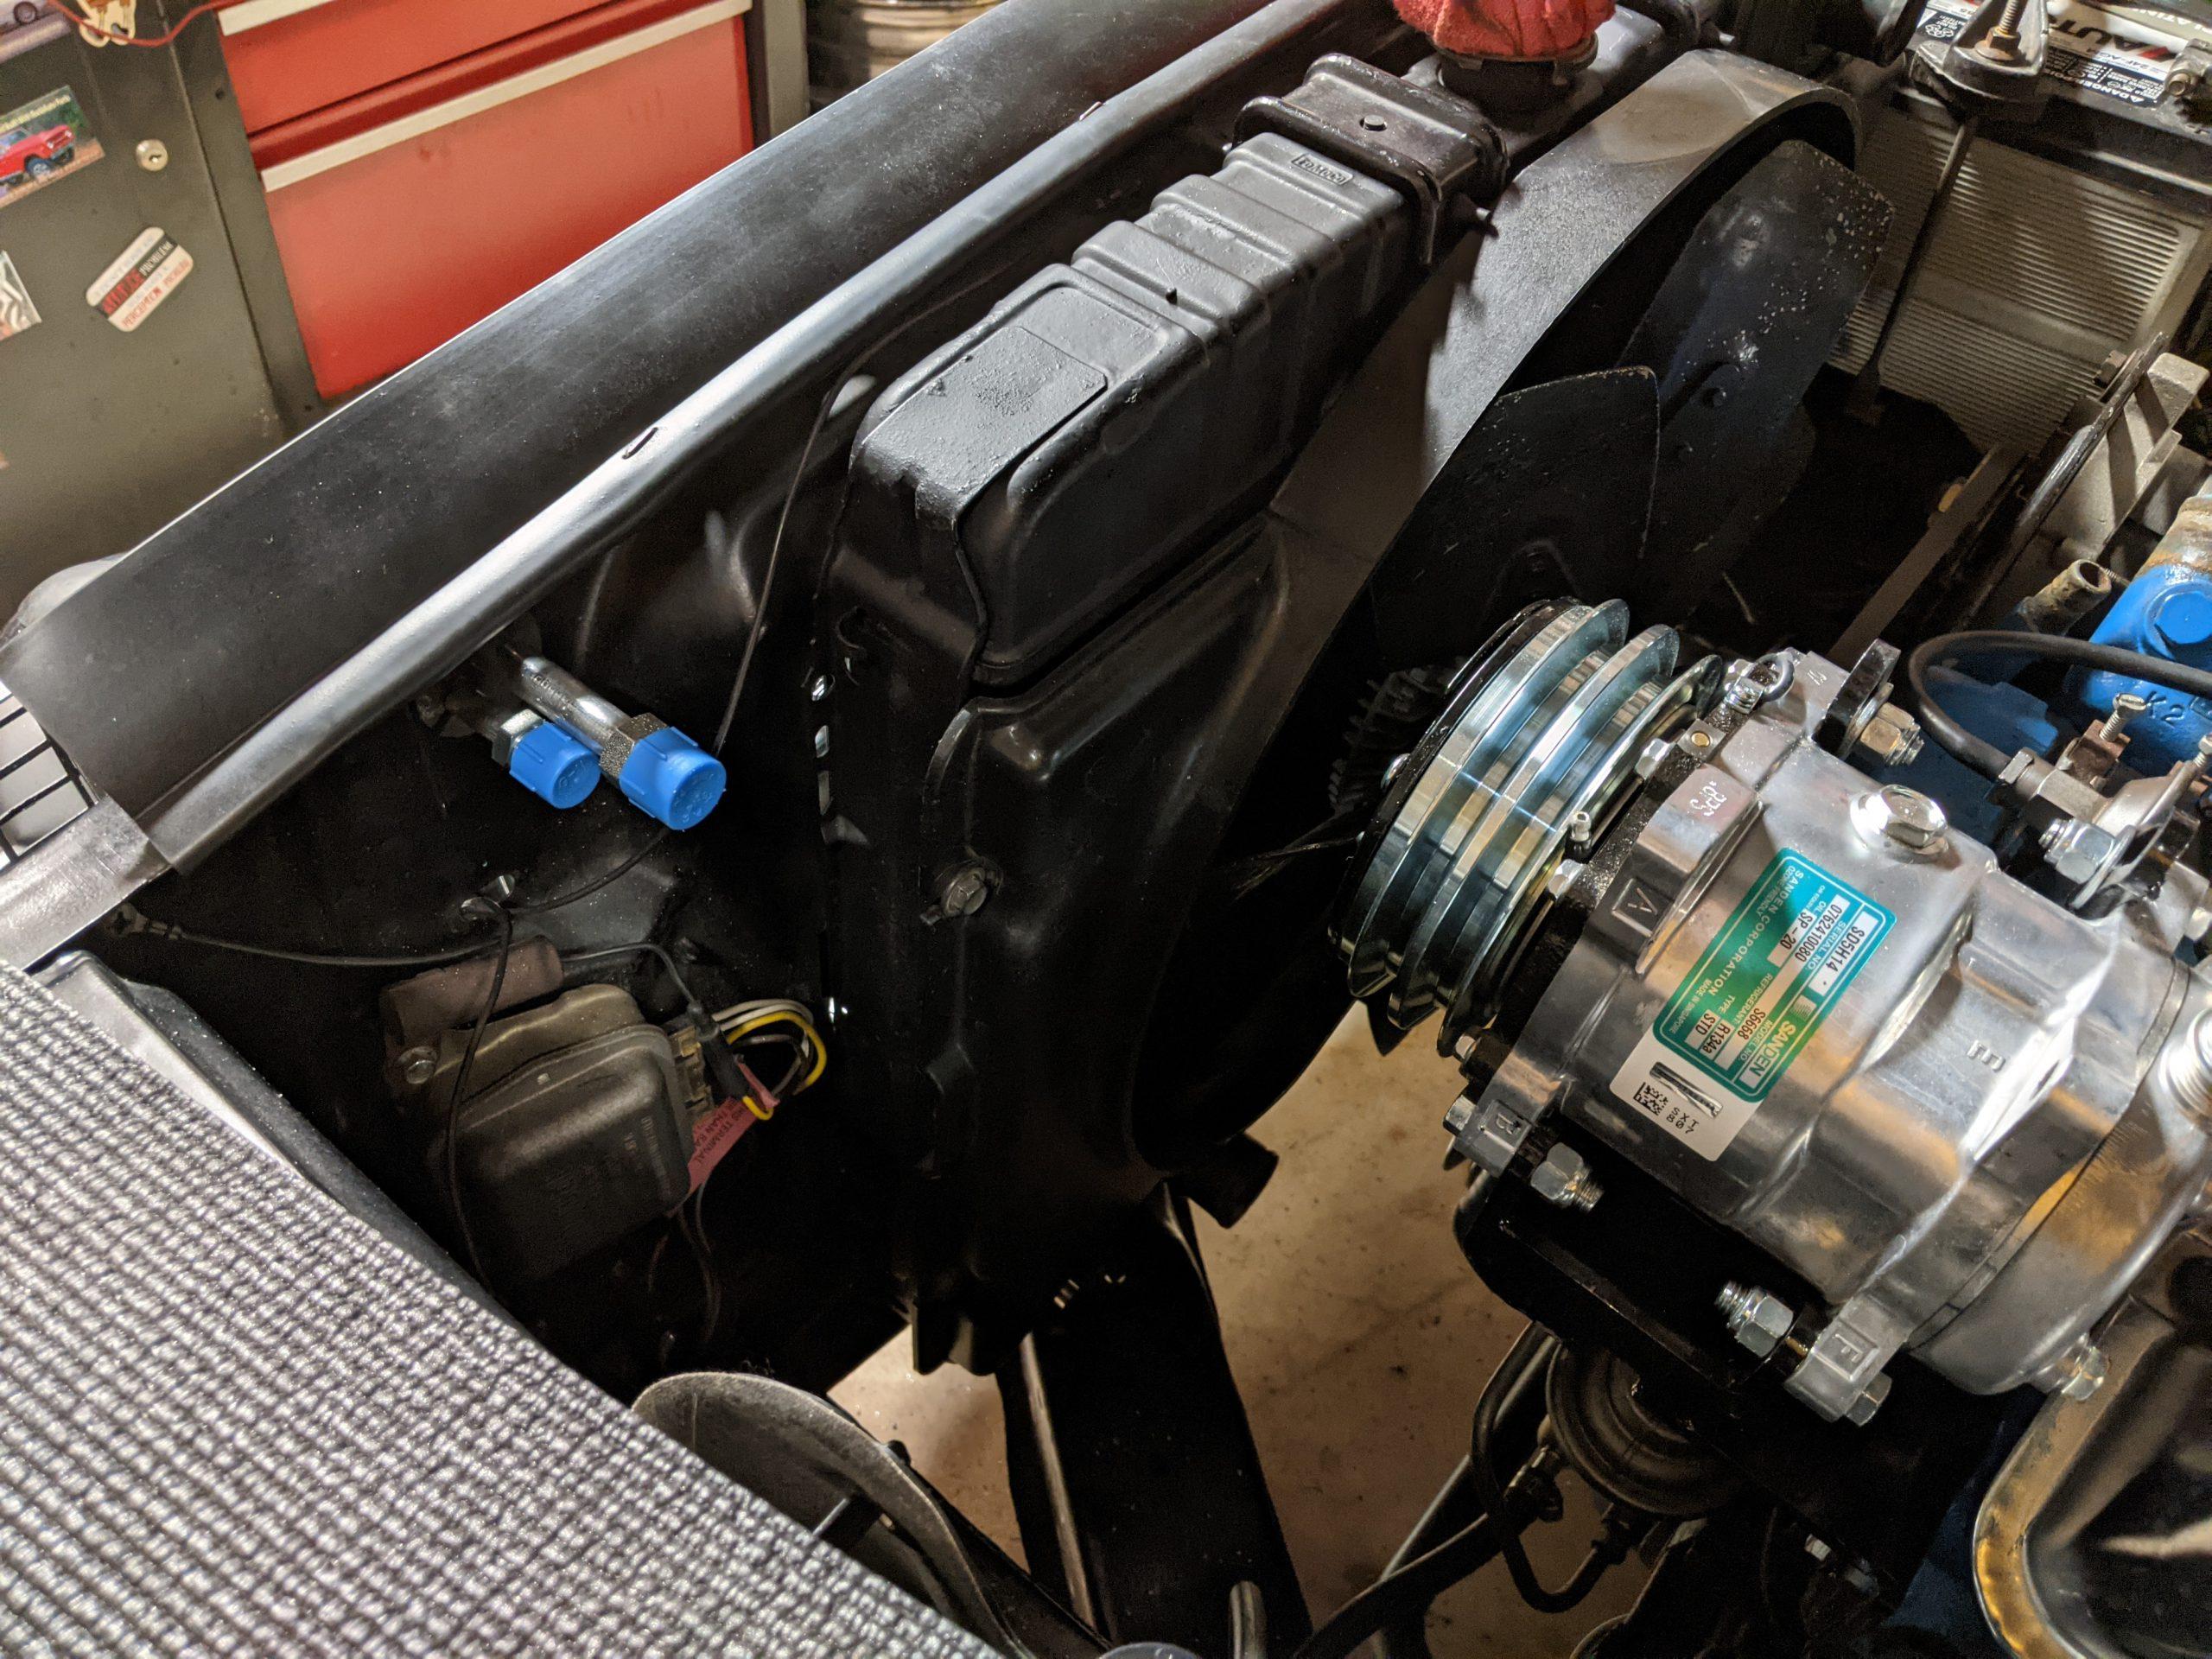
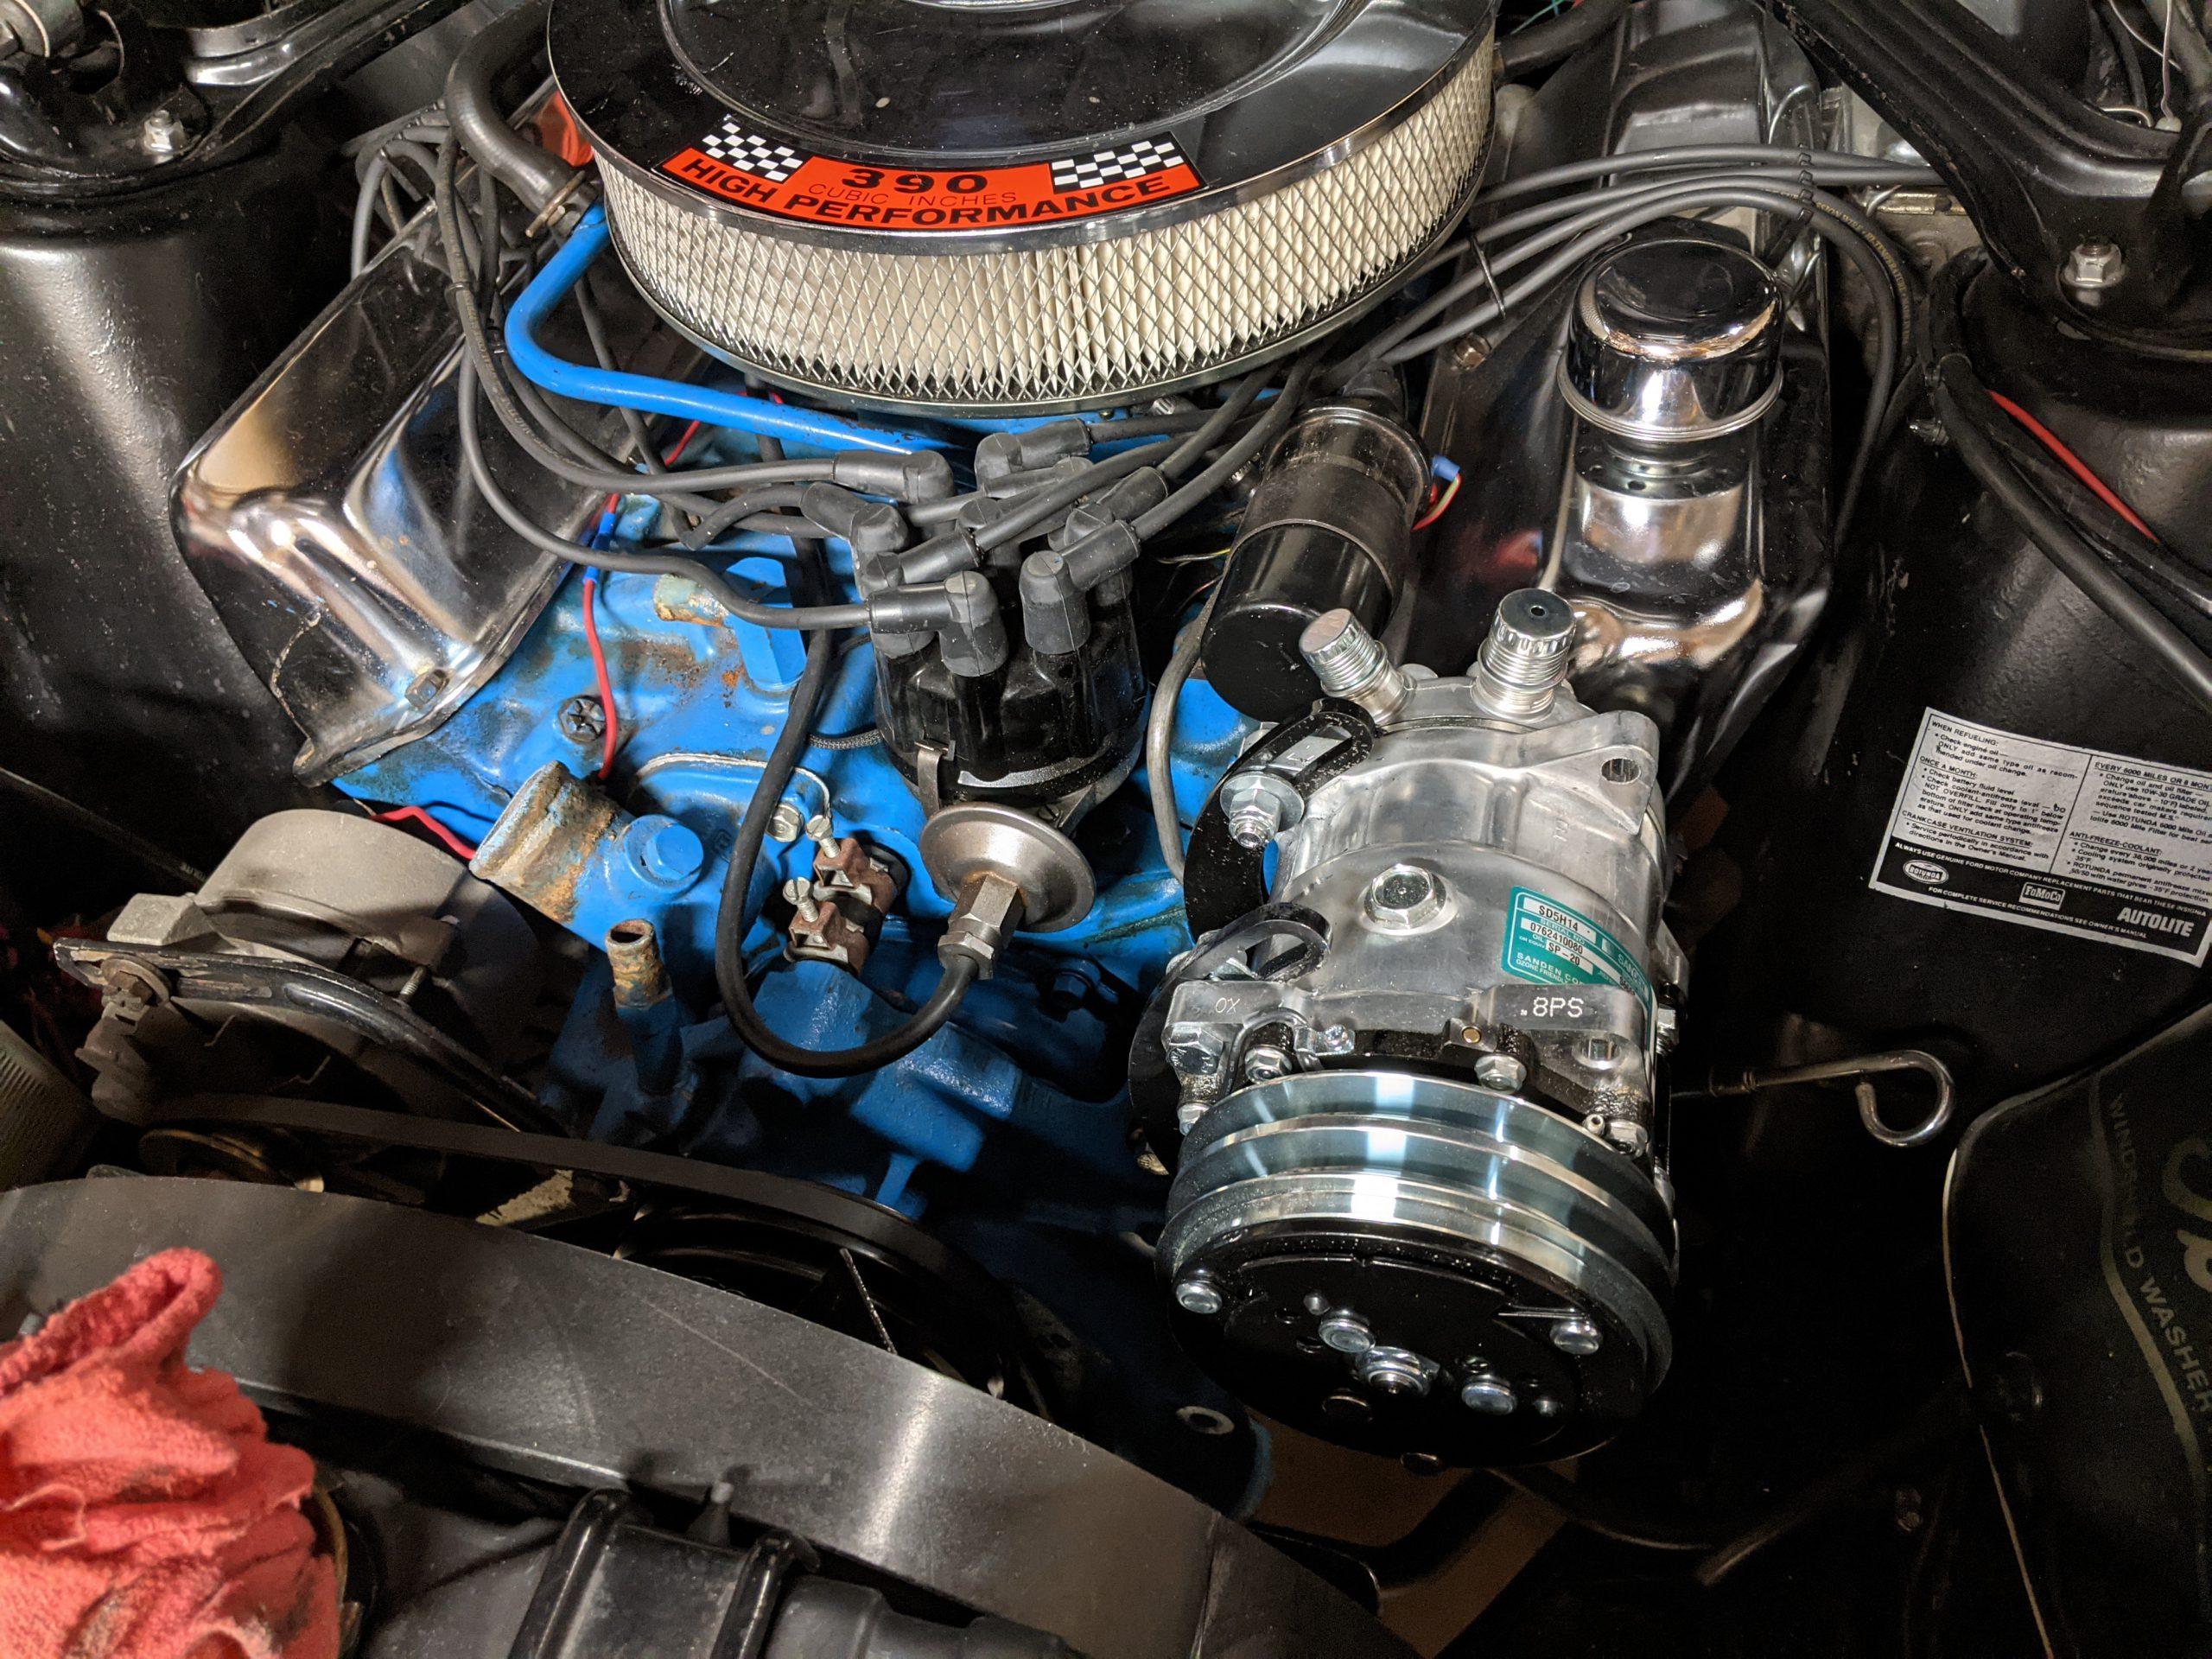
Now I was ready to move on to the compressor install. The new compressor bracket uses one of the water pump bolts and two existing bolt holes in the factory cylinder heads. Since the two holes in the cylinder head had never been used I took the time to run a bottoming tap through the holes to make sure the threads were clear. Once the threads were cleaned out the bracket bolted right into place. I used some thread sealer on the water pump bolt. Then I mounted the compressor to the bracket and tightened it down.
Finally I reinstalled the fan and fan clutch. The original fan alternator belt still fits fine. I had a spare alternator belt, so I tried it on the compressor. No dice, it was quite a bit too short. Now I need to order a new belt. I plan to come back with a piece of string or ribbon so I can measure the length for the new fan belt.
Here are some pictures of the installed compressor.