
Today I could only find a little bit of free time to attempt to get some work done. The vents for the driver’s side and passenger’s side looked easy enough to install. I thought I could complete them in the time I had. They weren’t terribly difficult, but was not as easy as I thought it would be.
I started with the passenger side since I felt it would be easier. The first issue I ran into was when the instructions said to reuse the old trim attachment hardware to attach the A/C vent. For my existing hardware the screws were too short. That involved a trip to the hardware store to purchase longer screws.
The next issue was that I was also using one of the trim attachment screws to attach my under dash lighting socket. In this new configuration the socket and bulb would interfere with the A/C vent hose. So I removed the socket, and in so doing managed to blow the fuse for the interior lights. I have some spare fuses laying around and will eventually replace it, but for now the interior lighting doesn’t work.
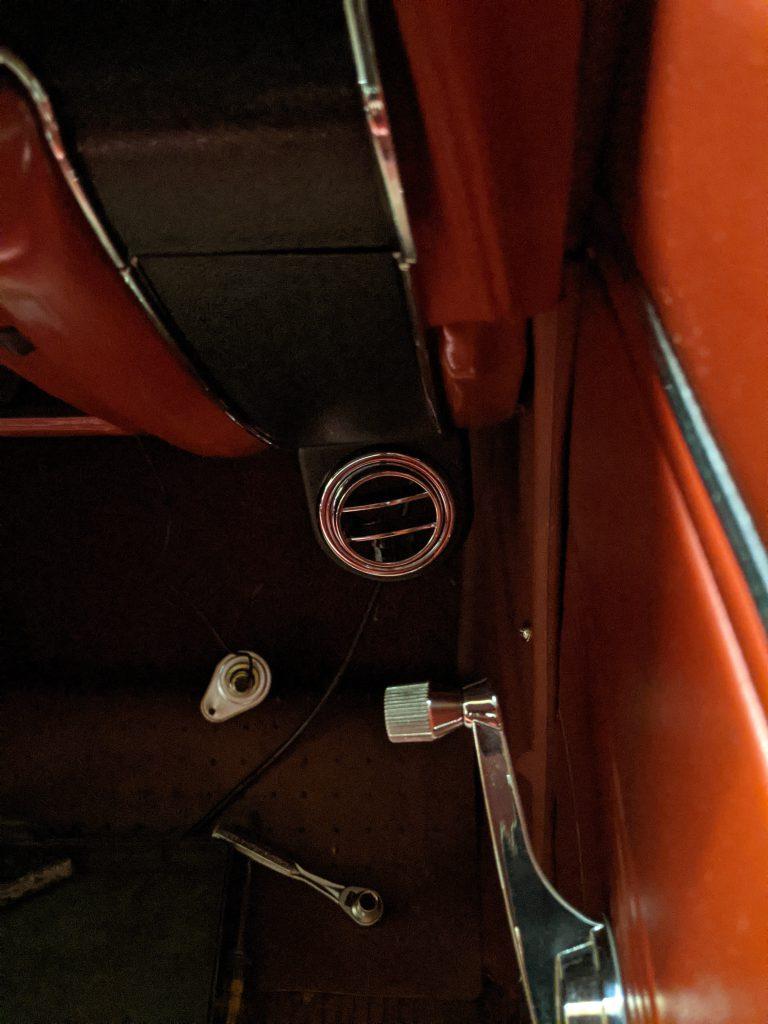
Now that I had the correct screws and had made some clearance I installed the vent housing. That required some uncomfortable contortions, but I managed to get it installed. When I went to install the louver into the housing I was confused as the parts list showed a housing and louver, but the installation guide showed a housing, louver, and adapter. After scratching my head I realized that the louver consists of two parts that unscrewed from each other. After I separated the louver and adapter I was able to install the passenger side louver.
Here’s a picture of how it looks installed. As you can see I ran out of time for tool clean up. I still need to decide where to mount the under dash light socket.
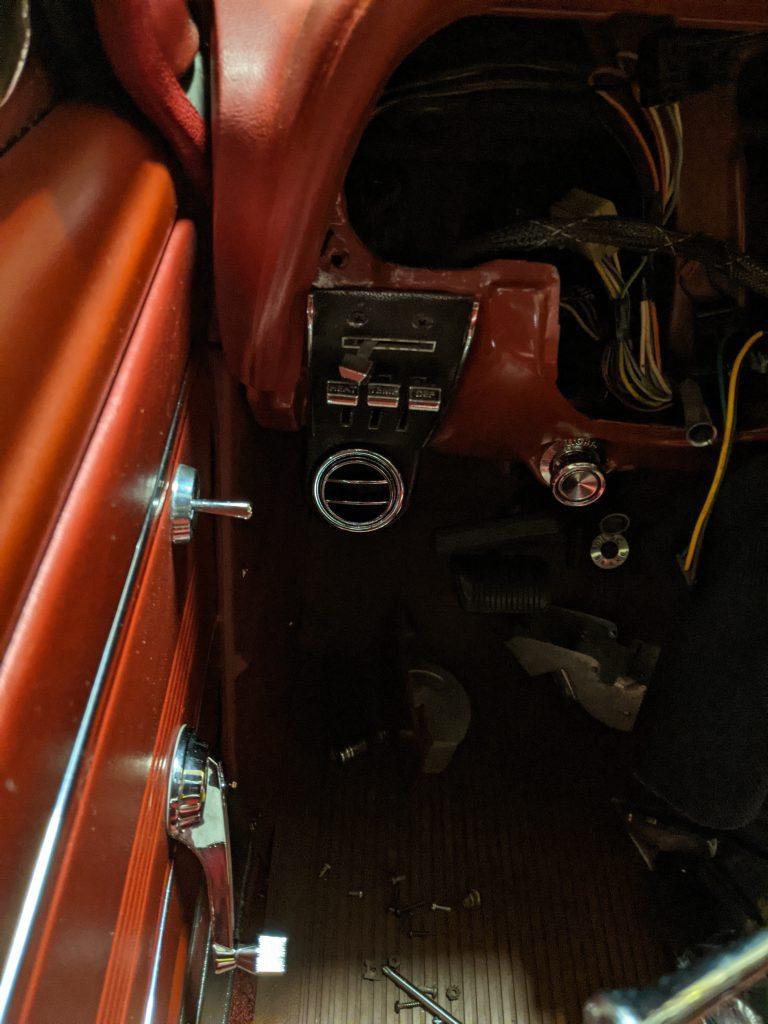
Installing the driver’s side louver required that I also install the control panel. That was not a problem as I had already done the control panel conversion that Vintage Air requires. I also already had the longer screws I needed to install the vent housing and louver. So this side’s installation was pretty much uneventful.
Here’s a picture, again with no time for clean up.
Most of my remaining work consists of routing hoses and wiring. When I’m satisfied everything is installed correctly and sealing like it should I will reinstall the instrument cluster, console, and glove box. I might actually manage to finish this some day.