I finally got to work on the parts of the install that I find more challenging, running the hoses, duct work, and wiring. The reason I find these jobs more difficult is that I need to choose how to route everything and then cut everything to fit. It always takes me several times longer than I anticipate to get the routing correct, and then I feel that I must measure everything multiple times since once I cut I’m either committed or I screwed up and need to purchase more hose and/or wiring to try again.
To start I carefully laid out the wiring harnesses and identified where each wire connected. Getting the harness to pass through the grommet in the firewall was a bit of a challenge. I ended up passing some extra wire I had from another project through the grommet from the engine side, attached the A/C wiring harness to it using some electrical tape, and then pulled it back through into the engine compartment. I made all the connections to the evaporator ECU and wired up the ground in the engine compartment to the existing engine to firewall ground connector. I used the same technique to get the wire through the radiator support for the binary safety switch and the wire from the safety switch to the compressor. I decided I wanted to get some tie downs for the wiring that goes to the battery and the binary safety switch so I left final routing and connecting of the engine compartment wiring for later.
Next I turned my attention to the heater hoses and heater control valve. The instructions had conflicting information on whether the heater hose with the heater control valve connected from the intake manifold to the top or bottom heater core connection. It looked like connecting it to the bottom connection would make routing the hoses extremely difficult but would help prevent air bubbles in the heater core. Using the upper connection would really help out the hose routing. I contacted Vintage Air tech support and they confirmed that I should be using the upper connection to make routing the hoses easier.
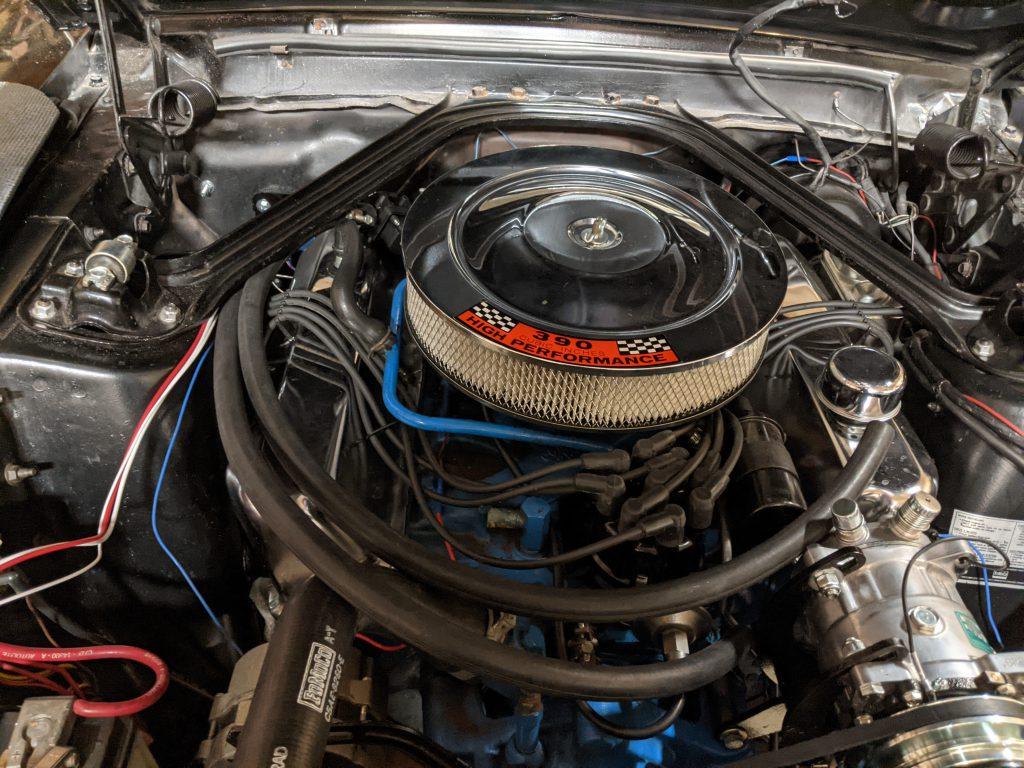
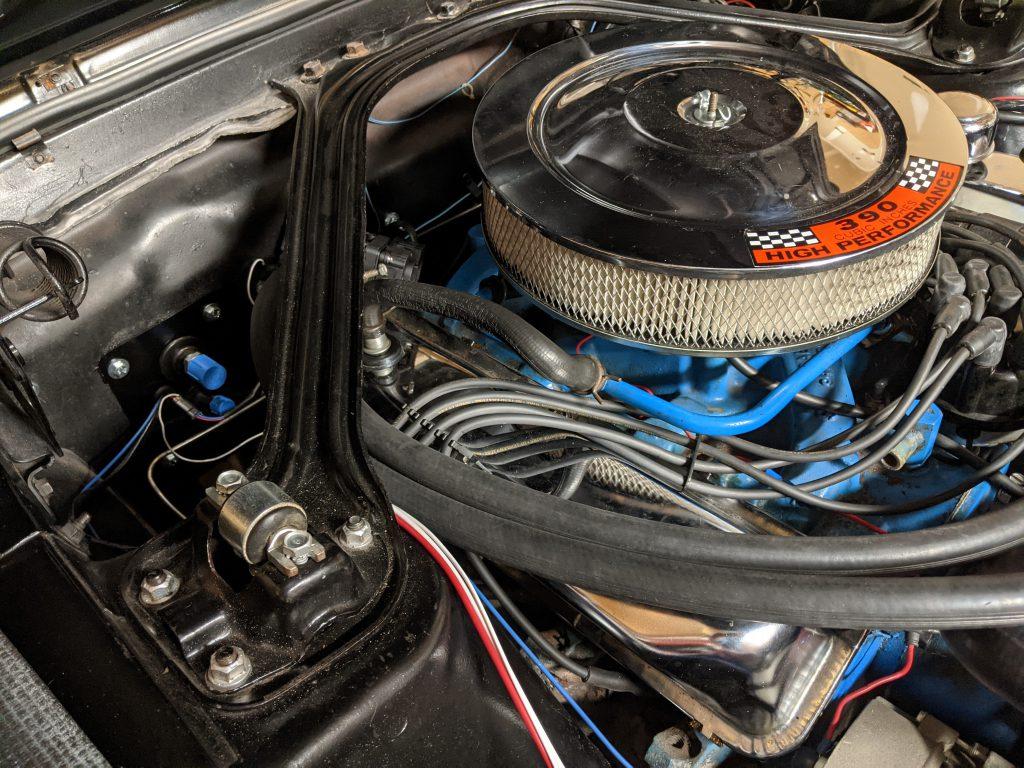
I expected the rest of the heater hose installation to go very quickly. I was wrong. Trying to neatly route everything without rubbing on the engine or interfering with the PCV setup on my intake proved to be quite a chore and took me a lot longer than I ever thought it would. One thing that I didn’t originally see in the installation instructions is that the hoses fit better if the heater control valve is turned on its’ side. Once I turned the heater control valve things went a lot more smoothly,
I have the heater hoses and control valve in place at this point but not tightened down because I want to test fit the A/C hoses before I finish with the heater hoses. Here is what I have so far. Surprisingly, it turned out to be a bit neater than what I had prior to installing the air conditioner. I still need to trim the ends, attach them to the engine, and optionally tie down the hoses to the export brace.
At my next opportunity I will test fit the A/C hoses. Once I am happy with the A/C hose fit and routing I will finish up the heater hoses. Then I will take the A/C hoses to a shop with a bead lock crimper to have the ends installed on the A/C hoses.


