
Now that I had a technique for attaching the duct hose ends it was time to finish up routing and installing the duct hoses. The driver’s side vent hose was pretty close to a position I was happy with, but I did spend a bit more time attempting to get it to where it was fairly straight and didn’t interfere with the windshield wiper mechanism. While no routes were perfect, I did eventually find a route where I could use some wire ties to hold the hose out of the way of the wiper mechanism. The only remaining issue with that particular hose is that I I routed it through the location for my under dash lighting. Now I will need to find a new place for both of my under dash lighting sockets. But that won’t hold me up at this point as I can temporarily remove the lighting. I plan to find a good place for both sockets later on when I put the rest of the dash back together.
The remaining duct hoses went on fairly smoothly and were much less difficult to route compared to the driver’s side vent hose. There was some interference between the passenger side hoses where they connected to the evaporator. But I was able to work them around each other with some tight bends that crimped the hoses a bit but didn’t restrict the flow that much. I tested the controls and fan again after I finished installing the duct hoses and air blew out of all of the vents with the controls in their appropriate settings.
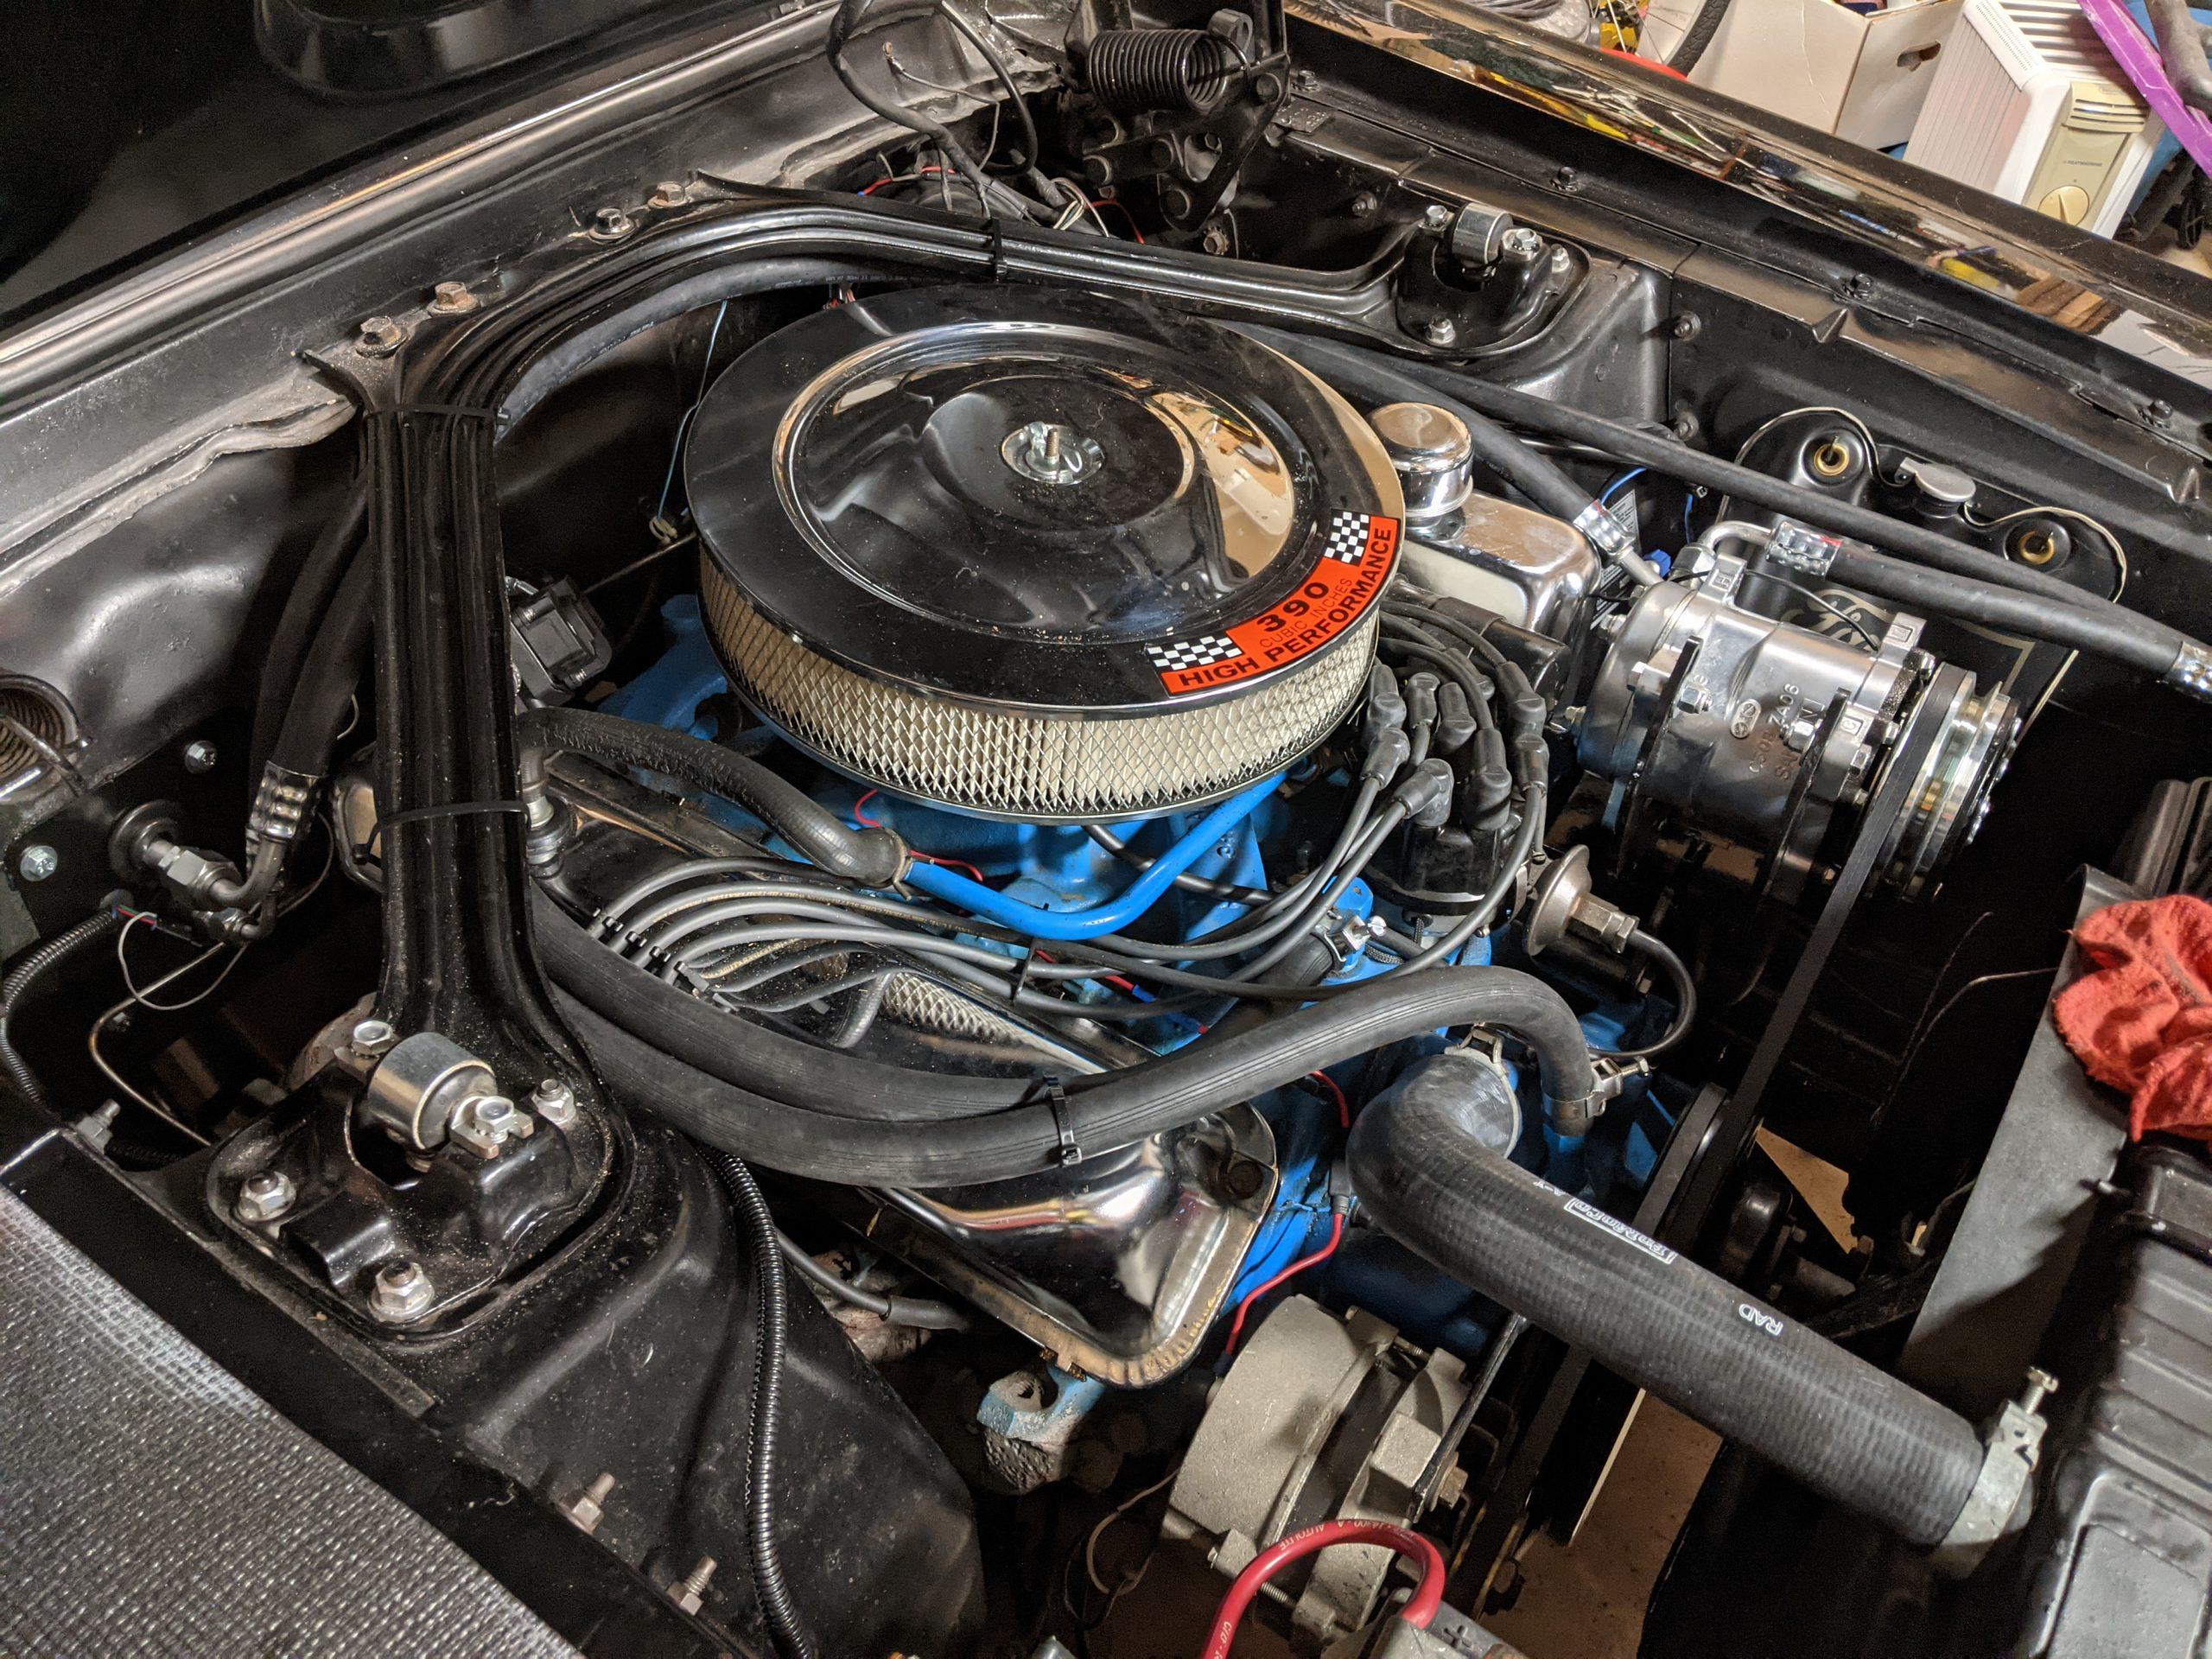
Next I started laying out the refrigerant hoses in the engine compartment. The first issue I found was while test fitting the refrigerant hose ends on the compressor. I noticed that there wasn’t enough clearance to shut the hood with the fittings installed. The instructions say that it is OK to rotate the compressor no farther than 90 degrees on its’ side. So I removed the compressor and reinstalled it rotated 90 degrees with the fittings facing the driver’s side fender. That gave me the hood clearance I needed without exceeding the compressor mounting specifications.
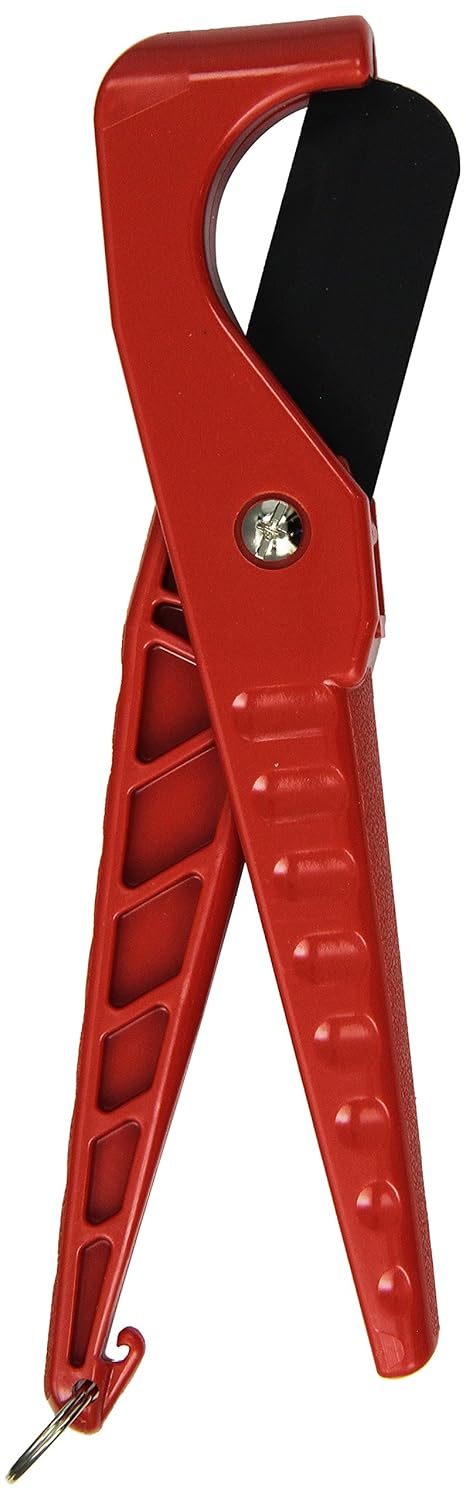
Routing the hoses was relatively simple. I made sure they didn’t interfere with the throttle linkage. I would have preferred to have a bit more space around the valve covers but there wasn’t much room to work with so I did the best that I could. Once I had a configuration that I liked I cut the hoses to length and marked their positions on the fittings and hoses so I could orient everything correctly when I crimped on the ends. It is important to make nice clean cuts on the hoses so that the ends will crimp on correctly. I used this tool from Gates to make the cuts. I wish I had waited and used this tool on the heater hoses as it made much nicer cuts than my knife did.
I used the bead lock crimping tool I purchased to crimp on the refrigerant hose ends. Using it was fairly straightforward, but required clamping the tool tightly in a vise and quite a bit of strength to get the ends crimped on tightly. Once the hoses were crimped on I installed the hoses and secured them with wire ties. Here’s what I ended up with.


I’m getting to the home stretch now. I plan to do a little work on my instrument cluster before I reinstall it. After reinstalling the instrument cluster I will check the A/C system for leaks, refill the cooling system, start the car, and charge the A/C. My greatest fear right now is that I will discover and need to fix an A/C system leak. Wish me luck!