
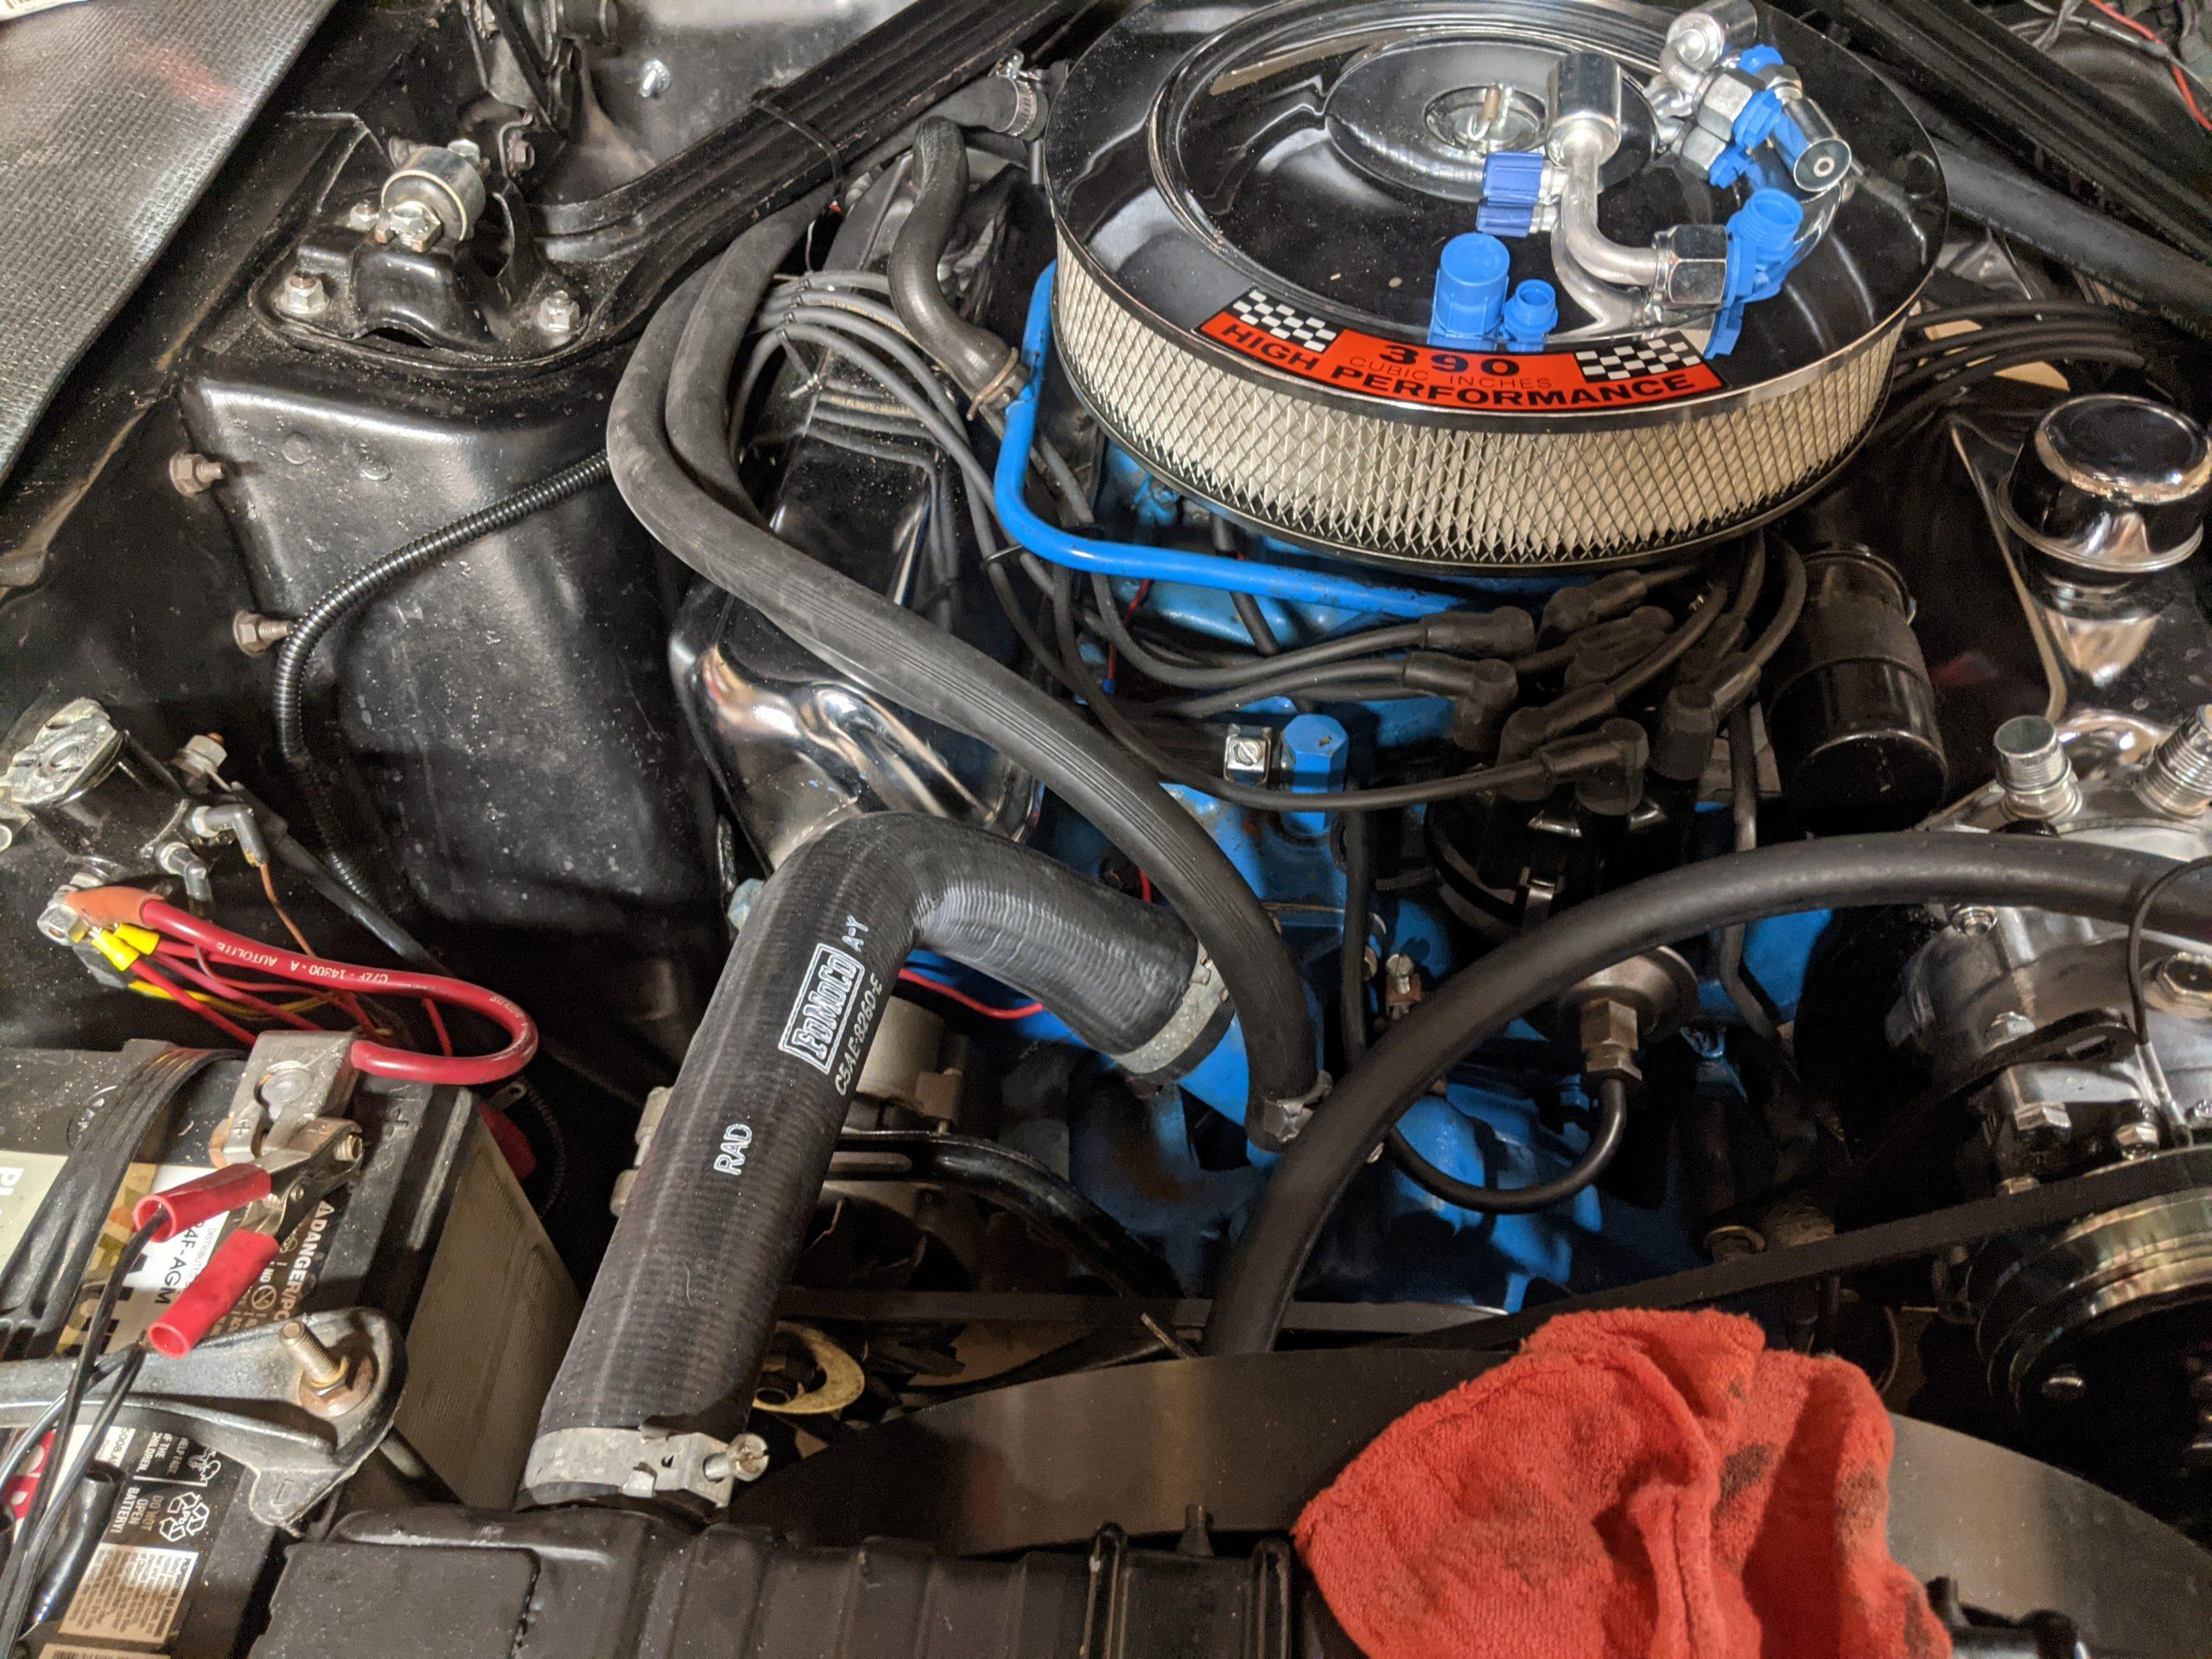
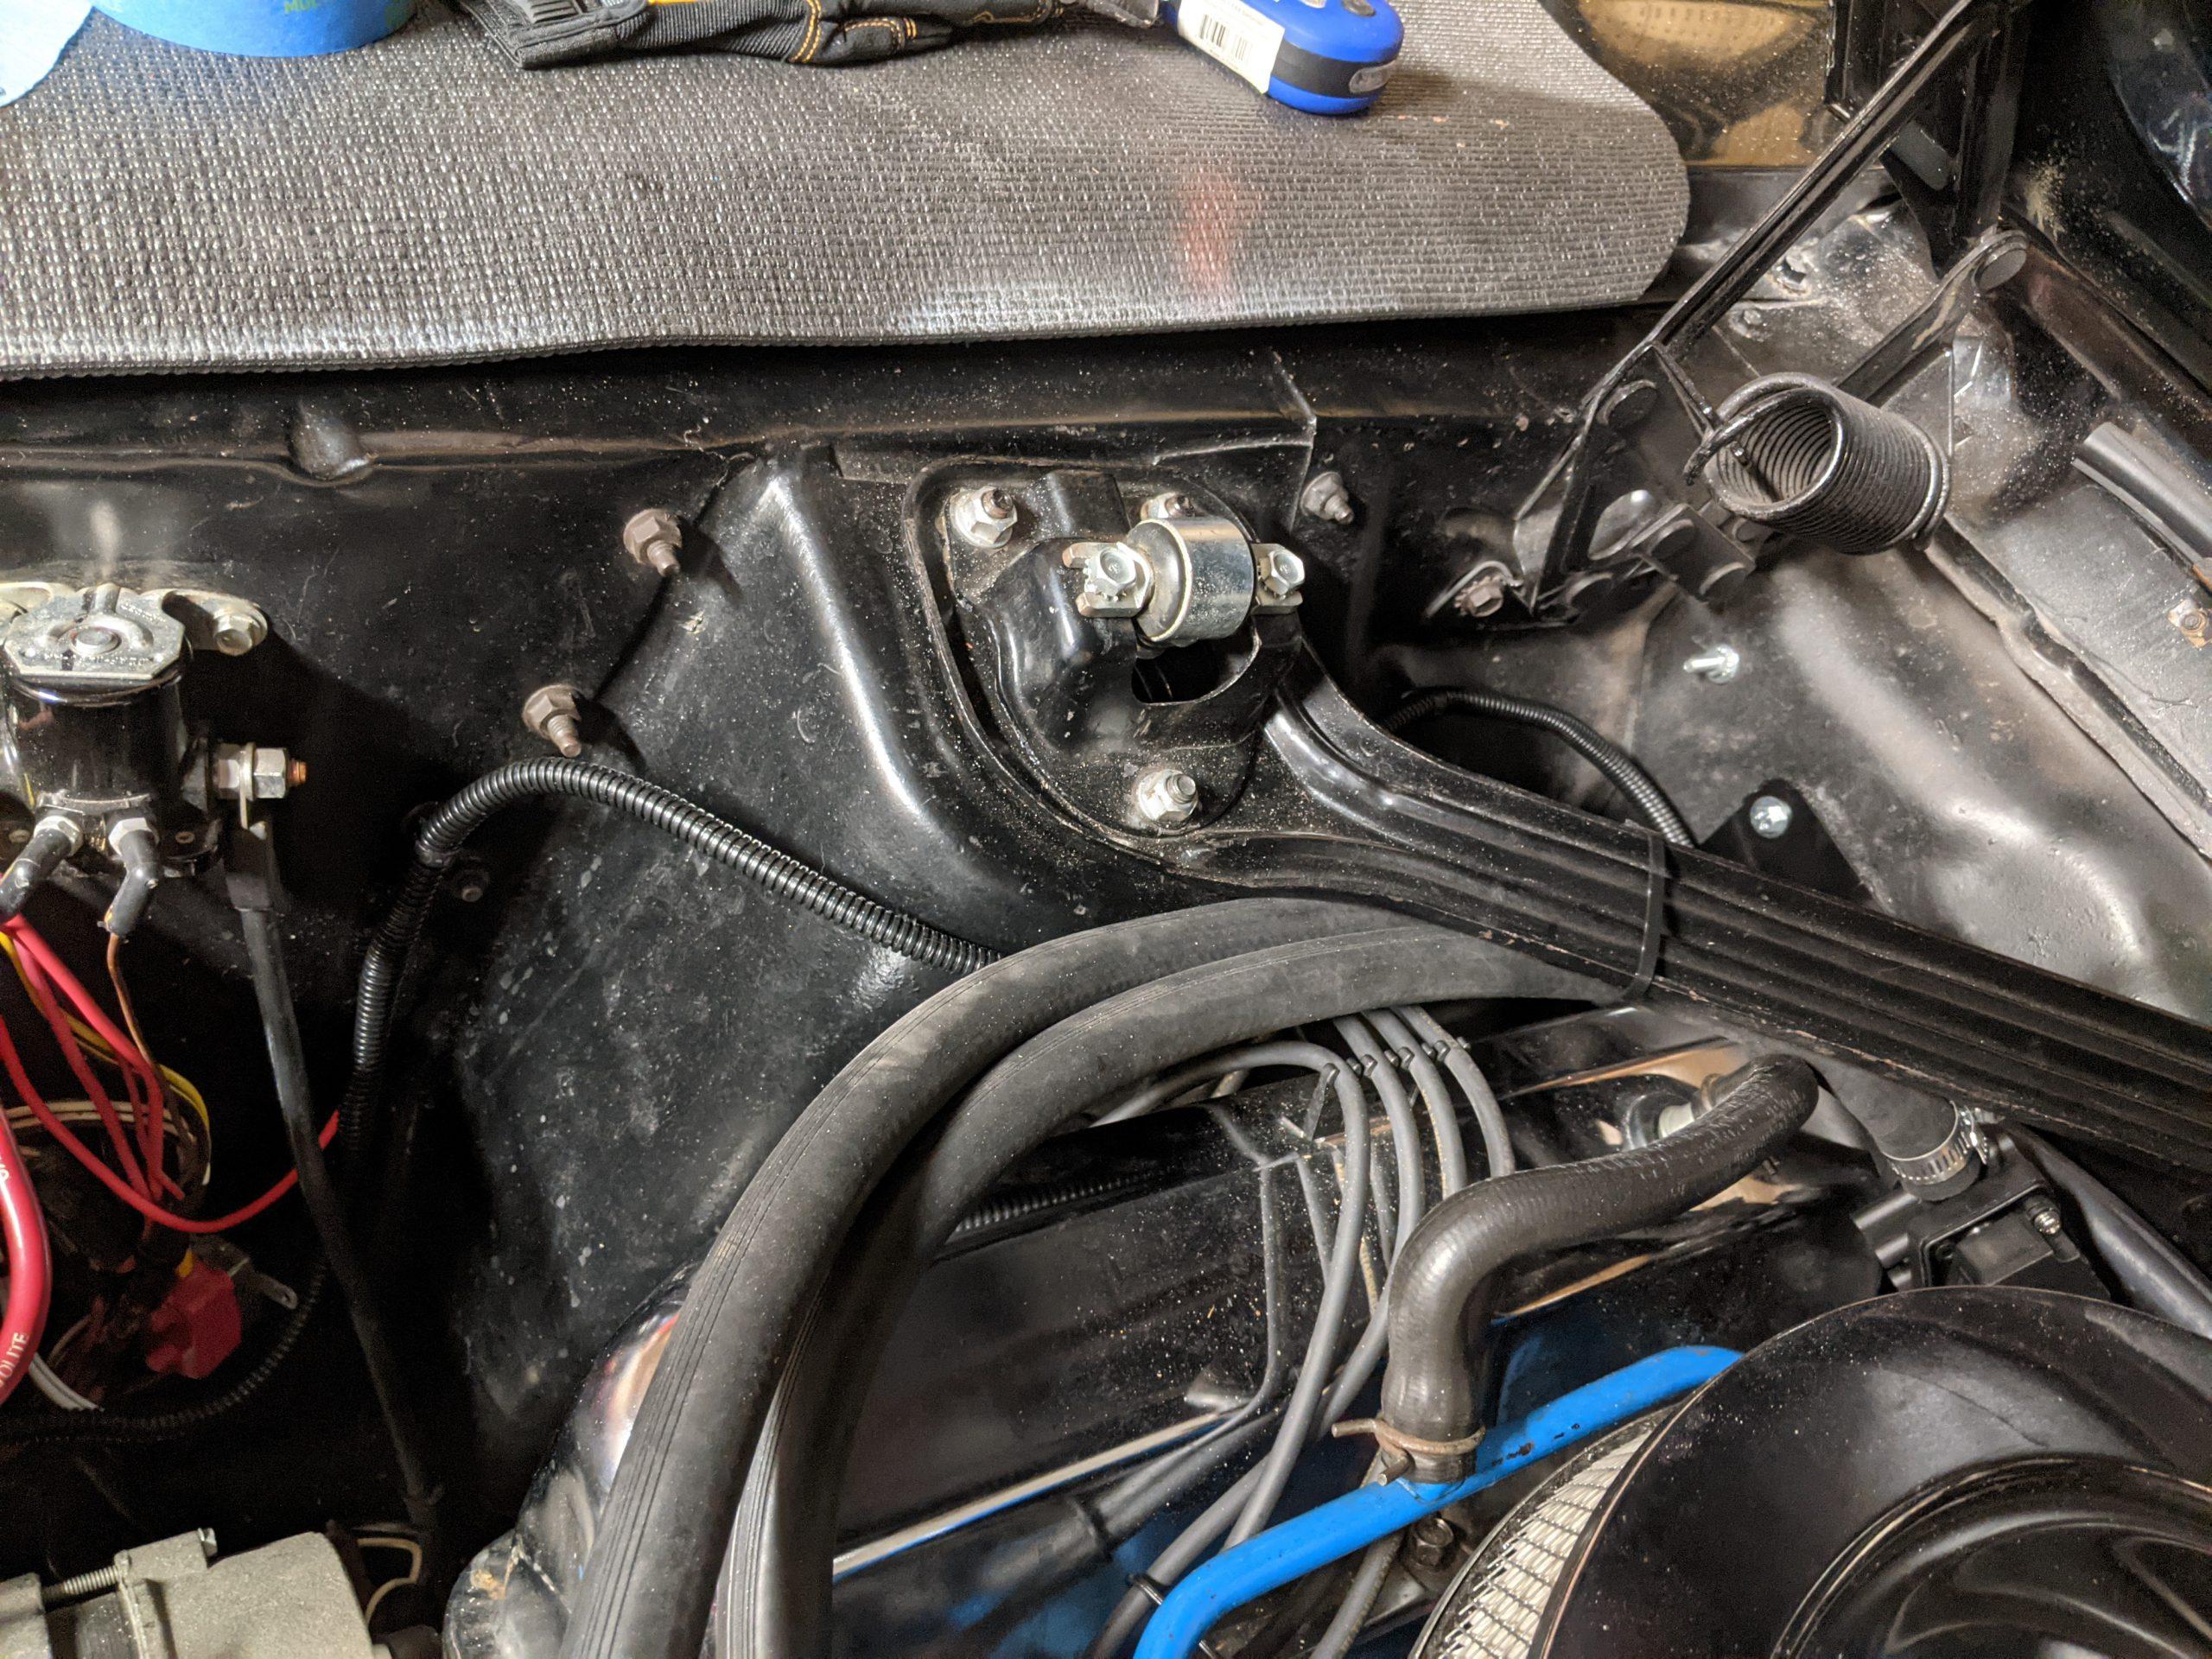
Lately I’ve been putting in an hour here and an hour there, mostly just attempting to decide how I want to route hoses and wiring so that the installation doesn’t look like a total mess. I’ve been taking it really slow so that I won’t mess up or have to do anything over. I know that if I do mess up I won’t have a huge problem extending wires that I accidentally cut too short and I can always buy more heater hose if I have to. My bigger concerns at this point are the in dash ducting and the AC hoses.
The Vintage Air A/C kit comes with the hoses and ends need to attach to the evaporator, compressor and condenser. When installing the kit you have measure the hoses for length and then you have the the option of sending the hoses back to Vintage Air for crimping or having the ends crimped onto the hoses locally. I elected to have the crimping done locally. I posted a call for help on the social media site for the local Mustang club. I received back several responses naming shops that would be able to handle crimping the ends on the hoses for me. I spent several hours calling a number of shops but was unable to find one that would be willing to crimp the ends on the hoses for me. Several would make new hoses from scratch for me, but not using the hoses and ends I already had from the kit.
In the I decided to order the crimping tool and make the hoses myself. The tool is rather expensive, but wasn’t much more than the shipping to send back the hoses or the cost of having custom hoses made. Maybe somebody else in the Mustang club can use if they install A/C on their car. I’ll post some pictures and the results of my crimping once I have actually made the hoses.
The tool I ordered is this one on Amazon.

I did manage to finish routing and installing the heater hoses. Some of the original style Witek clamps I ordered didn’t fit very well so I made a trip to the auto parts store and bought several worm gear and screw hose clamps. For the more visible clamps on the engine I kept the Witek clamps. I used some zip ties to secure the heater hoses out of the way.
I had already worked some on the wiring, but I spent a bit more time laying it out. I cut everything to length and crimped on the ends. Then I bought some split loom to cover the wires and some tie downs to hold it all in place. That required drilling a few more holes for the tie downs. My wiring isn’t up to show car standards but it looks neat enough for now.
Since the crimping tool was still in transit I moved to some under dash work. I finished up the wiring to the ignition switch and used some zip ties to secure the A/C wiring harness out of the way. That just left running the duct hoses and calibrating the heater controls.
I chose to start running the duct hoses. I knew it would be challenging, and it turned out to be even more difficult than I anticipated. I started with the hose that runs to the driver’s side vent because I thought it would be the most difficult to route. I had to make sure it cleared the windshield wiper linkage, the clutch linkage, the steering column, the parking brake, and probably some other stuff I forgot about. Once I had determined the routing I attempted to put the end of the hose onto the fitting on the evaporator. If everything had been on a workbench it would have been easy to install. But working under the dash made it very challenging.
What worked best for me was to start with just the end loop of wire embedded in the hose and work it around the fitting on the evaporator. Even knowing this it was still a challenge to install. I put hoses on the two most difficult to reach evaporator fittings and stopped to catch my breath before proceeding.
At this point I was sore and tired from reaching up through the dash, and I decided I was ready to hear something actually work. I switched to calibrating the converted control panel. This is a very simple process to teach the A/C ECU the range of motion of the converted controls. This involves connecting the programming wire on the harness to ground, putting all of the controls to the full down position and turning on the ignition key. After a few seconds the evaporator fan changes speed. Then you move the controls to the full up position and remove the ground connection from the programming wire. The fan should change speed again and everything is now programmed. I tested the fan speed and mode controls and confirmed that they were now working. It was really nice to hear some noise rather than just looking at a bunch of parts.
Tomorrow I hope to finish installing the hoses for the duct work. I also have a few jobs that are unrelated to the A/C install that I would like to work on while I have the dash apart. This should keep me busy while I wait for the crimping tool to arrive. Once I receive the tool I can make the hoses and charge the system. After that I will confirm everything is working and then I can button everything back up. The end is actually in sight. I was beginning to feel like I would never get there.