
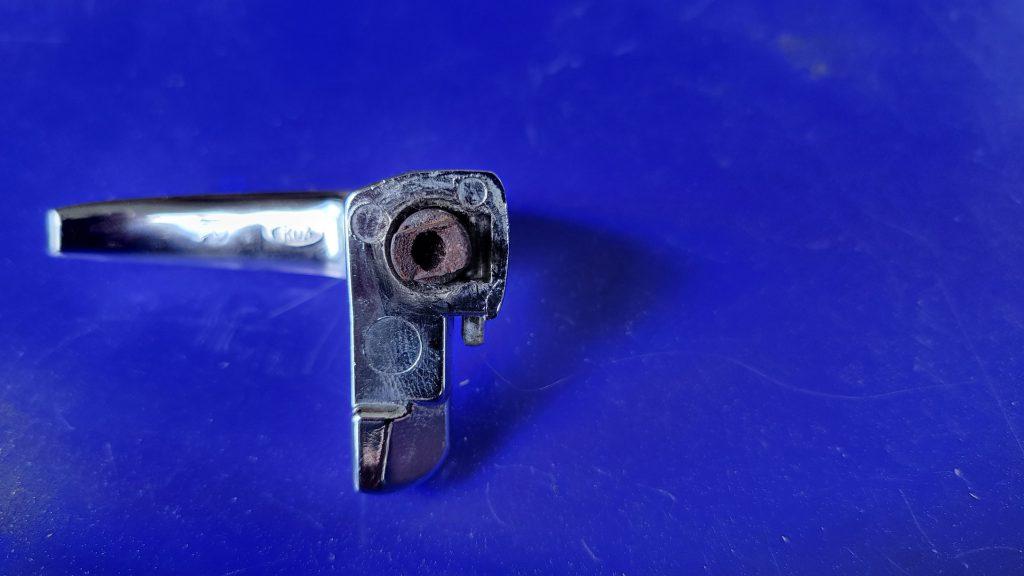
Recently I drove the Mustang to Ocean City, Maryland for the Cruisin’ Ocean City car show. This is a huge 4 day long show with 3,000 cars officially entered. Plus many more not entered. While driving around town I noticed my wife was struggling to close the passenger vent window. Eventually the handle came off in her hand. The shaft that goes through the vent window frame had been pulled out of the frame. After doing some research online I determined that the best fix was to replace the window frame.
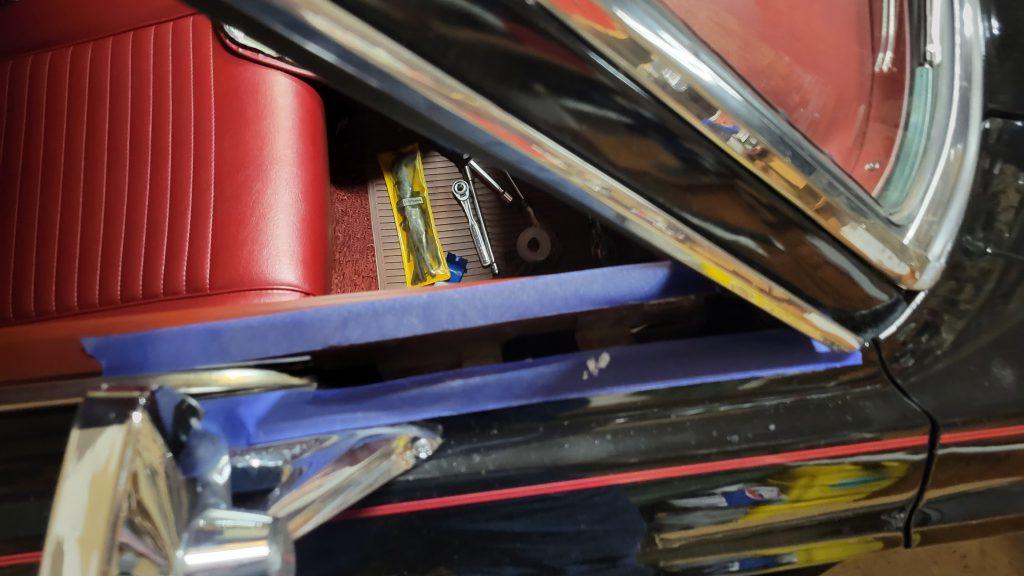
In order to replace the window frame, I first needed to remove the vent window assembly from the door. That means I had to remove the inside door handle, window crank, and arm rest. Then I used a plastic pry bar to carefully remove the door panel. This exposed the interior of the door so that I could remove the four bolts that hold in the vent window assembly. Two of the bolts are actually adjusters that need to be removed before I could pull the entire assembly out of the door. I used some painters tape along the door edges to prevent me from scratching the paint around the windows.
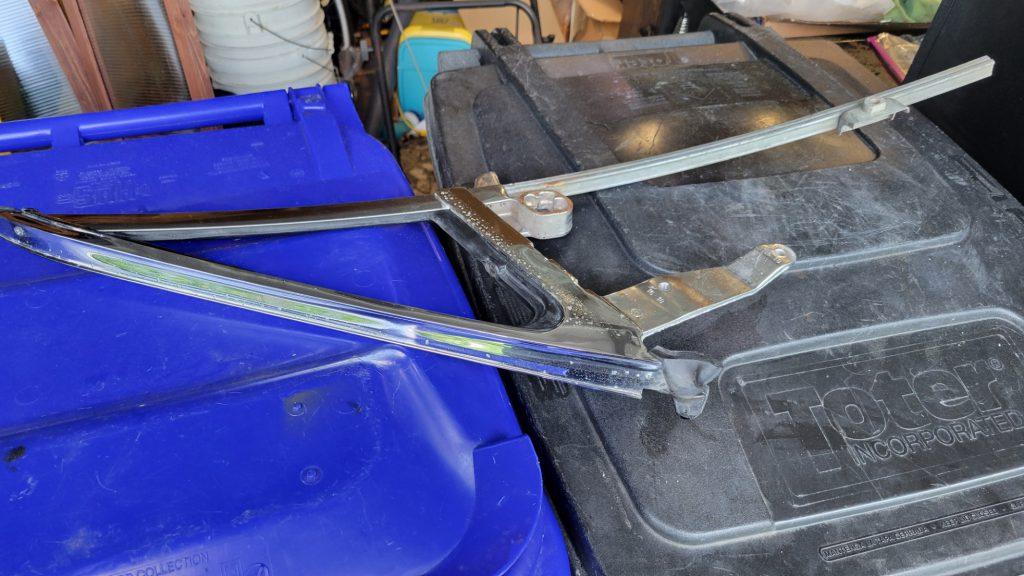
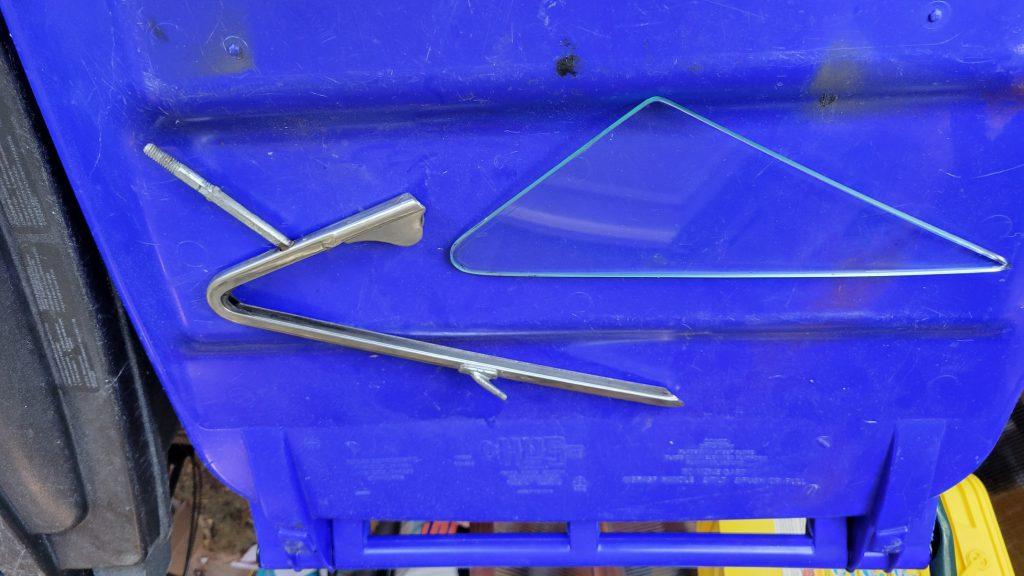
Once I had removed the assembly from the door I could remove the window frame and glass. These pictures were taken after I had removed the frame and the glass from the old frame. You can also see that the chrome is pitted. I chose to polish it up rather than replace the chromed portion of the assembly. I will probably regret this decision later.
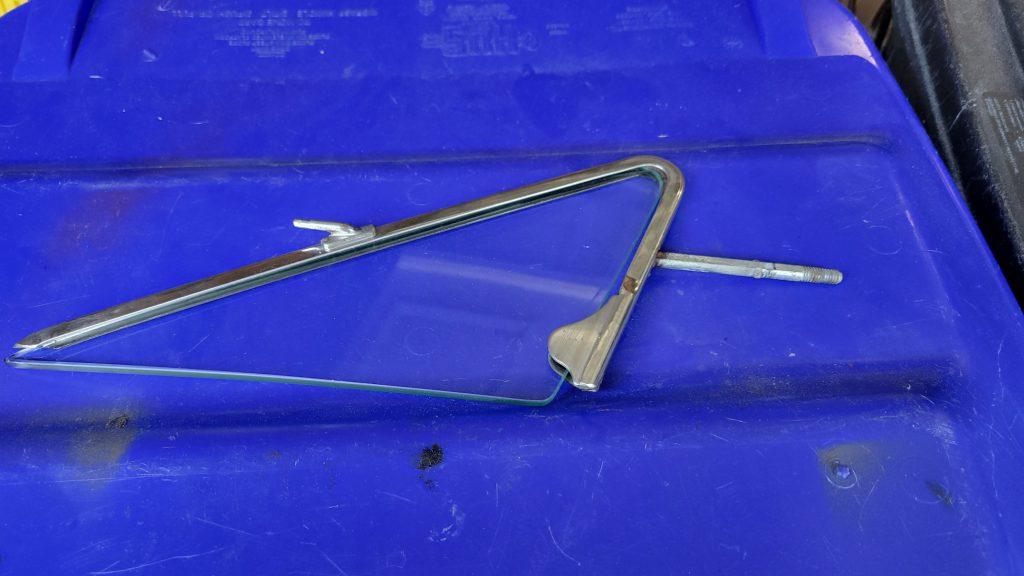
I took the vent window glass and frame to an automotive glass shop that advertised that they repaired antique car glass. After I arrived at the glass shop I learned that they do not work on antique cars. Luckily for me, Iron Mike’s Garage was located next door to the glass shop. Iron Mike’s is a full service repair shop that specializes in classic cars. I went inside and asked if they could recommend a glass shop that could work on the vent window. Not only did they provide a recommendation, but they ended up removing the glass from the old frame for me right there on the spot. Mike then gave me some tips for both removing and installing the glass myself. In my opinion they went above and beyond for me. I highly recommend this shop.
At this point I felt confident enough to attempt installing the glass in the new window frame I had purchased. I chose to order the glass tape I needed to complete the install and attempt to do it myself. The install wasn’t particularly difficult. I wrapped the glass tape around the edges of the vent window glass and pressed it into the frame. Then I placed the glass on a piece of carpet and put my weight on the frame, which seated the glass in the frame. Then I used a razor blade to trim the glass tape even with the edge of the frame.
Installing the frame back into the assembly proved to be the most challenging part. While the old frame could be inserted and removed fairly easily, the new frame wouldn’t let me push it far enough down in the assembly to engage the pivot pin at the top of the frame. I eventually managed to insert it by using the old spring and retainer to pull it into place. I had to purchase some longer screws and washers to space the retainer far enough away from the assembly to provide sufficient clearance. But after that I was able to get the frame into place.
Once the frame was installed into the vent window assembly I carefully lowered the completed assembly back into the passenger side door. Then I reinstalled the adjuster screws and loosely put in the other two bolts that hold it in place. Now it was a matter of getting the adjustment of the assembly just right and tightening up all of the adjusters and bolts. Then I reinstalled the door panel, inside door handle, arm rest, and window crank handle. Everything is aligned, the window and vent open and close, and the door opens, closes, and locks. I’ll call this one a win.