
Once the bodywork and paint had been completed, it was time to turn my attention to the interior, which wasn’t really bad, but needed quite a bit of help. The front seats had ripped along the seams. The back seat had a cigarette hole burned into it. The carpet was pretty well worn. The dash pad was warped from the sun. And the plastic “chrome” had peeled off of the dash. And the steering wheel was an aftermarket wheel that never fit correctly. After a lot more trips to Pony and Corral and Mustang Magic I was ready to start work on the interior.
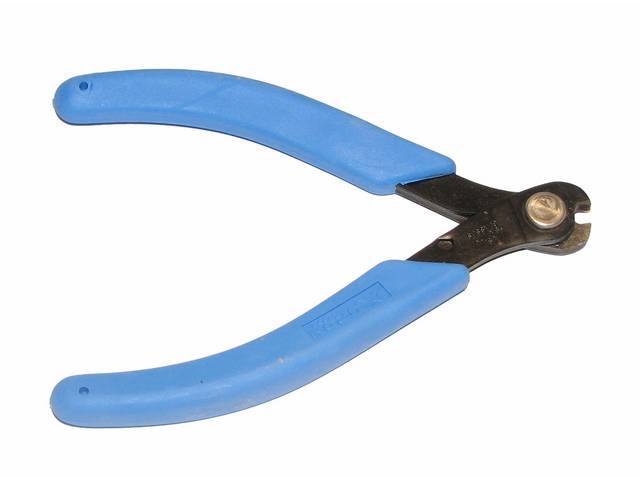
I had never done any kind of upholstery work before. But my mom has always been very handy at activities like sewing, knitting, and crocheting. She said that if I was able to get ready made seat covers she would be able to help me install them. Luckily several Mustang parts vendors carry the seat covers so I ordered a full set which includes the front buckets and rear seat. I also learned that installation of teh seat covers required the use of hog rings and hog ring pliers. A local automotive upholstery shop gave me a handful of hog rings, and my friend Jim ordered the pliers from the local Mac tools salesperson. In order to remove the old seat covers I first had to disassemble the seats (after removing them from the car). This was the easiest part of the project. Then I had to cut out the old hog rings using side cutting pliers. This required a fair amount of physical strength and I eventually ended up breaking the pliers by the time I had completed the last seat. Nowadays the Mustang parts vendors sell a pair of pliers that cut the hog rings much more easily. I wish I had a pair of those pliers back then.
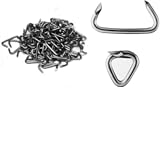
In case anybody wants to know what hog rings look like, here’s a picture of the rings, hog ring pliers, and the cutting tool I mentioned.

Once the old seat covers were removed, we transferred the listing wire from the old seat covers over to the new seat covers. I was later told that I could have cut off the old seat covers with a razor blade or scissors, leaving the old listing wires in place. Then I could have made a new wires out of coat hangars and hog ringed them to the old listing wires. Whether I reused the old listing wires or made new ones, the next step was to stretch the seat covers over the seats and attach then using the hog rings. This step required a whole lot of stretching and pulling to ensure the seat covers were aligned correctly and that there were no wrinkles. Here was where we employed a combination of my mom’s experience and my strength. The finished product came out pretty well.
While the interior was stripped out of the car I took advantage of the opportunity to repaint the doors, dash, and interior trim panels. Once again the Mustang parts vendors supplied me with the correct color paint in spray cans. I used a wire wheel in a drill to strip the old paint. I was afraid of using paint remover, although that would have worked well in combination with the wire wheel. There was dent in the glove compartment door, so I patched that with some body putty. Then I sprayed on the paint. Most of it came out fairly decent, but a few areas could have used more surface prep. Still I was happy enough with the result. I wasn’t building a show car, just trying to make my daily driver look nice.
One of the upgrades I planed to do at this point was to install an instrument cluster with a factory tachometer. This required a bit of rewiring to make it work. I had a shop manual but it didn’t show the differences between the standard cluster and the tachometer cluster. I did eventually find the correct wiring in a Chilton’s manual I had. The differences were fairly minor and I was able to make the changes without much difficulty. Interestingly enough, all the Mustang parts vendors and repair shops who saw the car after I had made the change said it couldn’t be done or that what I had done would never work. Sometime this was even after I had been running it that way for 10 or more years. Apparently automotive wiring is a mystery or black art to some people. I did make one mistake that I shouldn’t have. I needed to run a wire to the alternator, but didn’t have a handy opening in the firewall. So I snaked the wire through a small hole I made in the grommet for the clutch linkage. If the wire had ever shorted out on the firewall I could have had one serious fire. I was lucky and that never happened. But ti was a rookie move on my part that I should never have done.
The rest of the interior was fairly straightforward. Parts that were available new I replaced. Anything not available new I cleaned up and painted or polished. One item not available new was the seat belts. There was a company that would refurbish them for me. But Instead I chose to clean them with laundry detergent and re-use them. Next time around I do plan to have them professionally reconditioned.