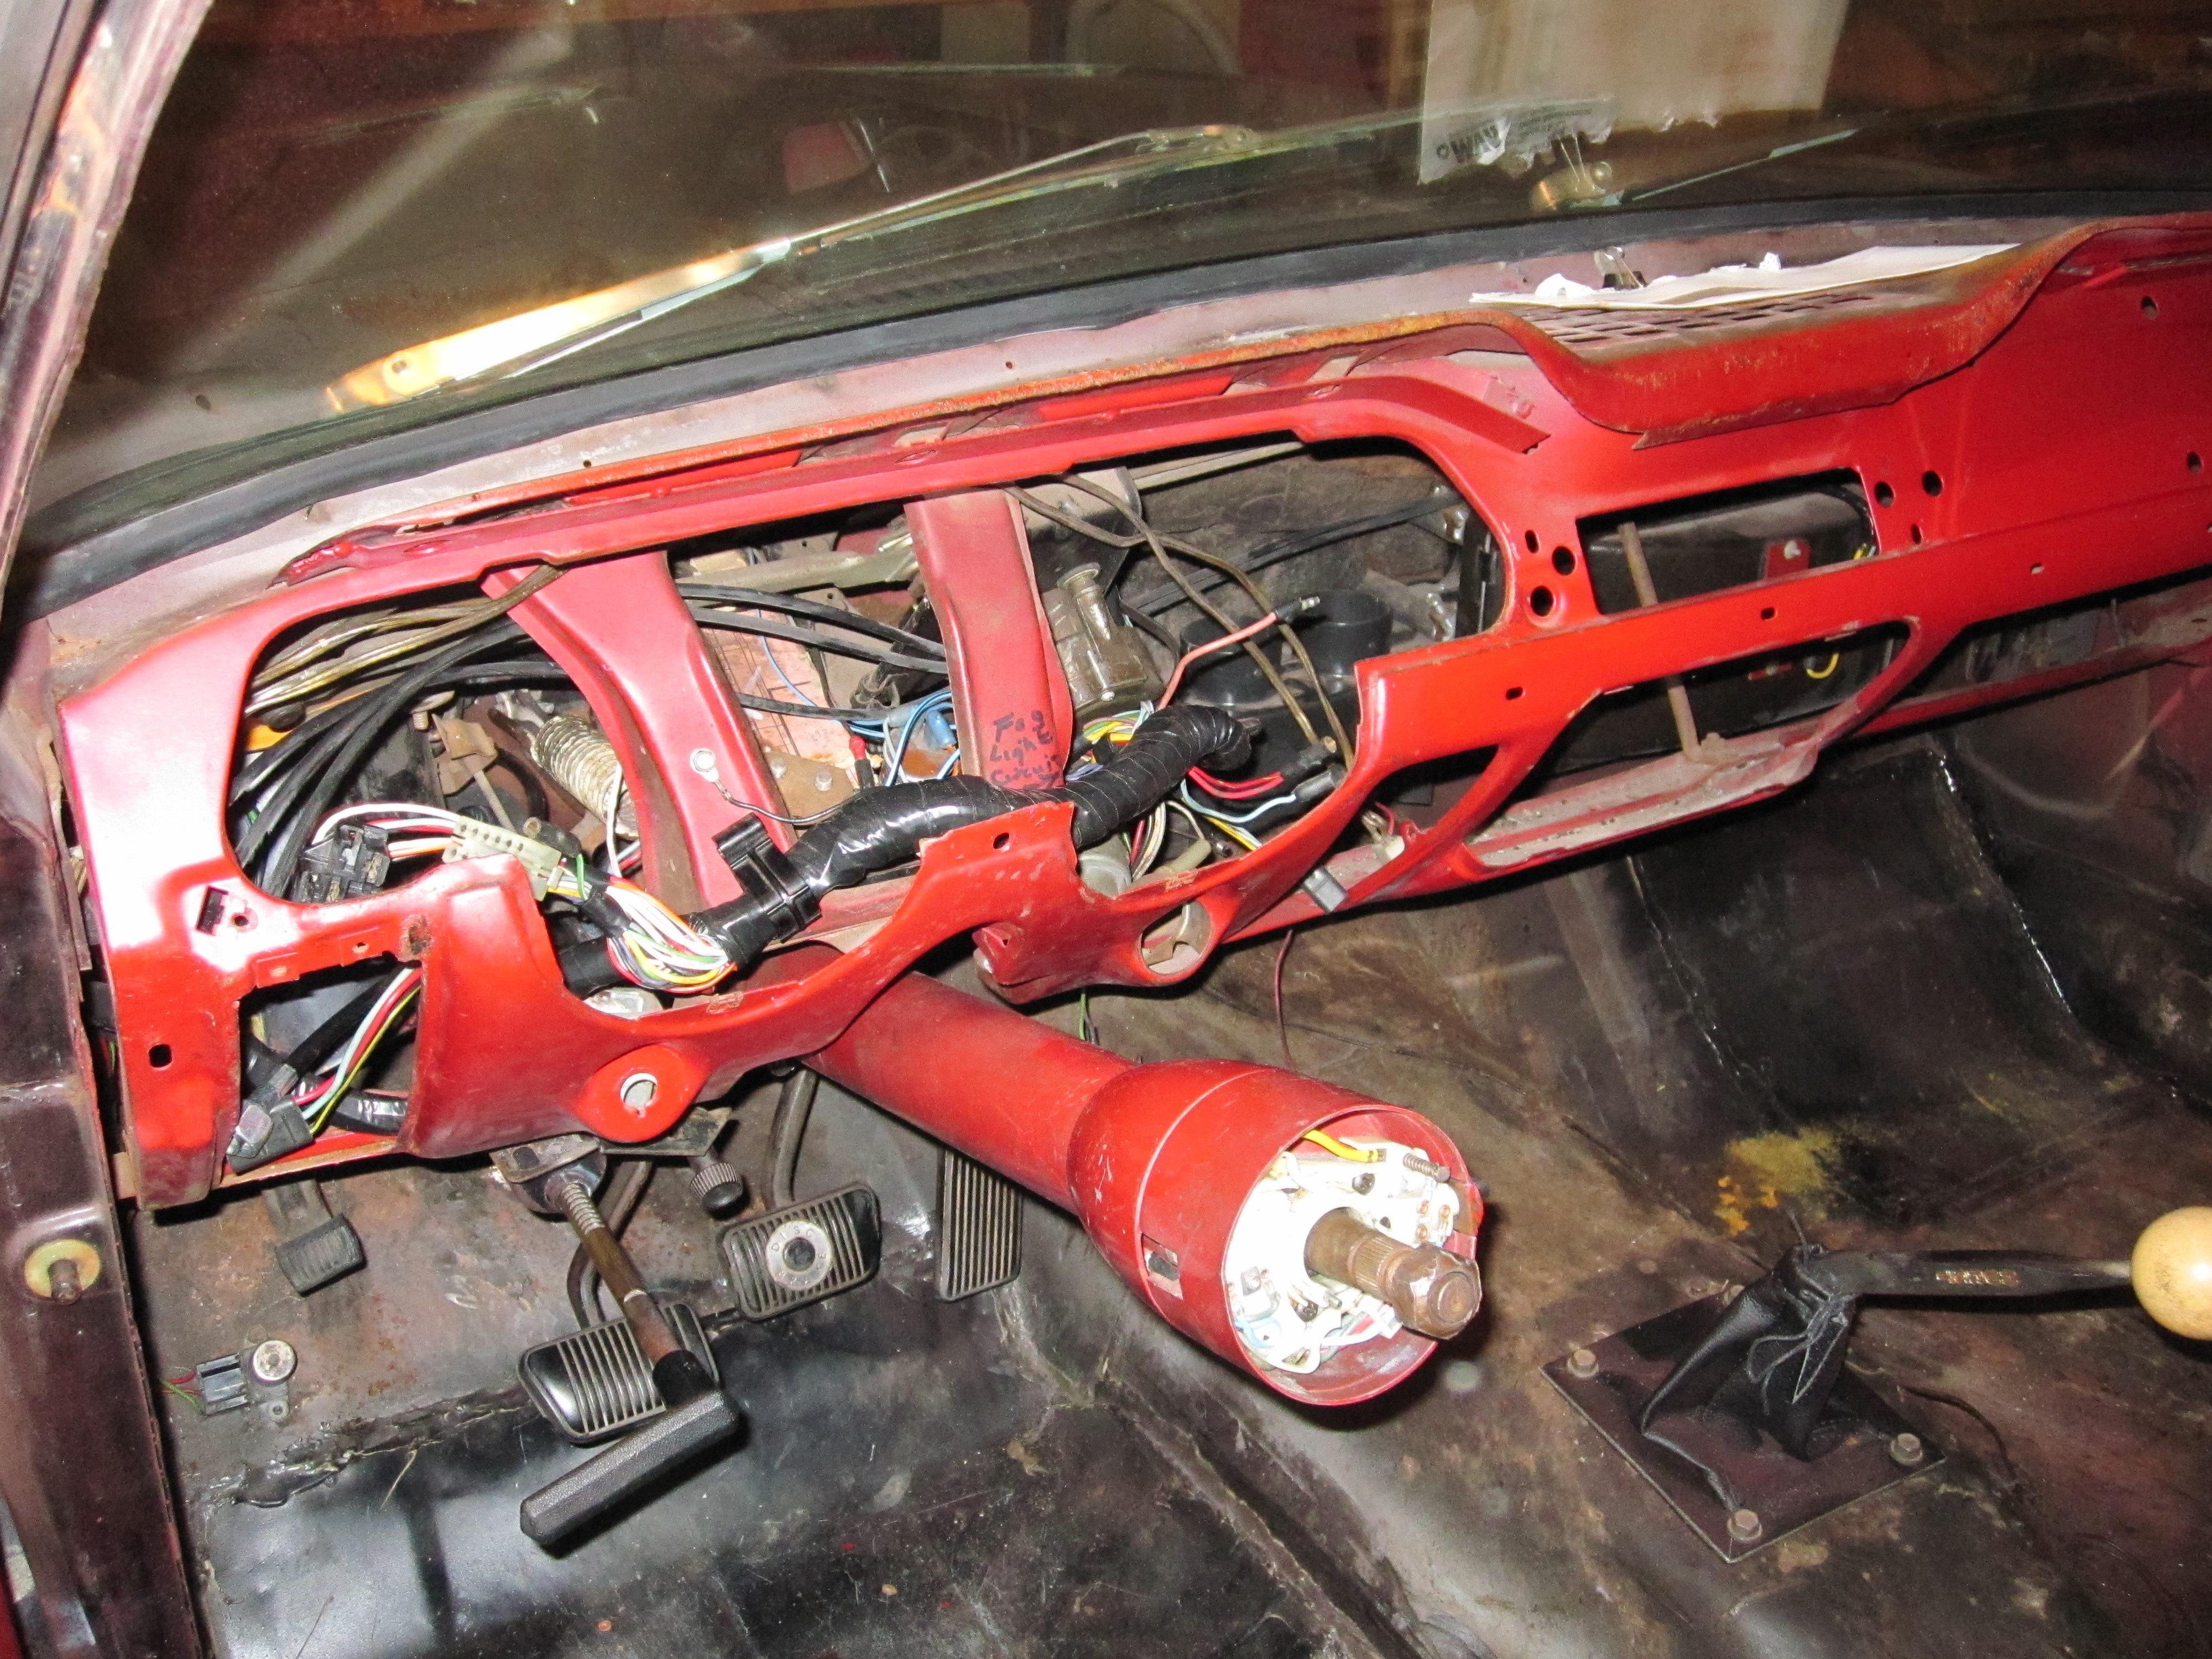
This post will cover several days work since I haven’t posted in a while. I got past some personal drama at home and was able to start back to work on the Mustang this week. Since I was still waiting on my dash clock the frirst order of business was to wire things up for the radio. I had chosen to go with a RetroSound Model Two as it has a retro sort of look and has all the features I was looking for, mainly a USB port and BlueTooth. If money wasn’t an issue I would have had my AM radio updated with an FM conversion and both of those features. But the RetroSound radio was several hundred dollars less than the full blown conversion, so I chose that route. I’m not ready for a permanent install just yet, but wanted to wire and test everything while the dash was still apart.
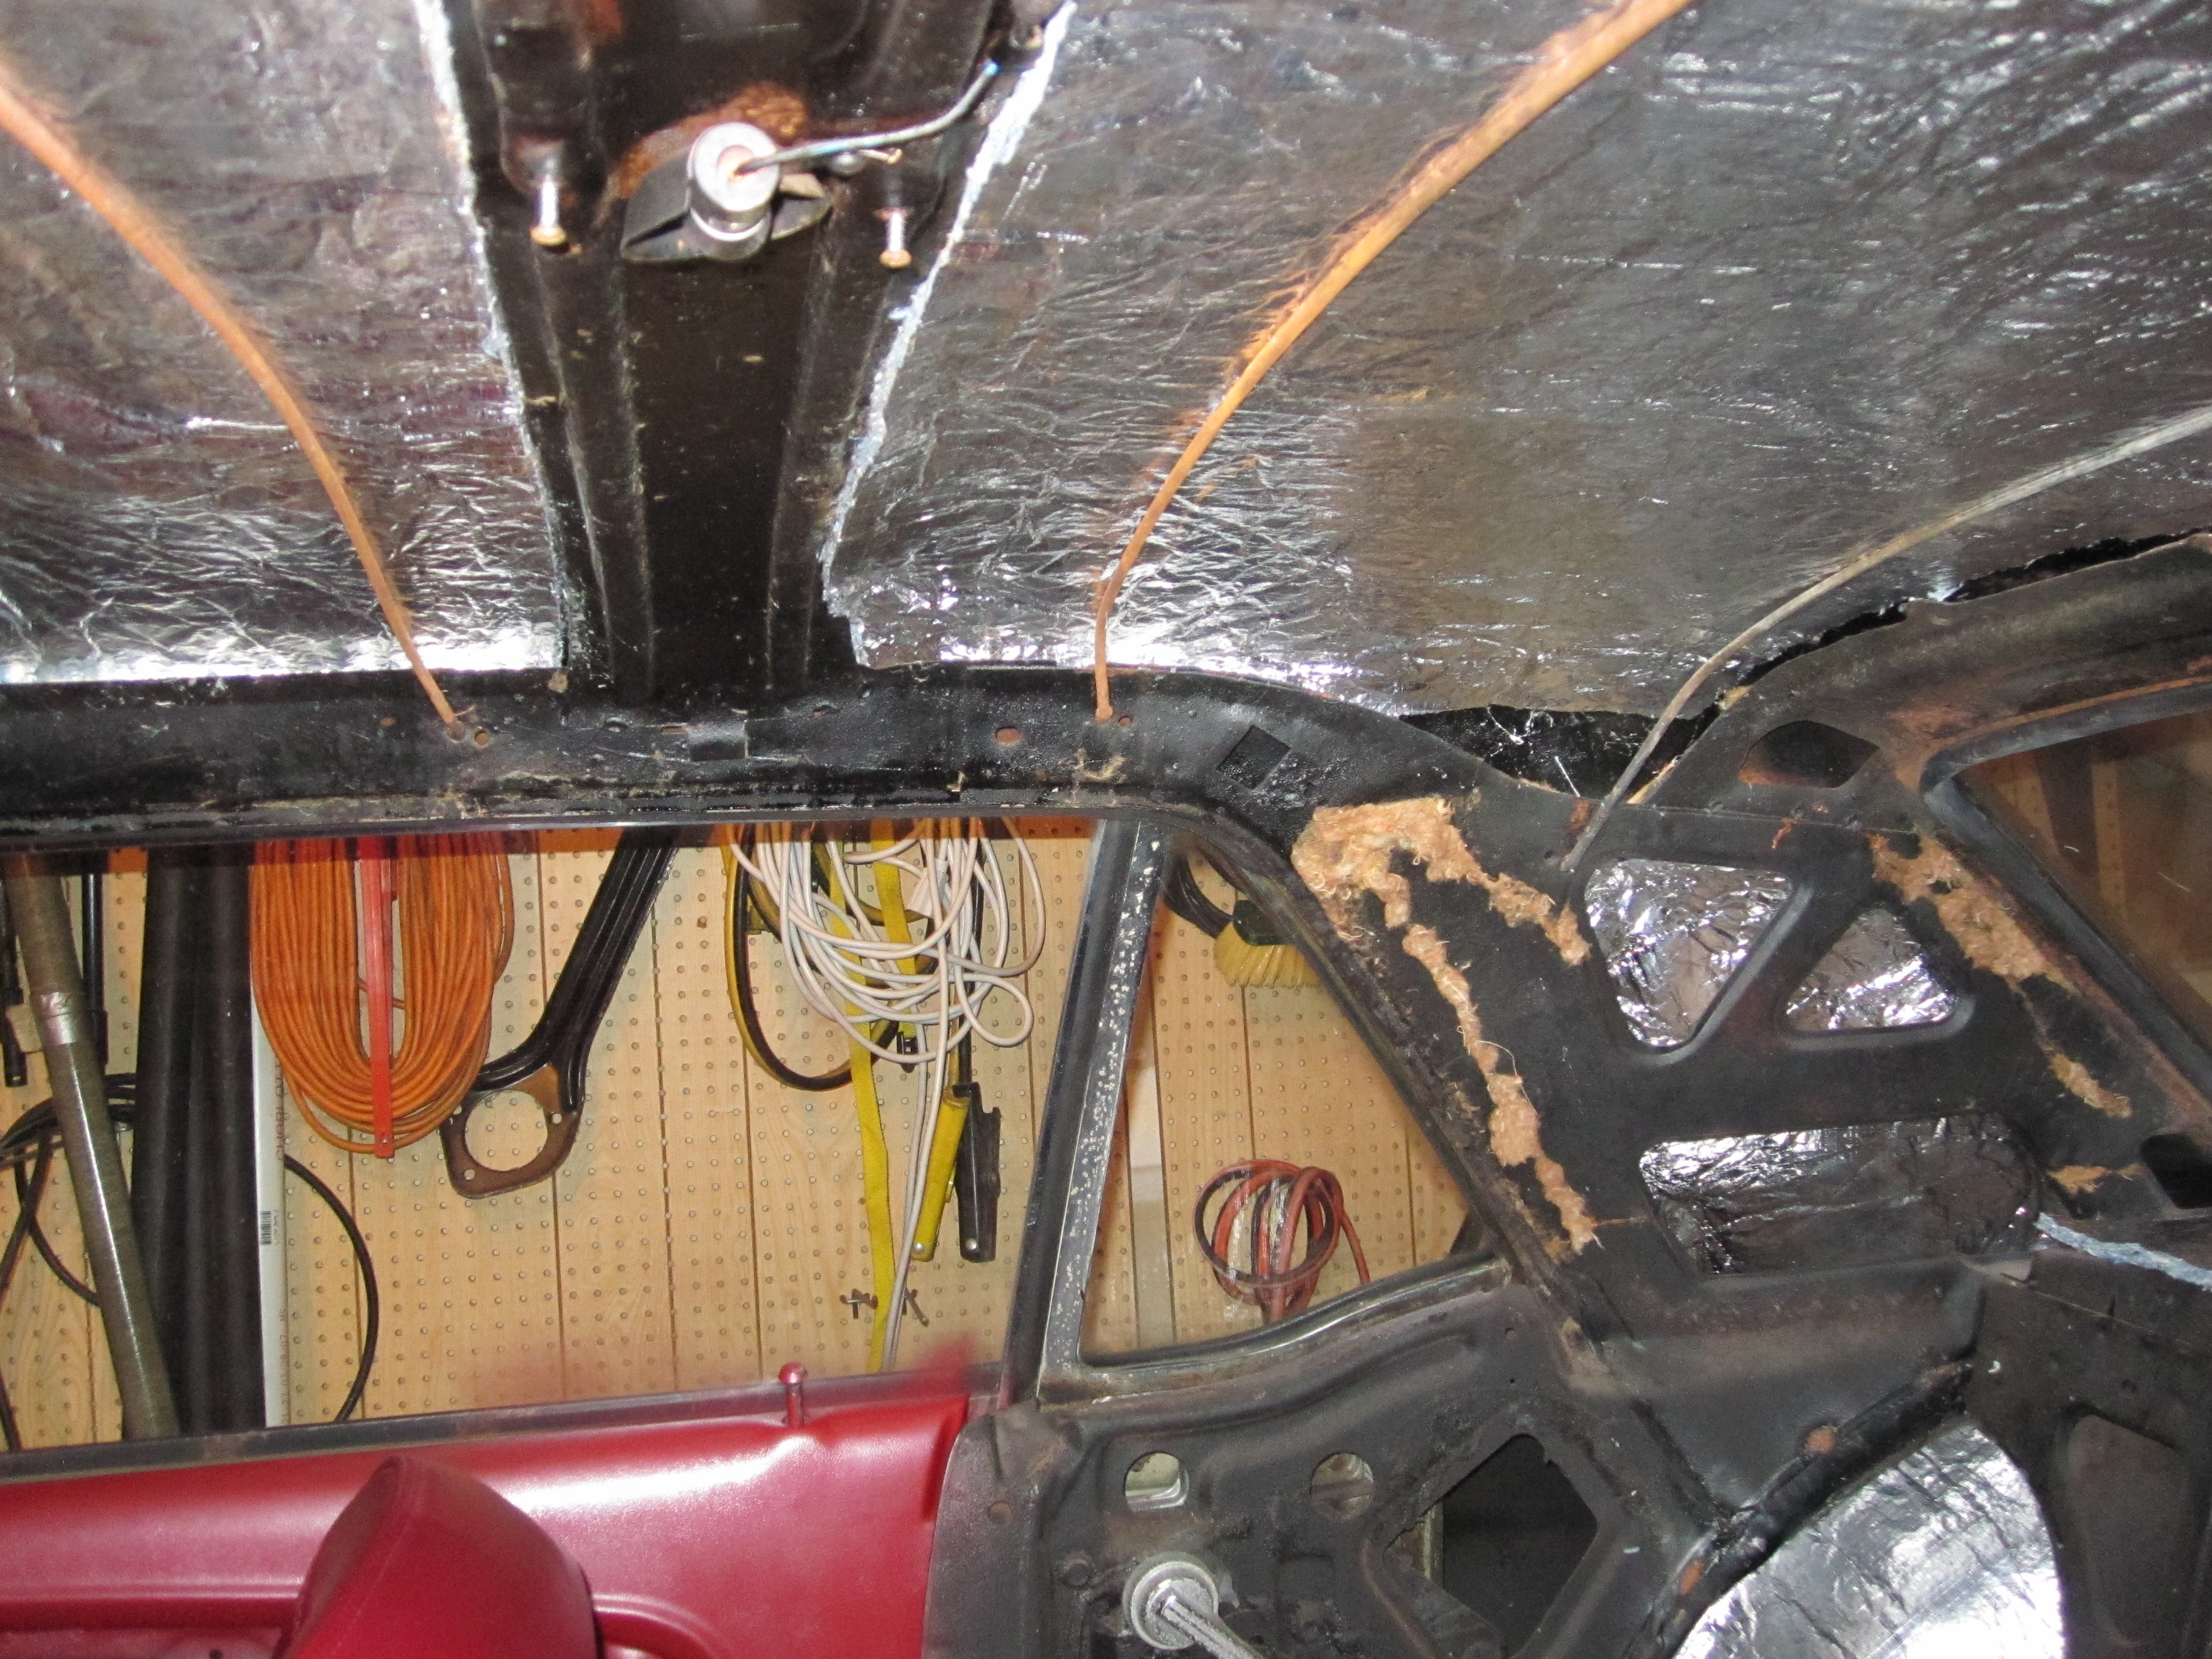
I had a replacement radio antenna waiting so I installed it first. It didn’t quite match the hole in my fender but a little work with a round file fixed that up. Long arms helped run the cable up above the kick panel and behind the dash. The radio requires both a constant 12V and a switched 12V. I got the switched 12V off the back of the ignition switch. The hardest part of that was I dropped the nut from the back of the ignition switch and never found it again. I spent way too much time searching for a suitable replacement. For the constant 12V I tapped into the cigar lighter circuit since it was handy.
The front speakers were already installed in the dash. This was a pair of 3.5″ speakers in the stock location. I made up a harness to extend the wires coming out of these speakers. I also confirmed the positive and negative terminals to ensure everything ended up in phase. For the rear speakers I had run some speaker wire about 30 years ago. Some quick continuity testing showed there were no shorts and the wiring was still good. I connected the radio wiring harness with all four pairs of speaker wires and wired up the rear speakers temporarily. Everything worked, but the sound quality from the rear speakers was pretty poor. They sounded very tinny. I double checked the polarity and everything was in phase. At that point I assumed they would sound better once installed in their permanent location.
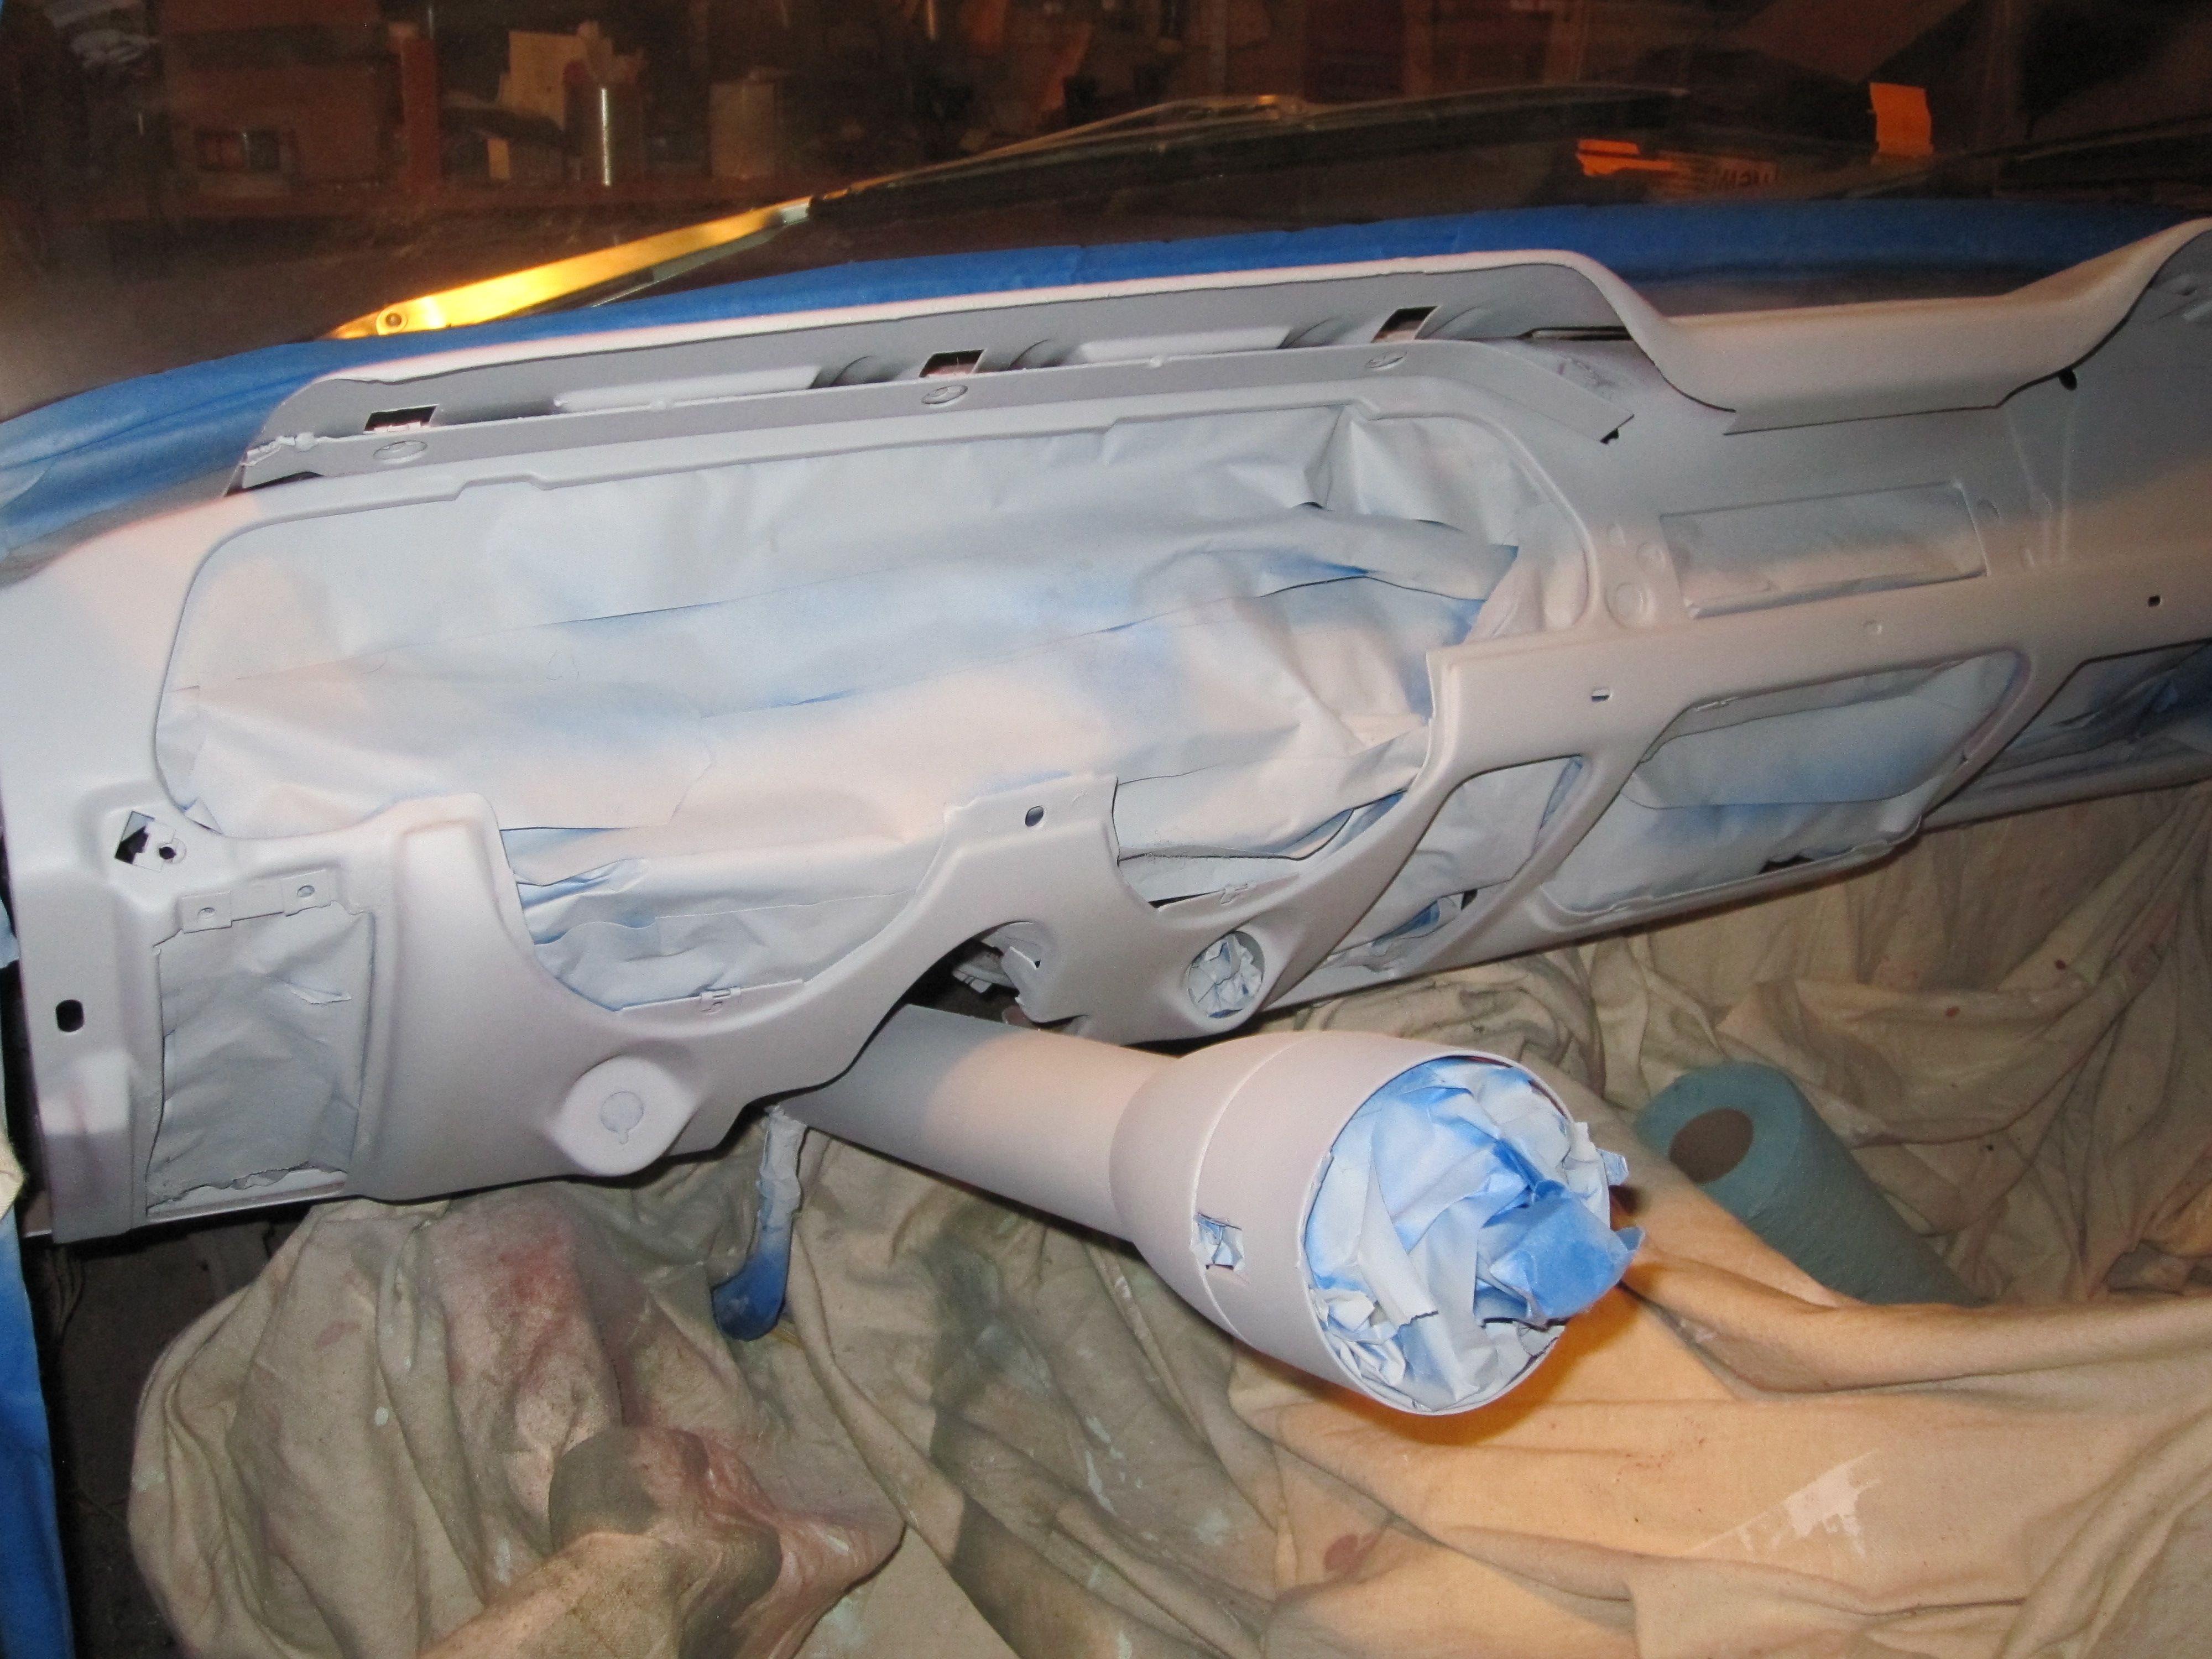
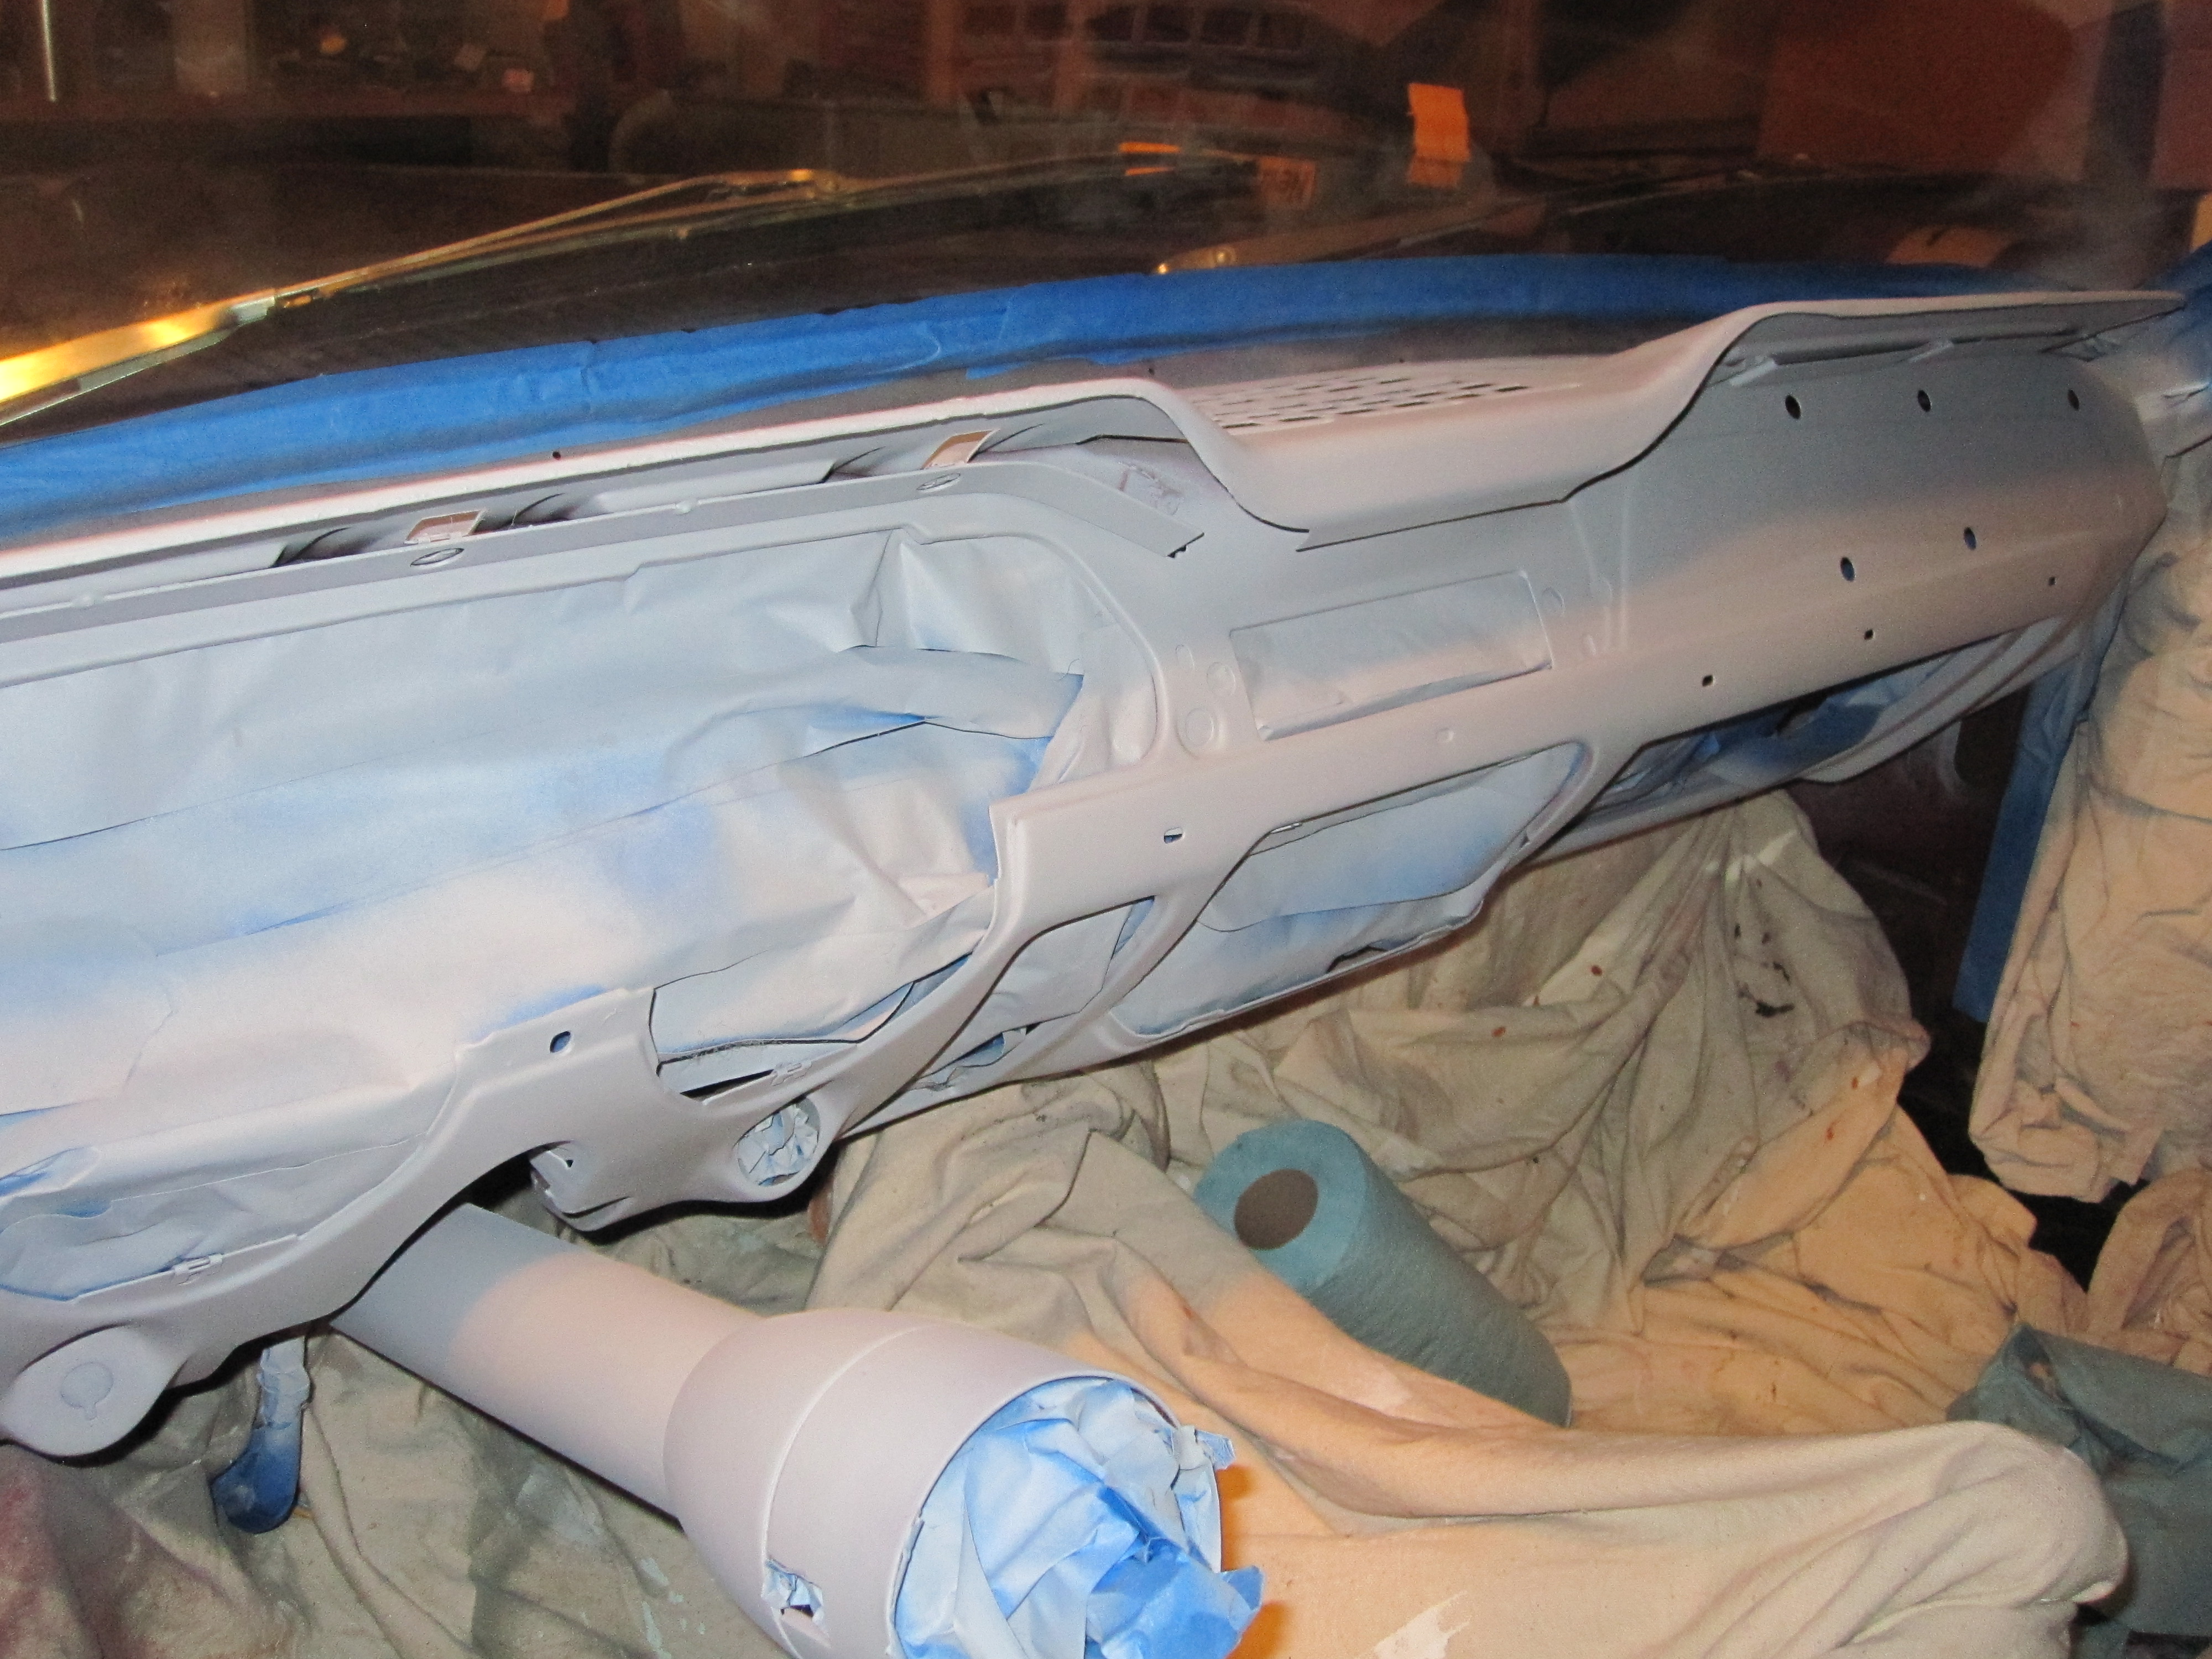
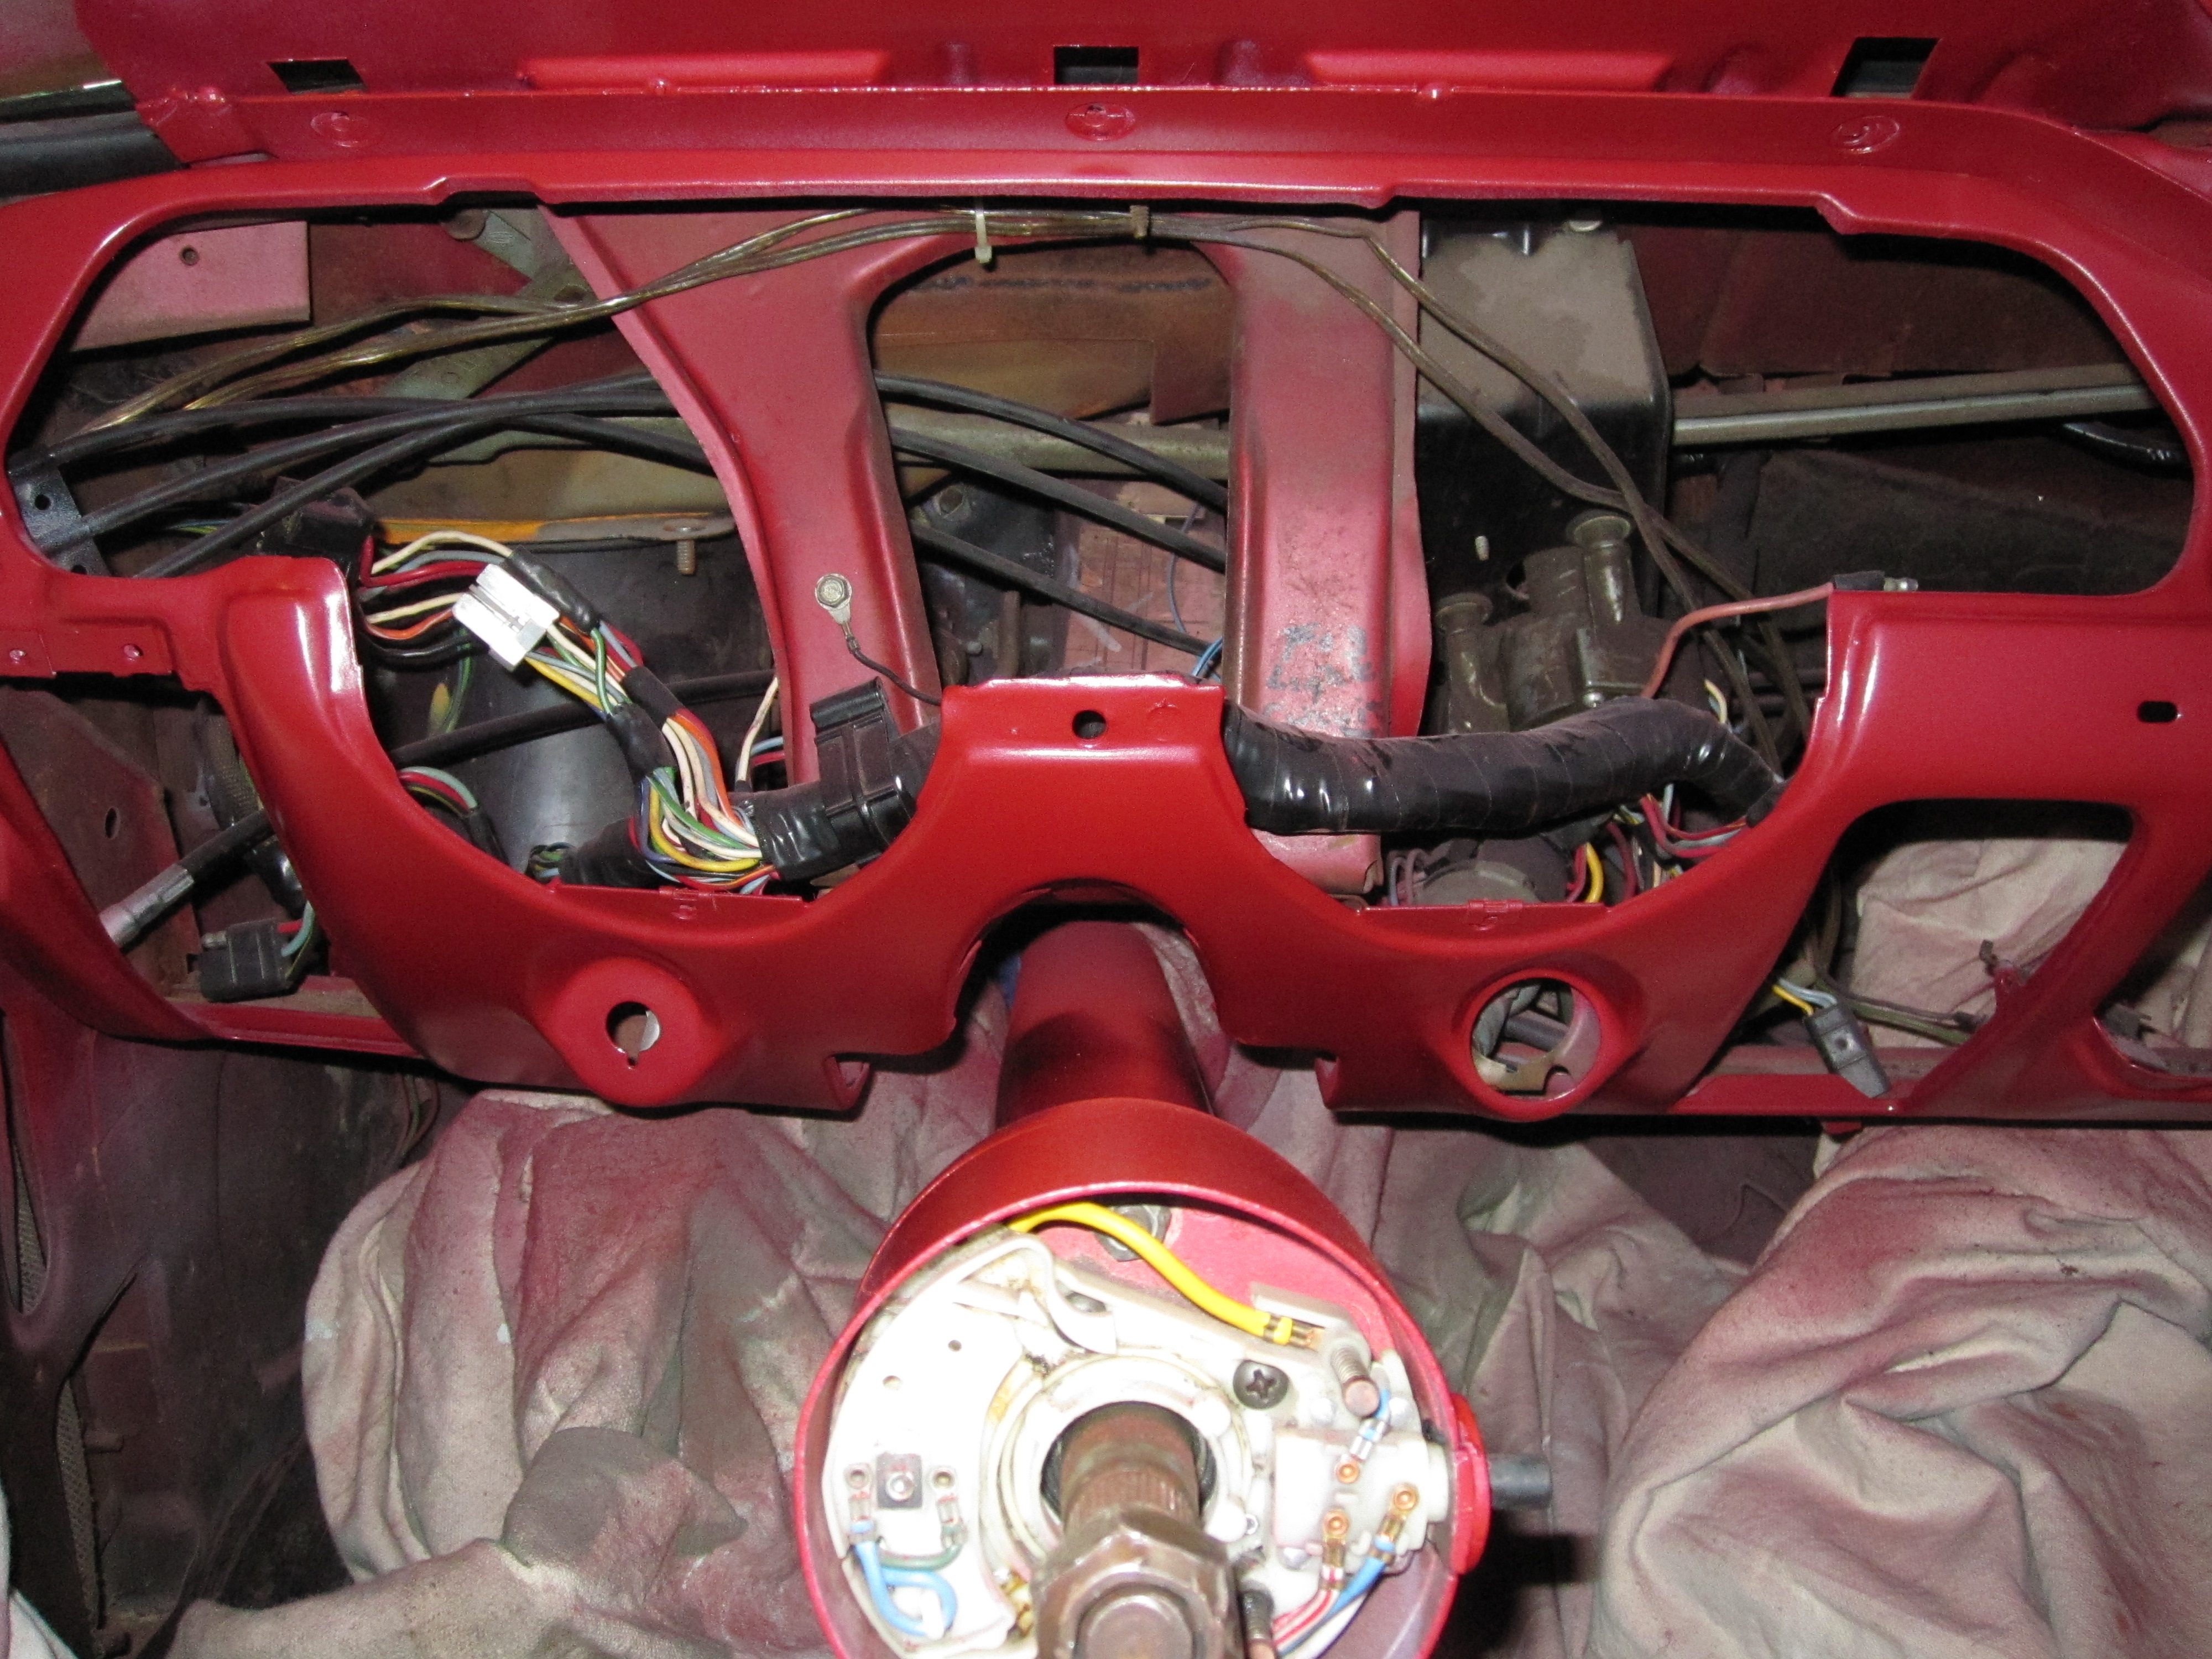
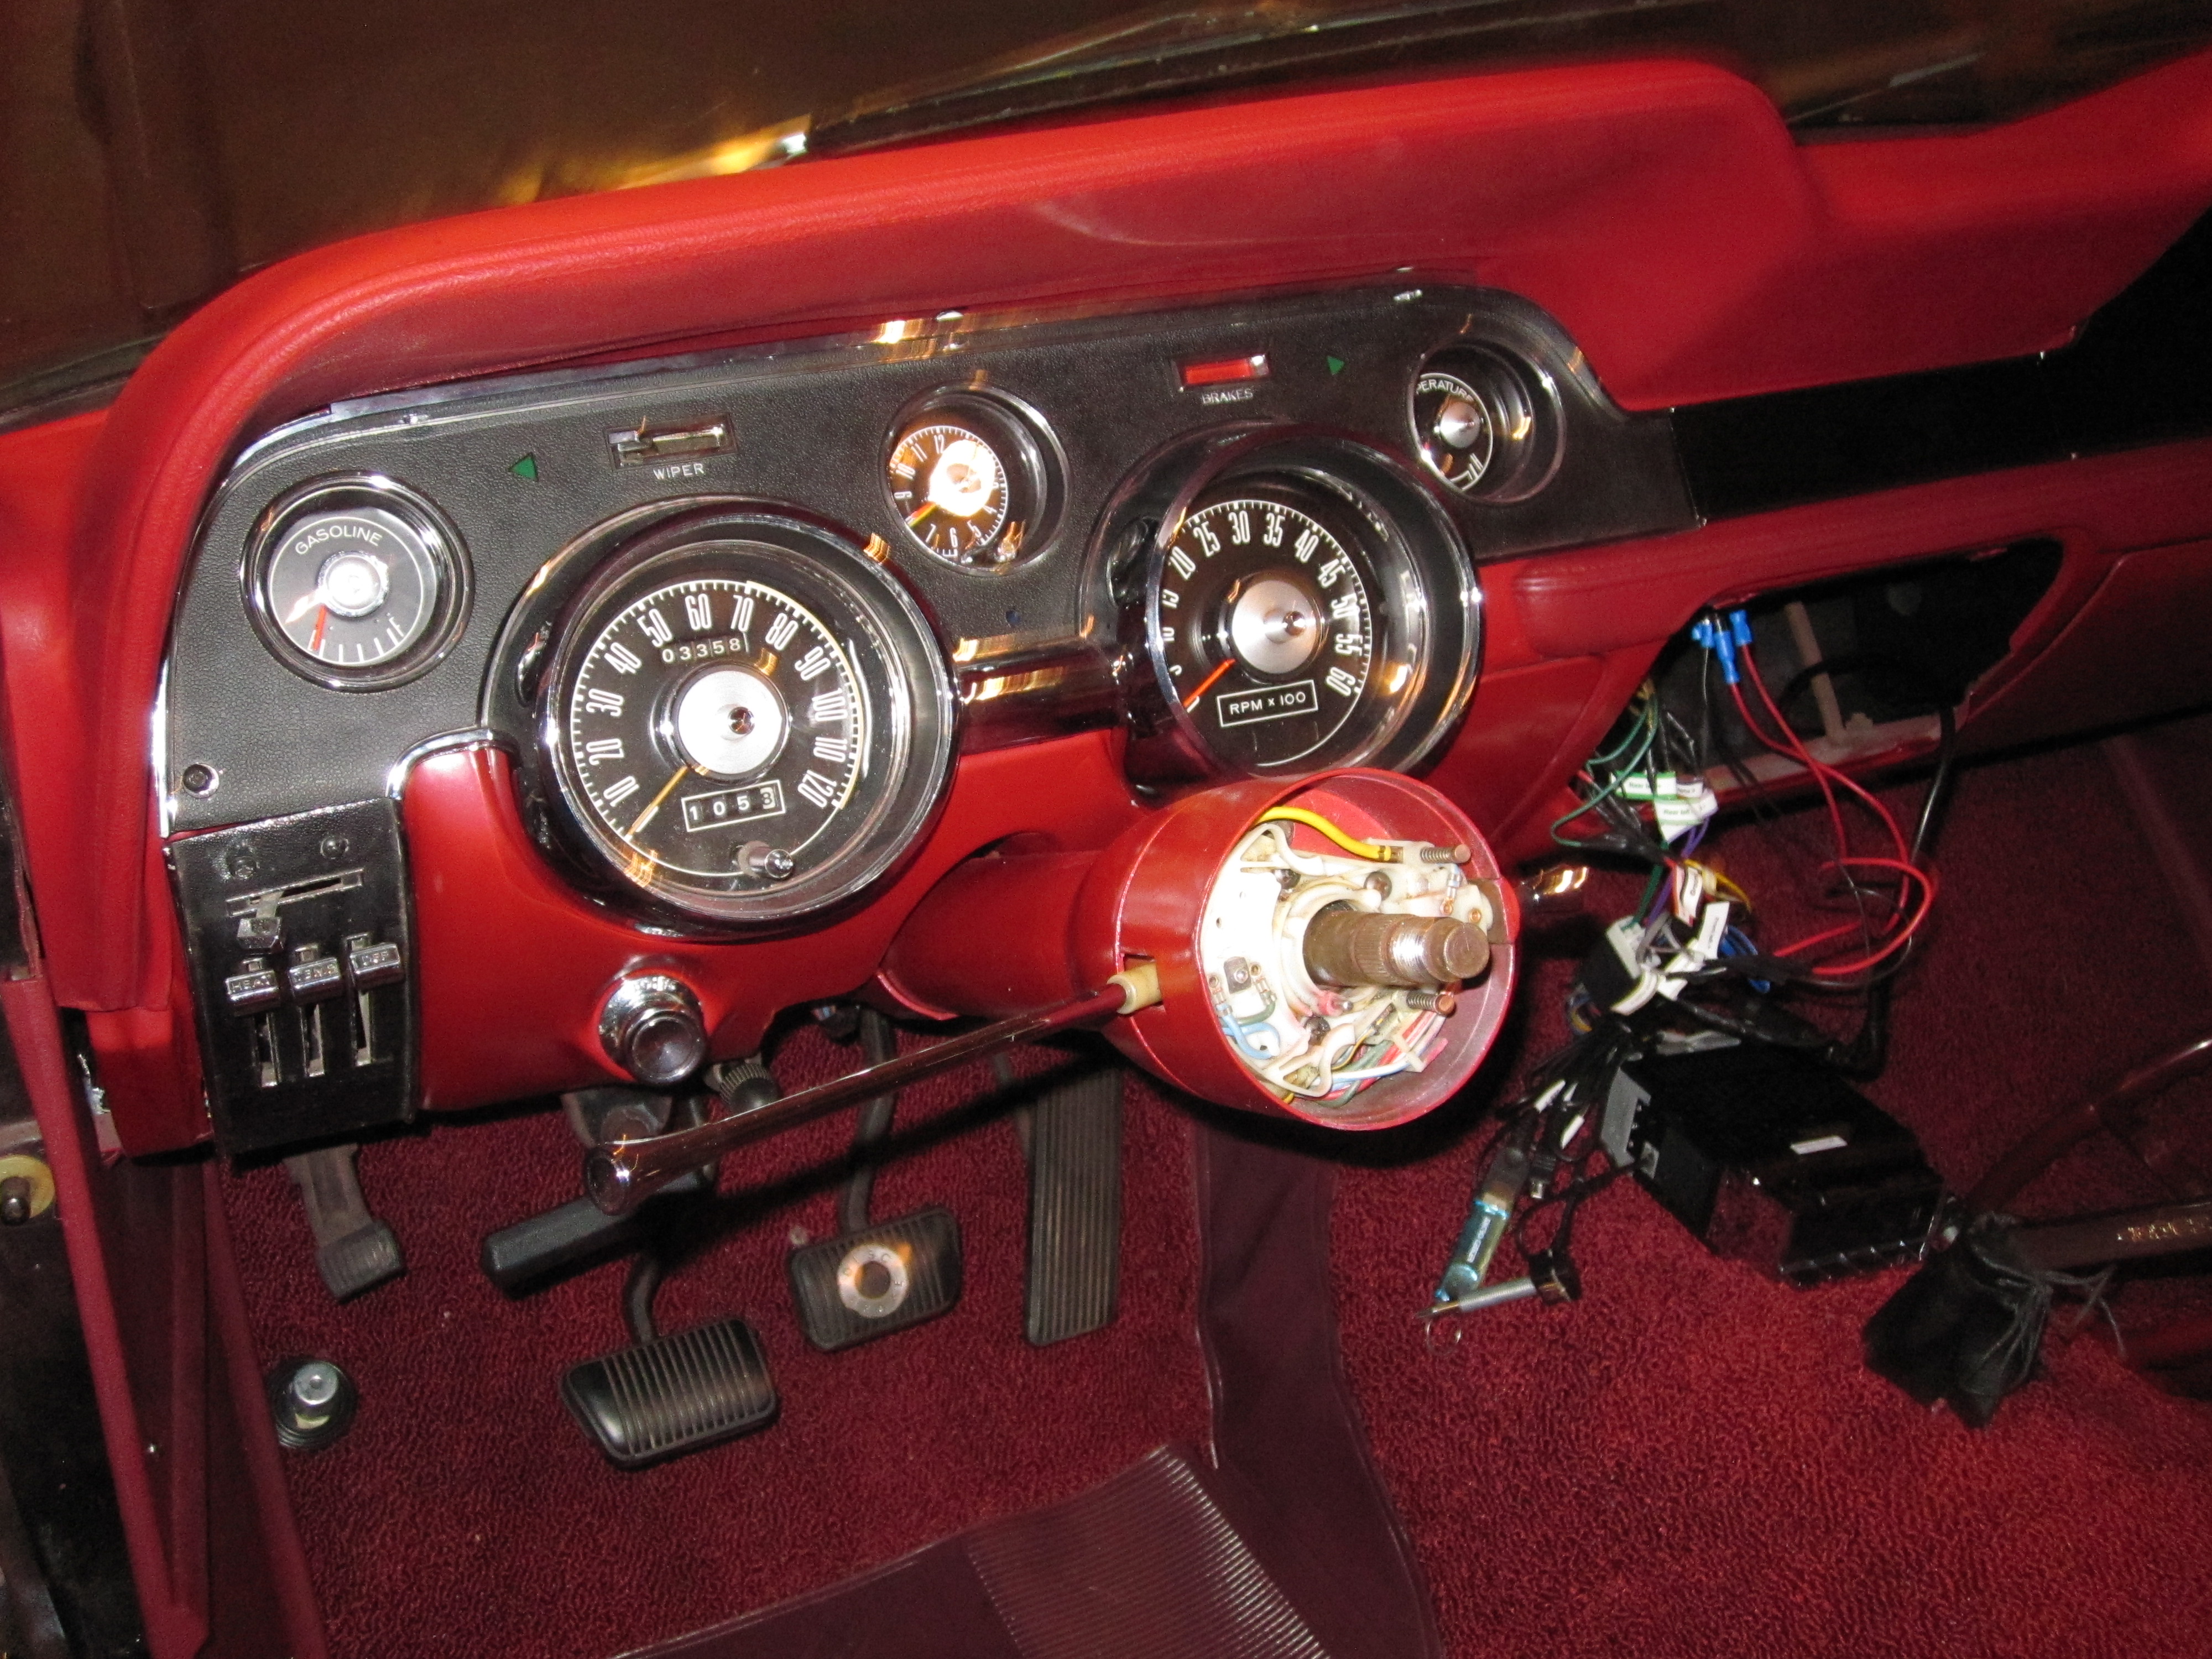
By this point my dash clock had arrived. I quickly installed it in the instrument cluster and then hooked up the cluster to test out the clock and the LED bulbs I had installed a few weeks ago. Everything worked, but the dimmable LED bulbs didn’t really live up to their name. I guess I can live with that. I went ahead and buttoned up the instrument cluster. It took quite a bit of fiddling to get everything all lined up. The heater controls never lined up with the instrument cluster for as long as I’ve owned the car. I got it kind of close, but it still doesn’t line up all that well.
Here’s a picture of the installed instrument cluster
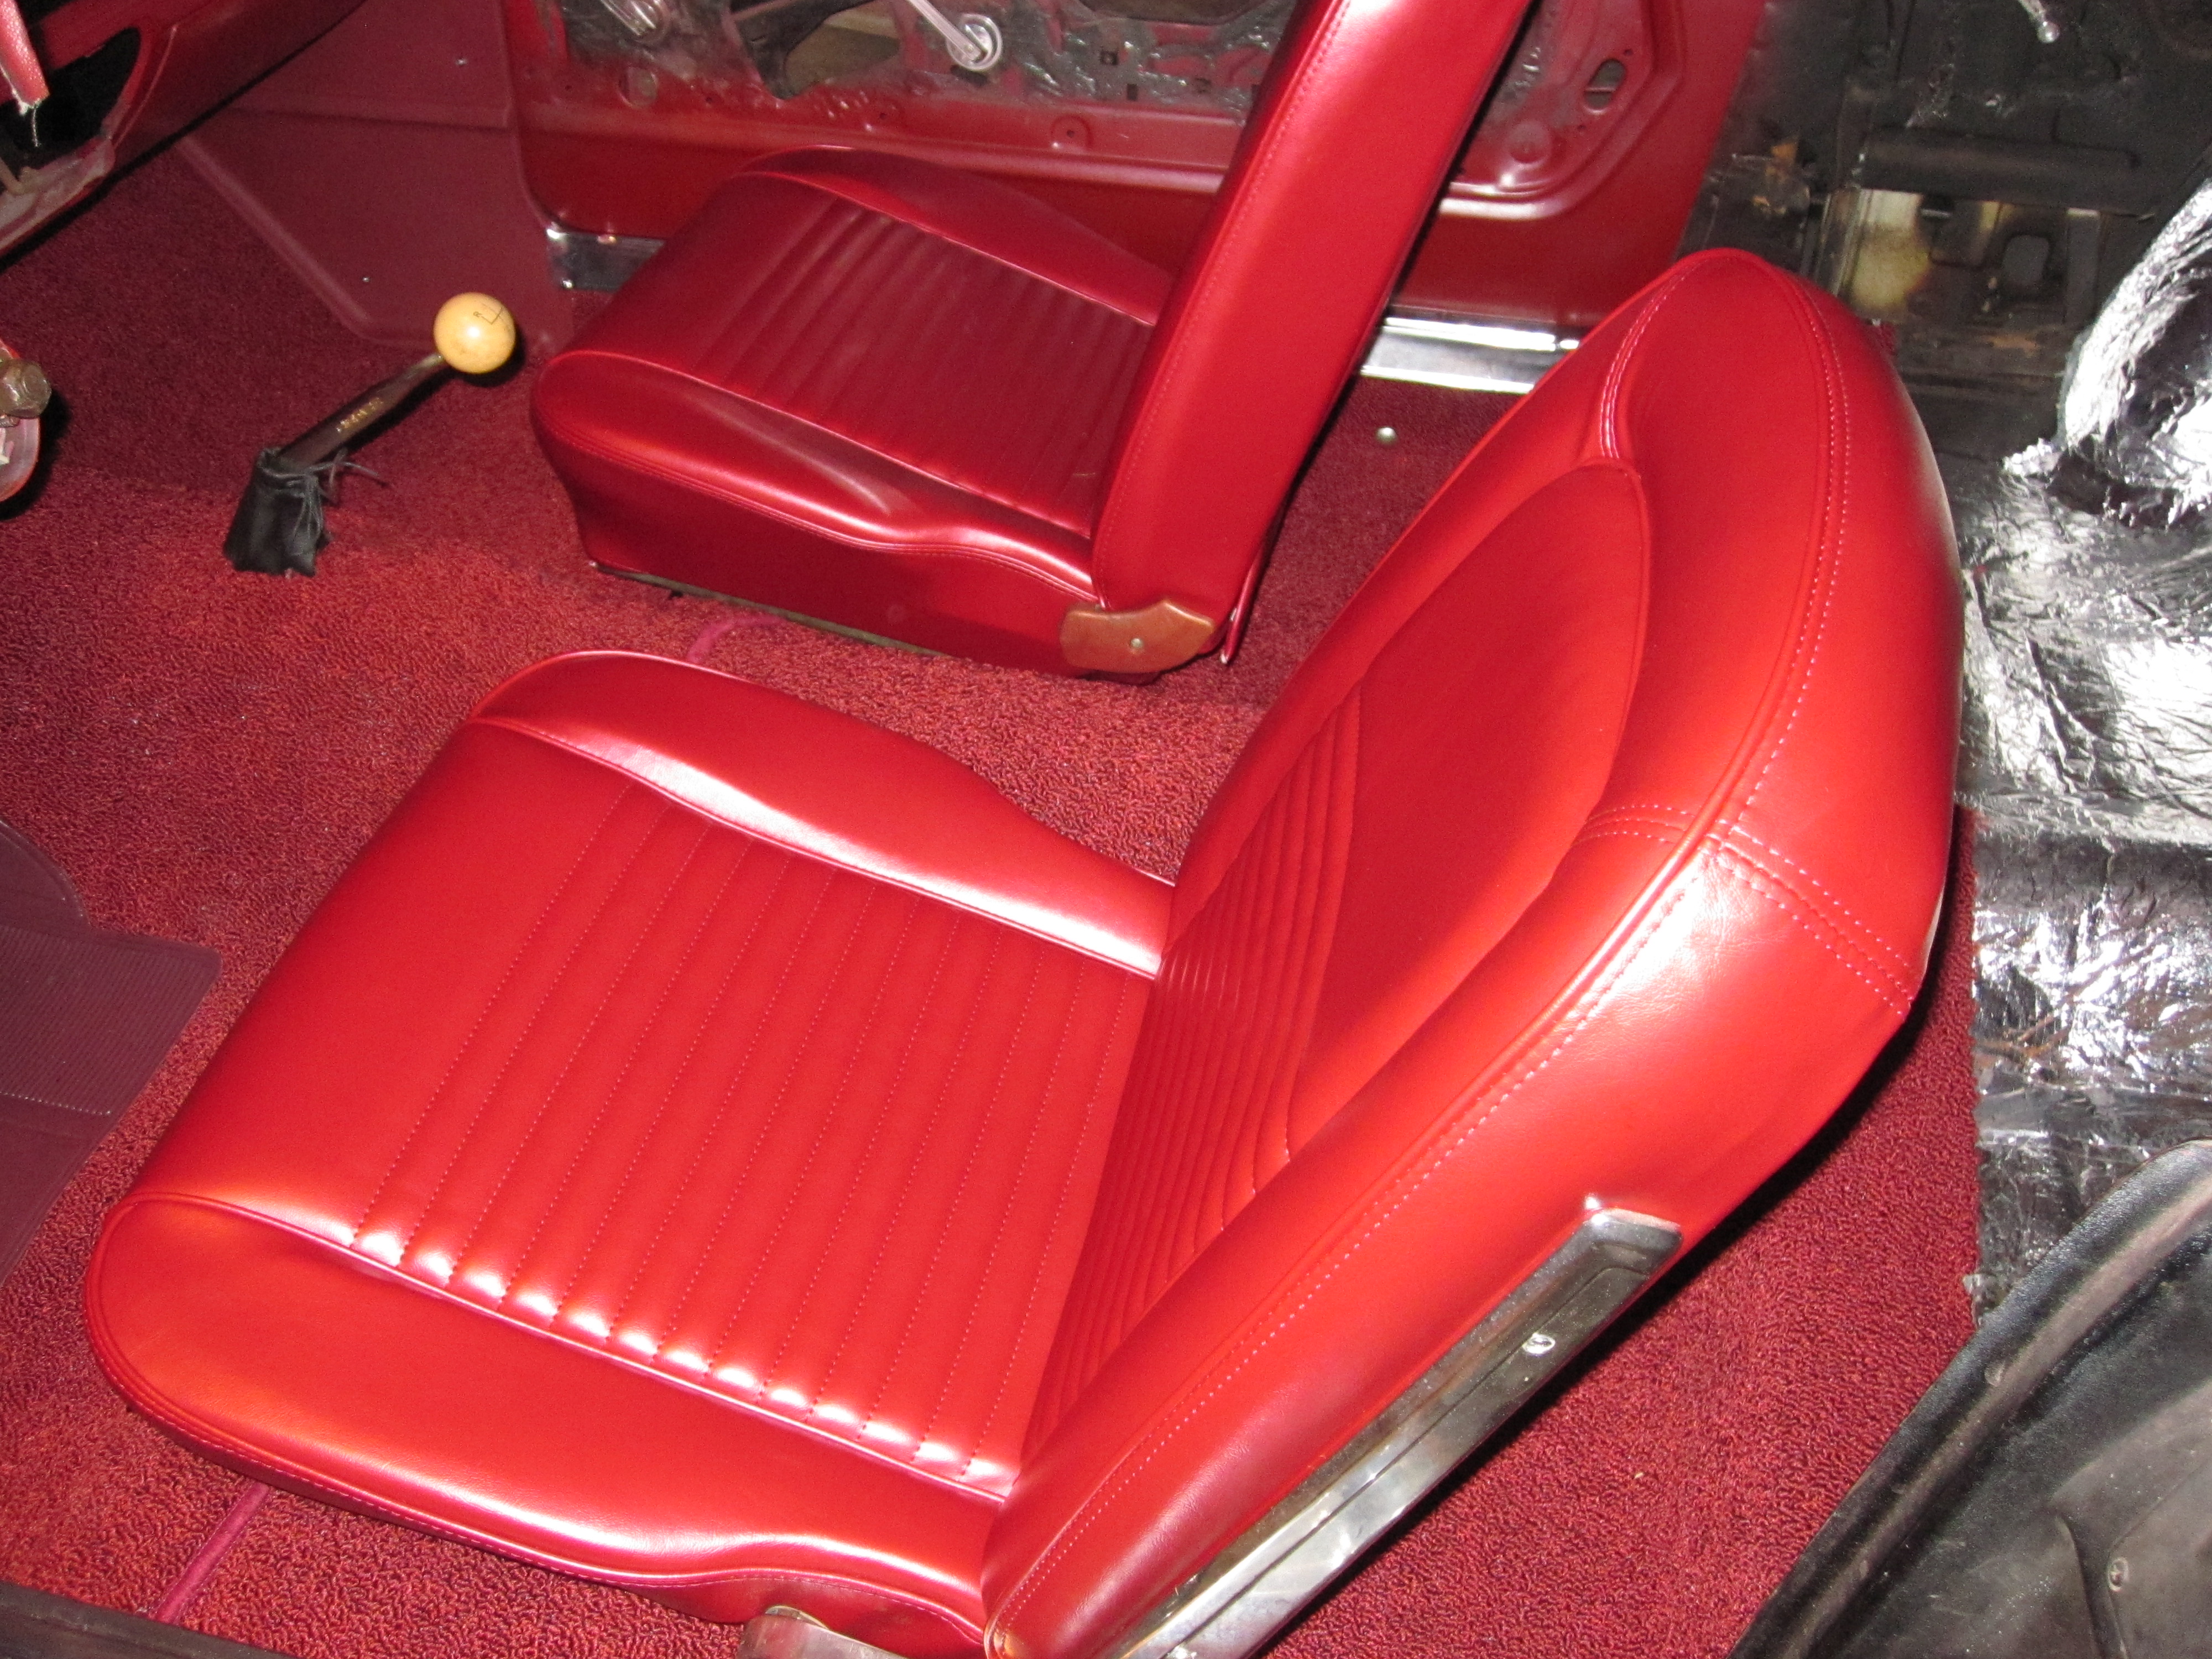
It was finally time to put the steering wheel back on. Or so I thought. I pulled out the deluxe steering wheel I had purchased about 30 years ago and looked it over. Comparing to a diagram I had showed that all the major parts were there. However some of the small hardware parts were missing. A trip to the online catalog for CJ’s Pony Parts revealed that you can purchase the small parts kit for this wheel. So now I’m waiting for steering wheel parts. But I was able to install the turn signal lever and emergency flasher button. The small parts kit is scheduled to be delivered tomorrow so I hope to get the wheel repaired and installed by the end of the week.
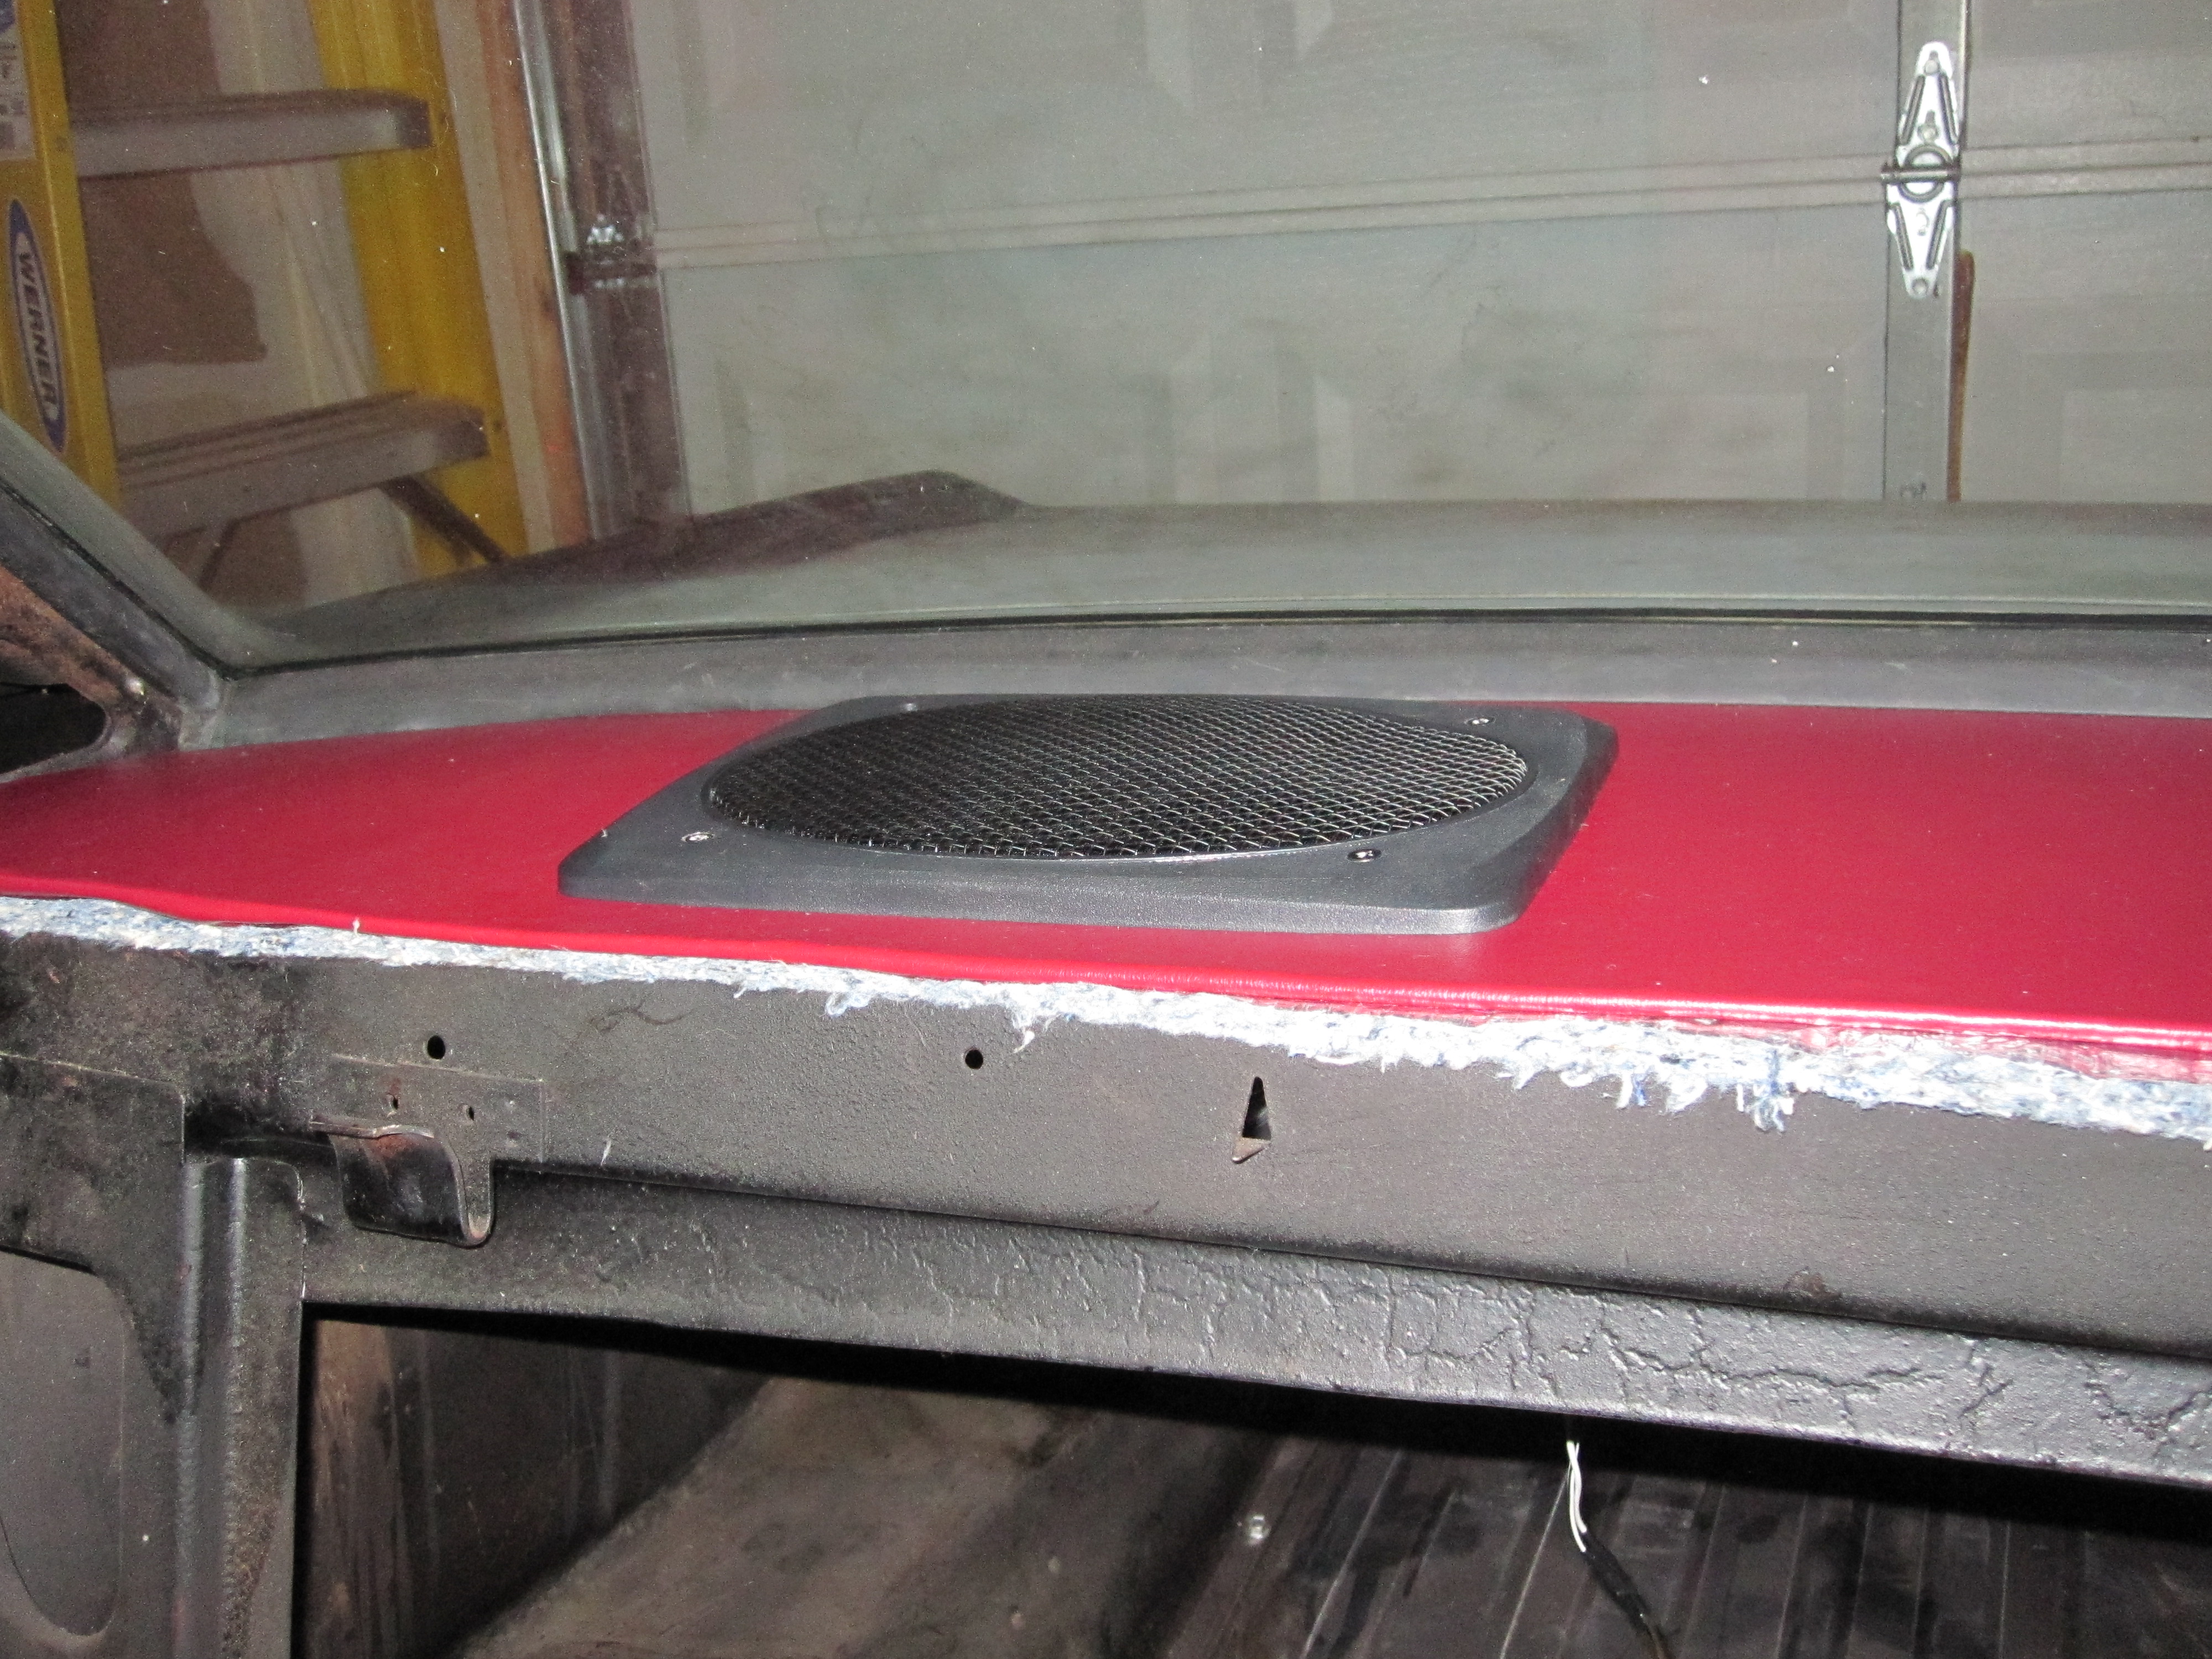
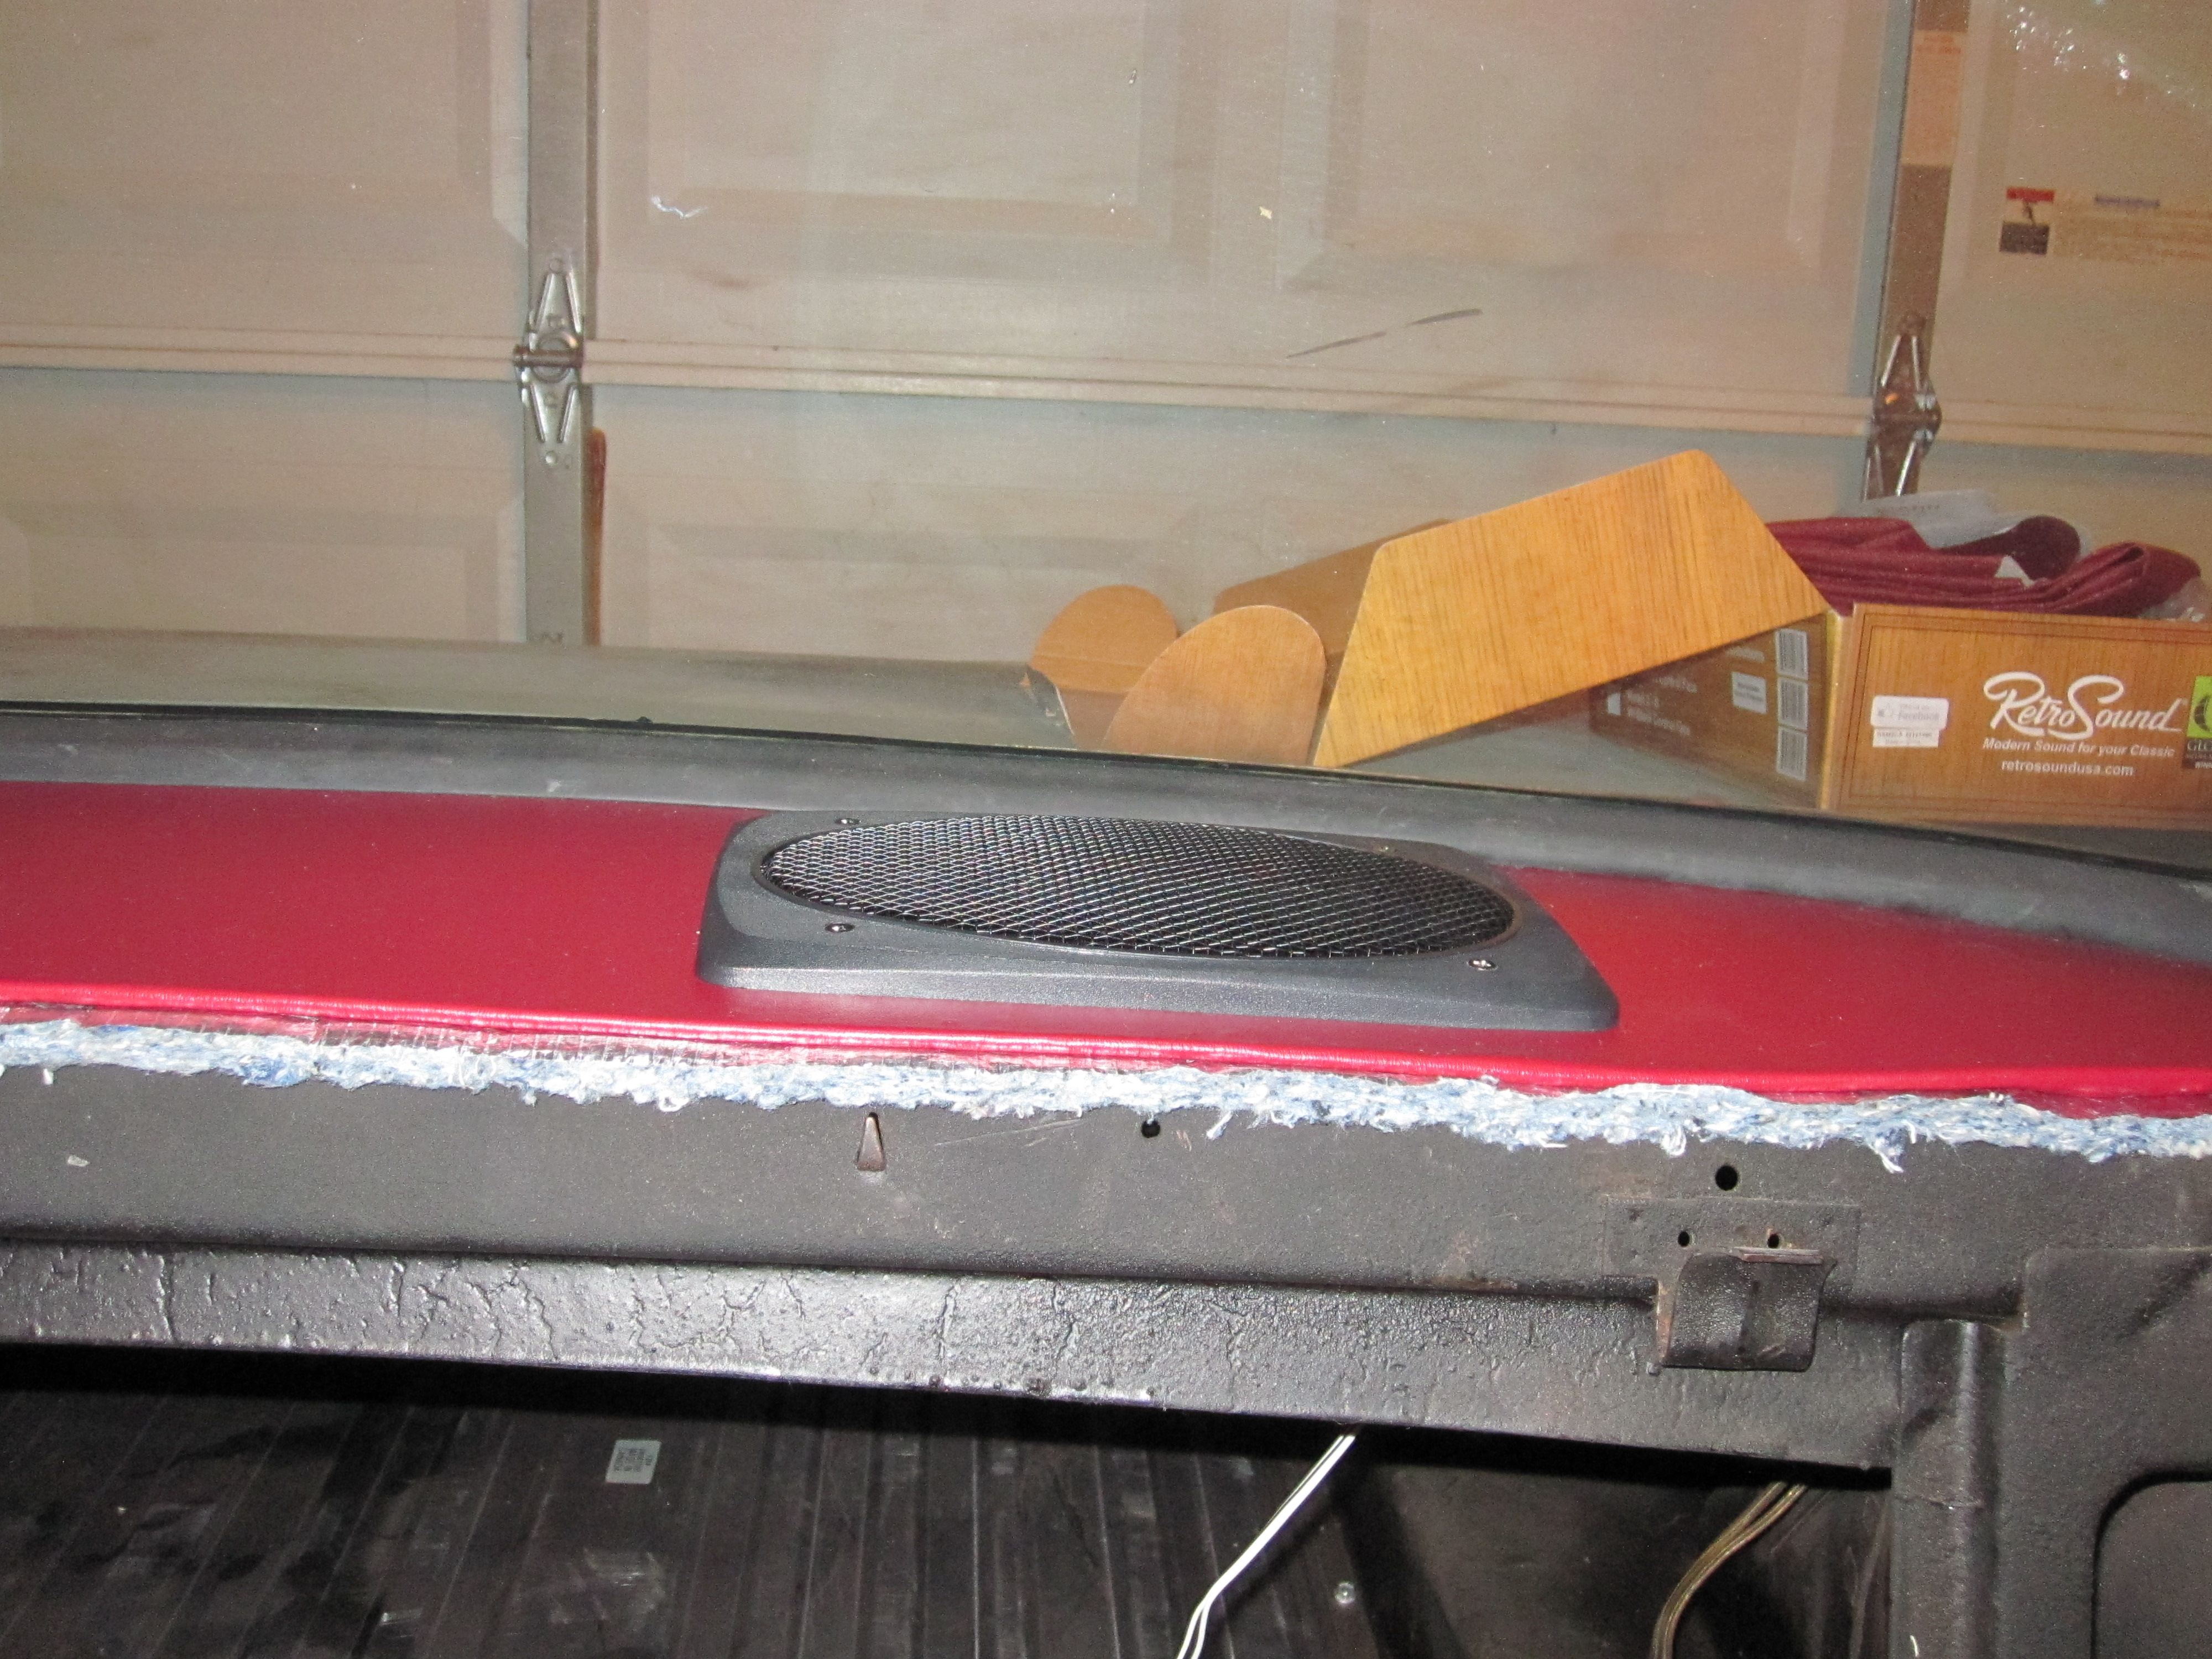
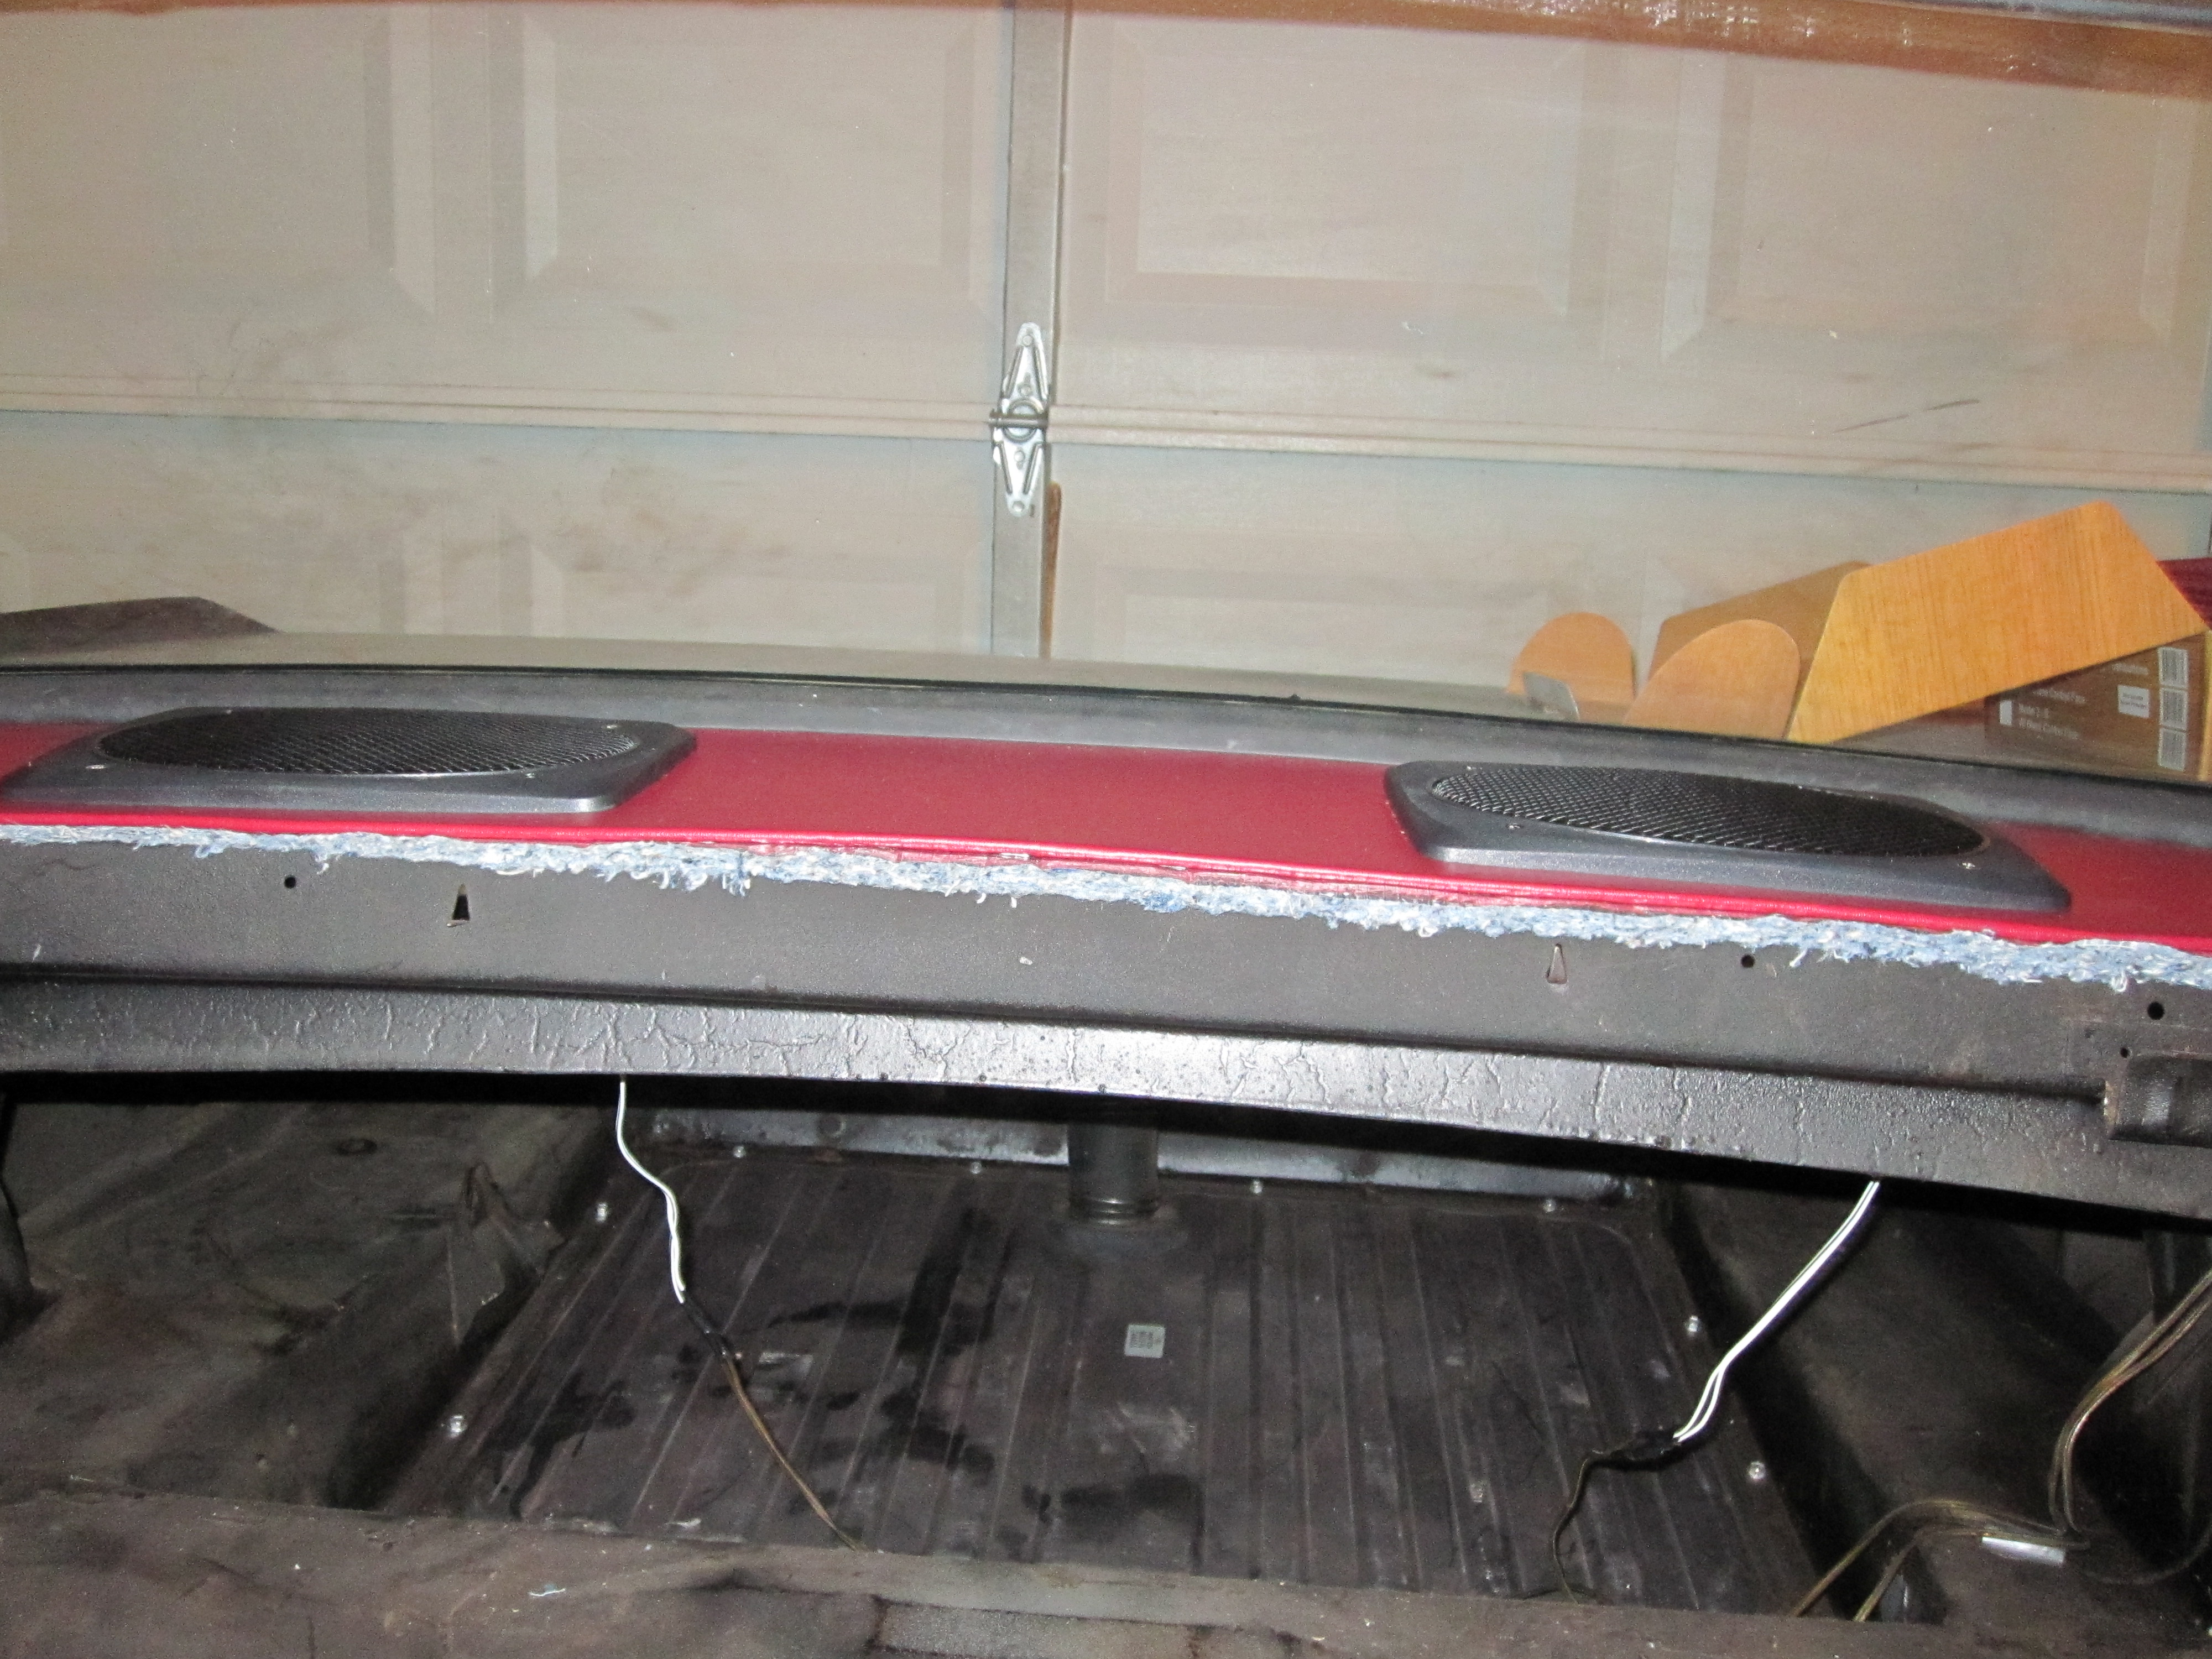
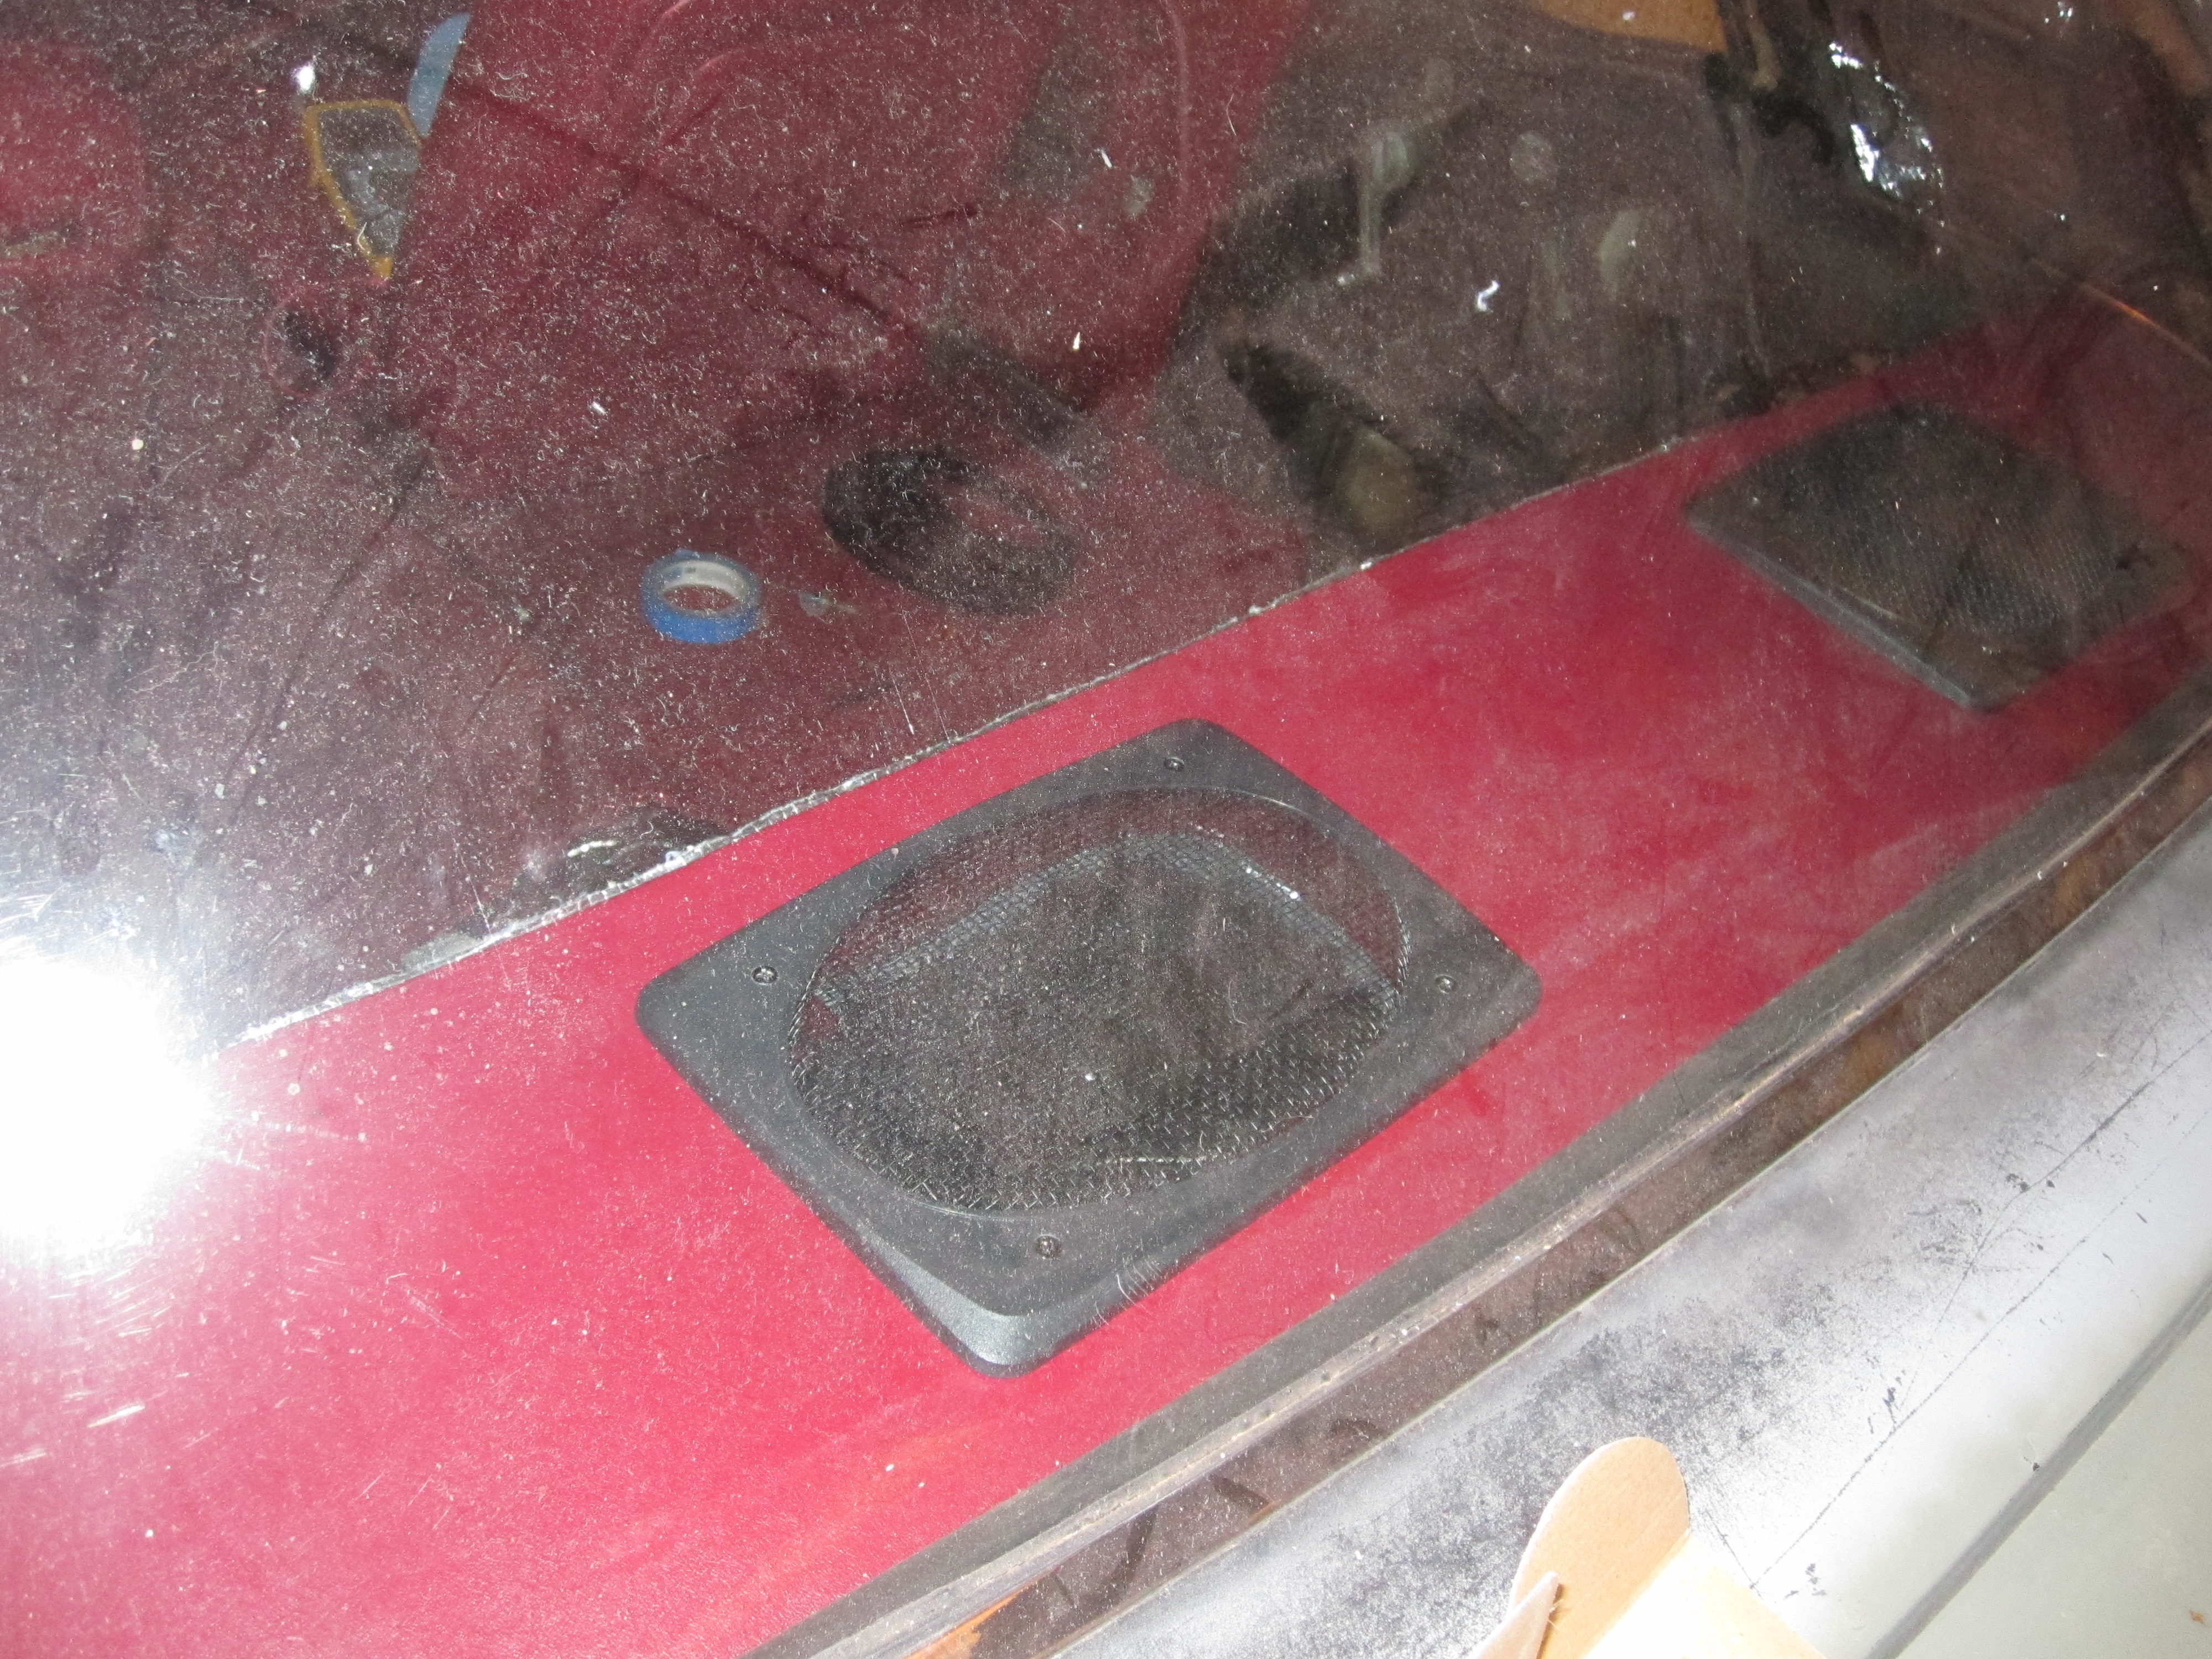
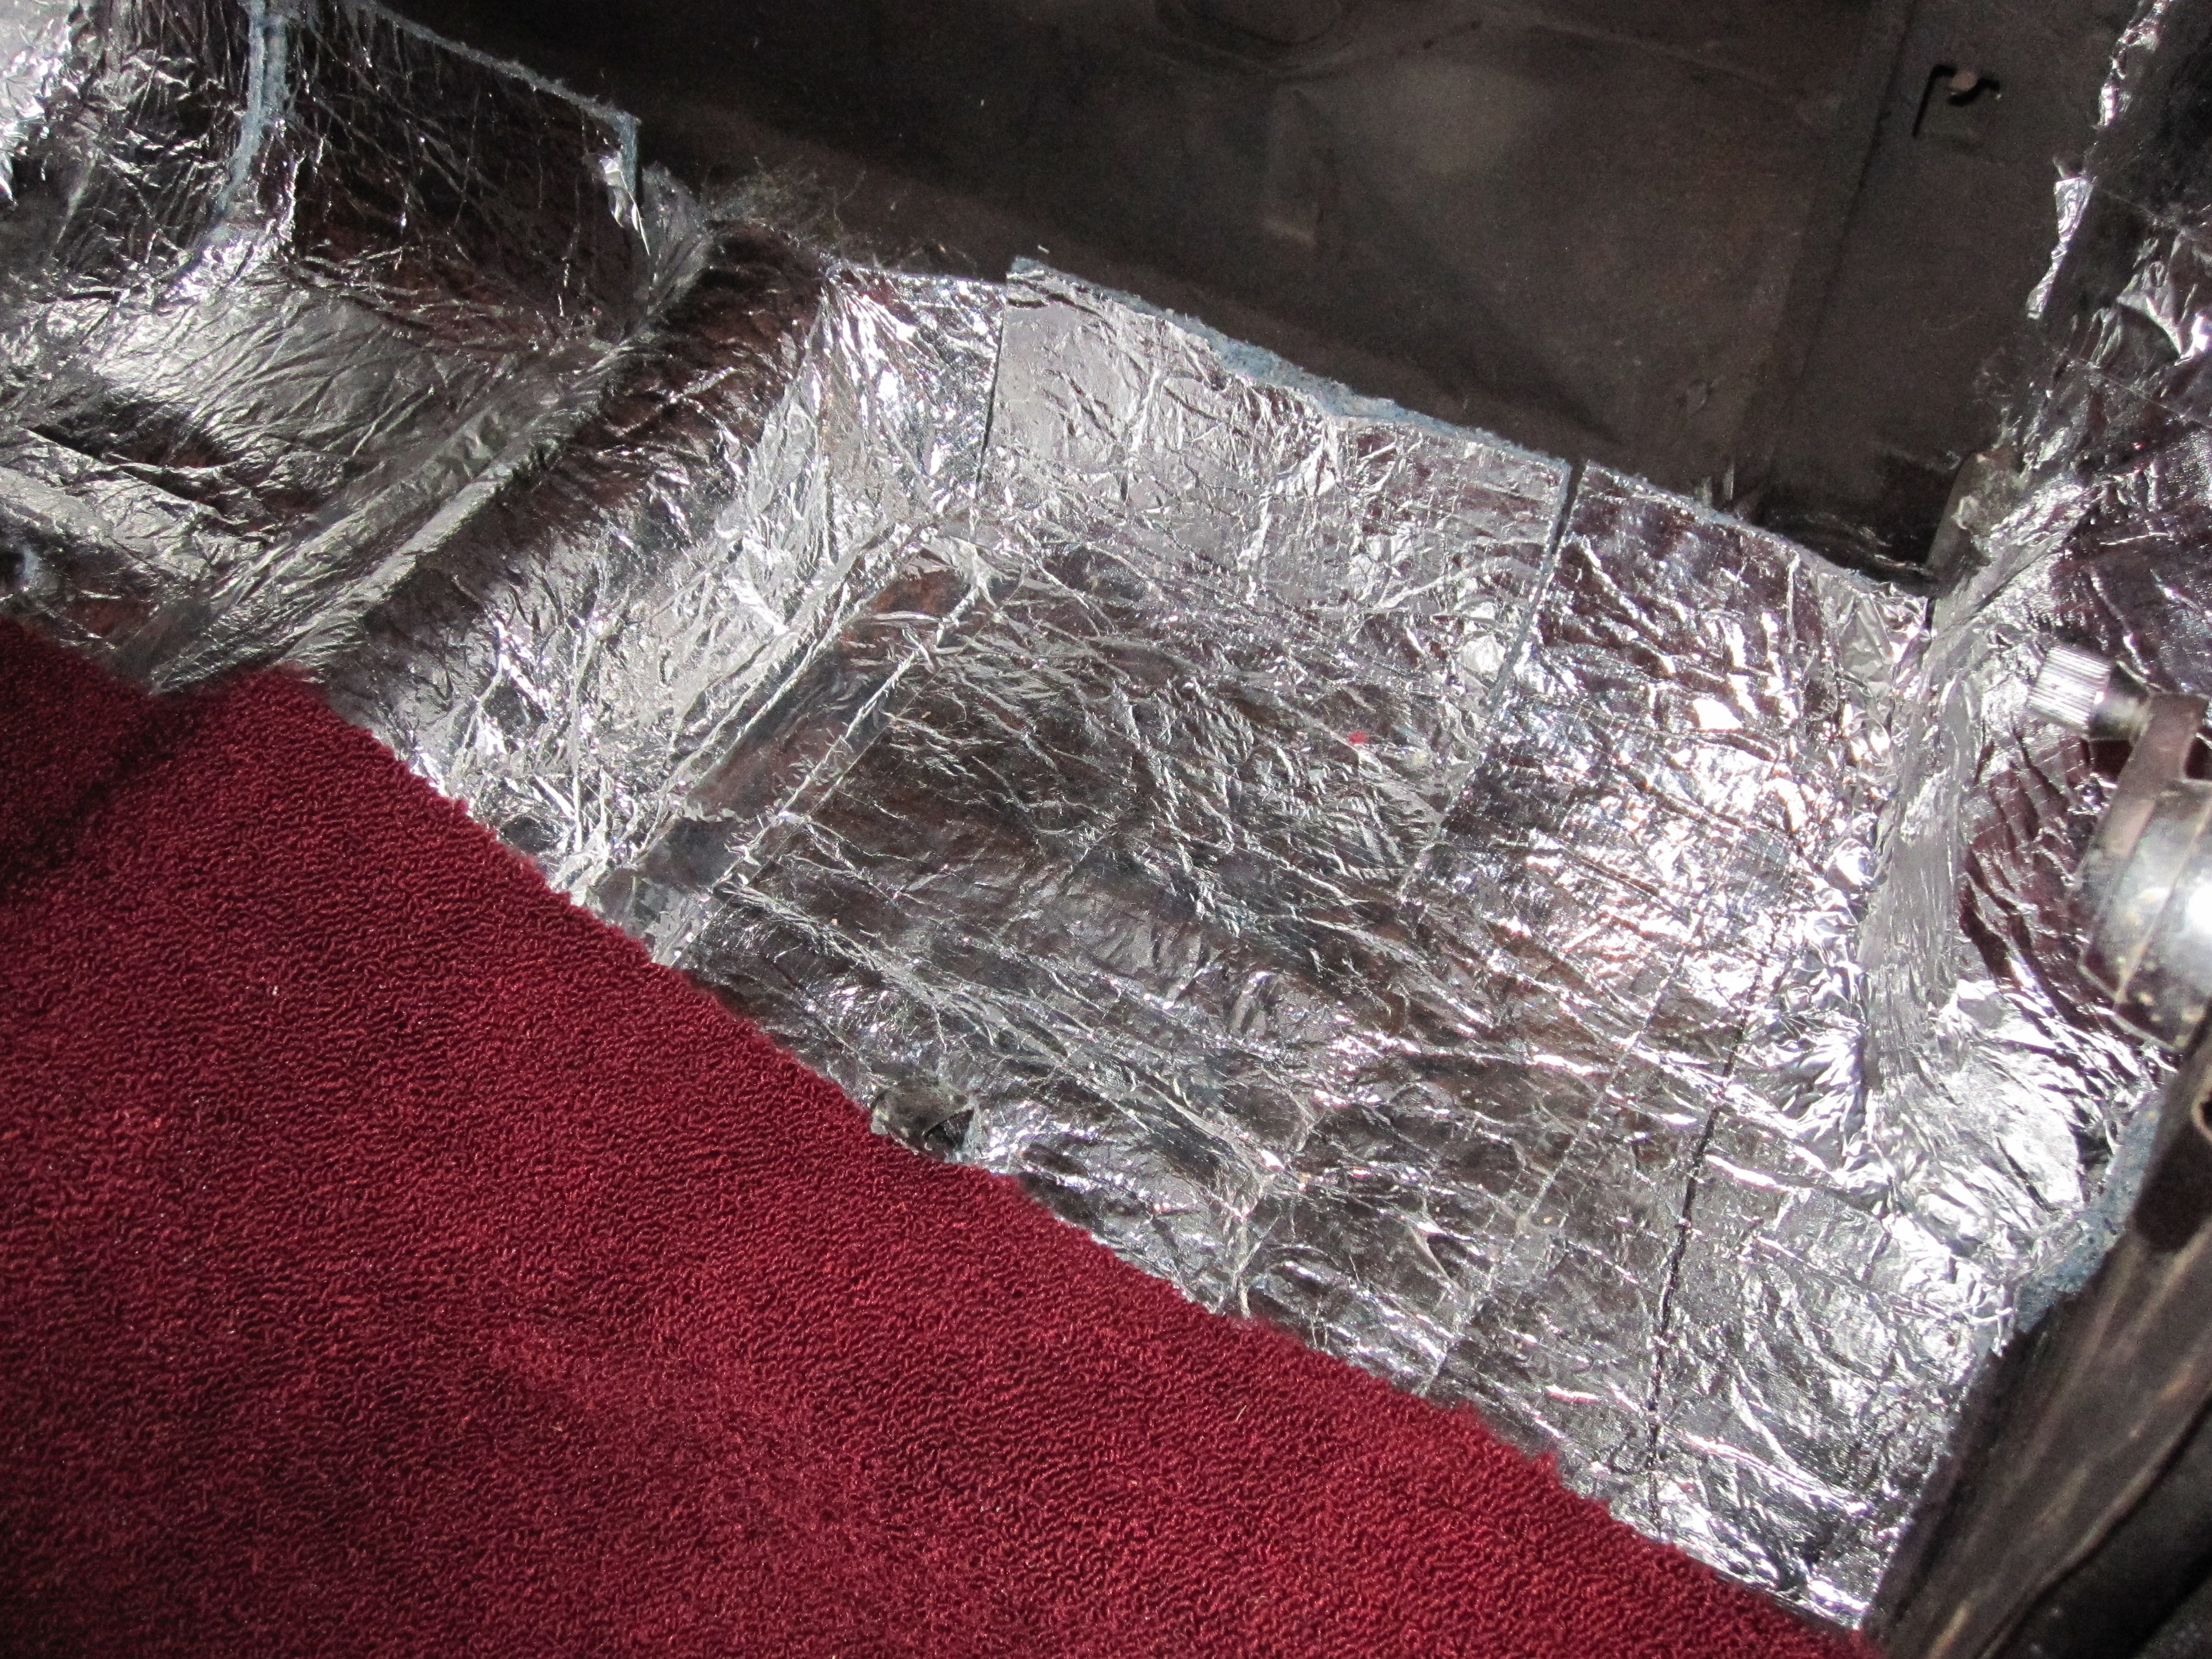
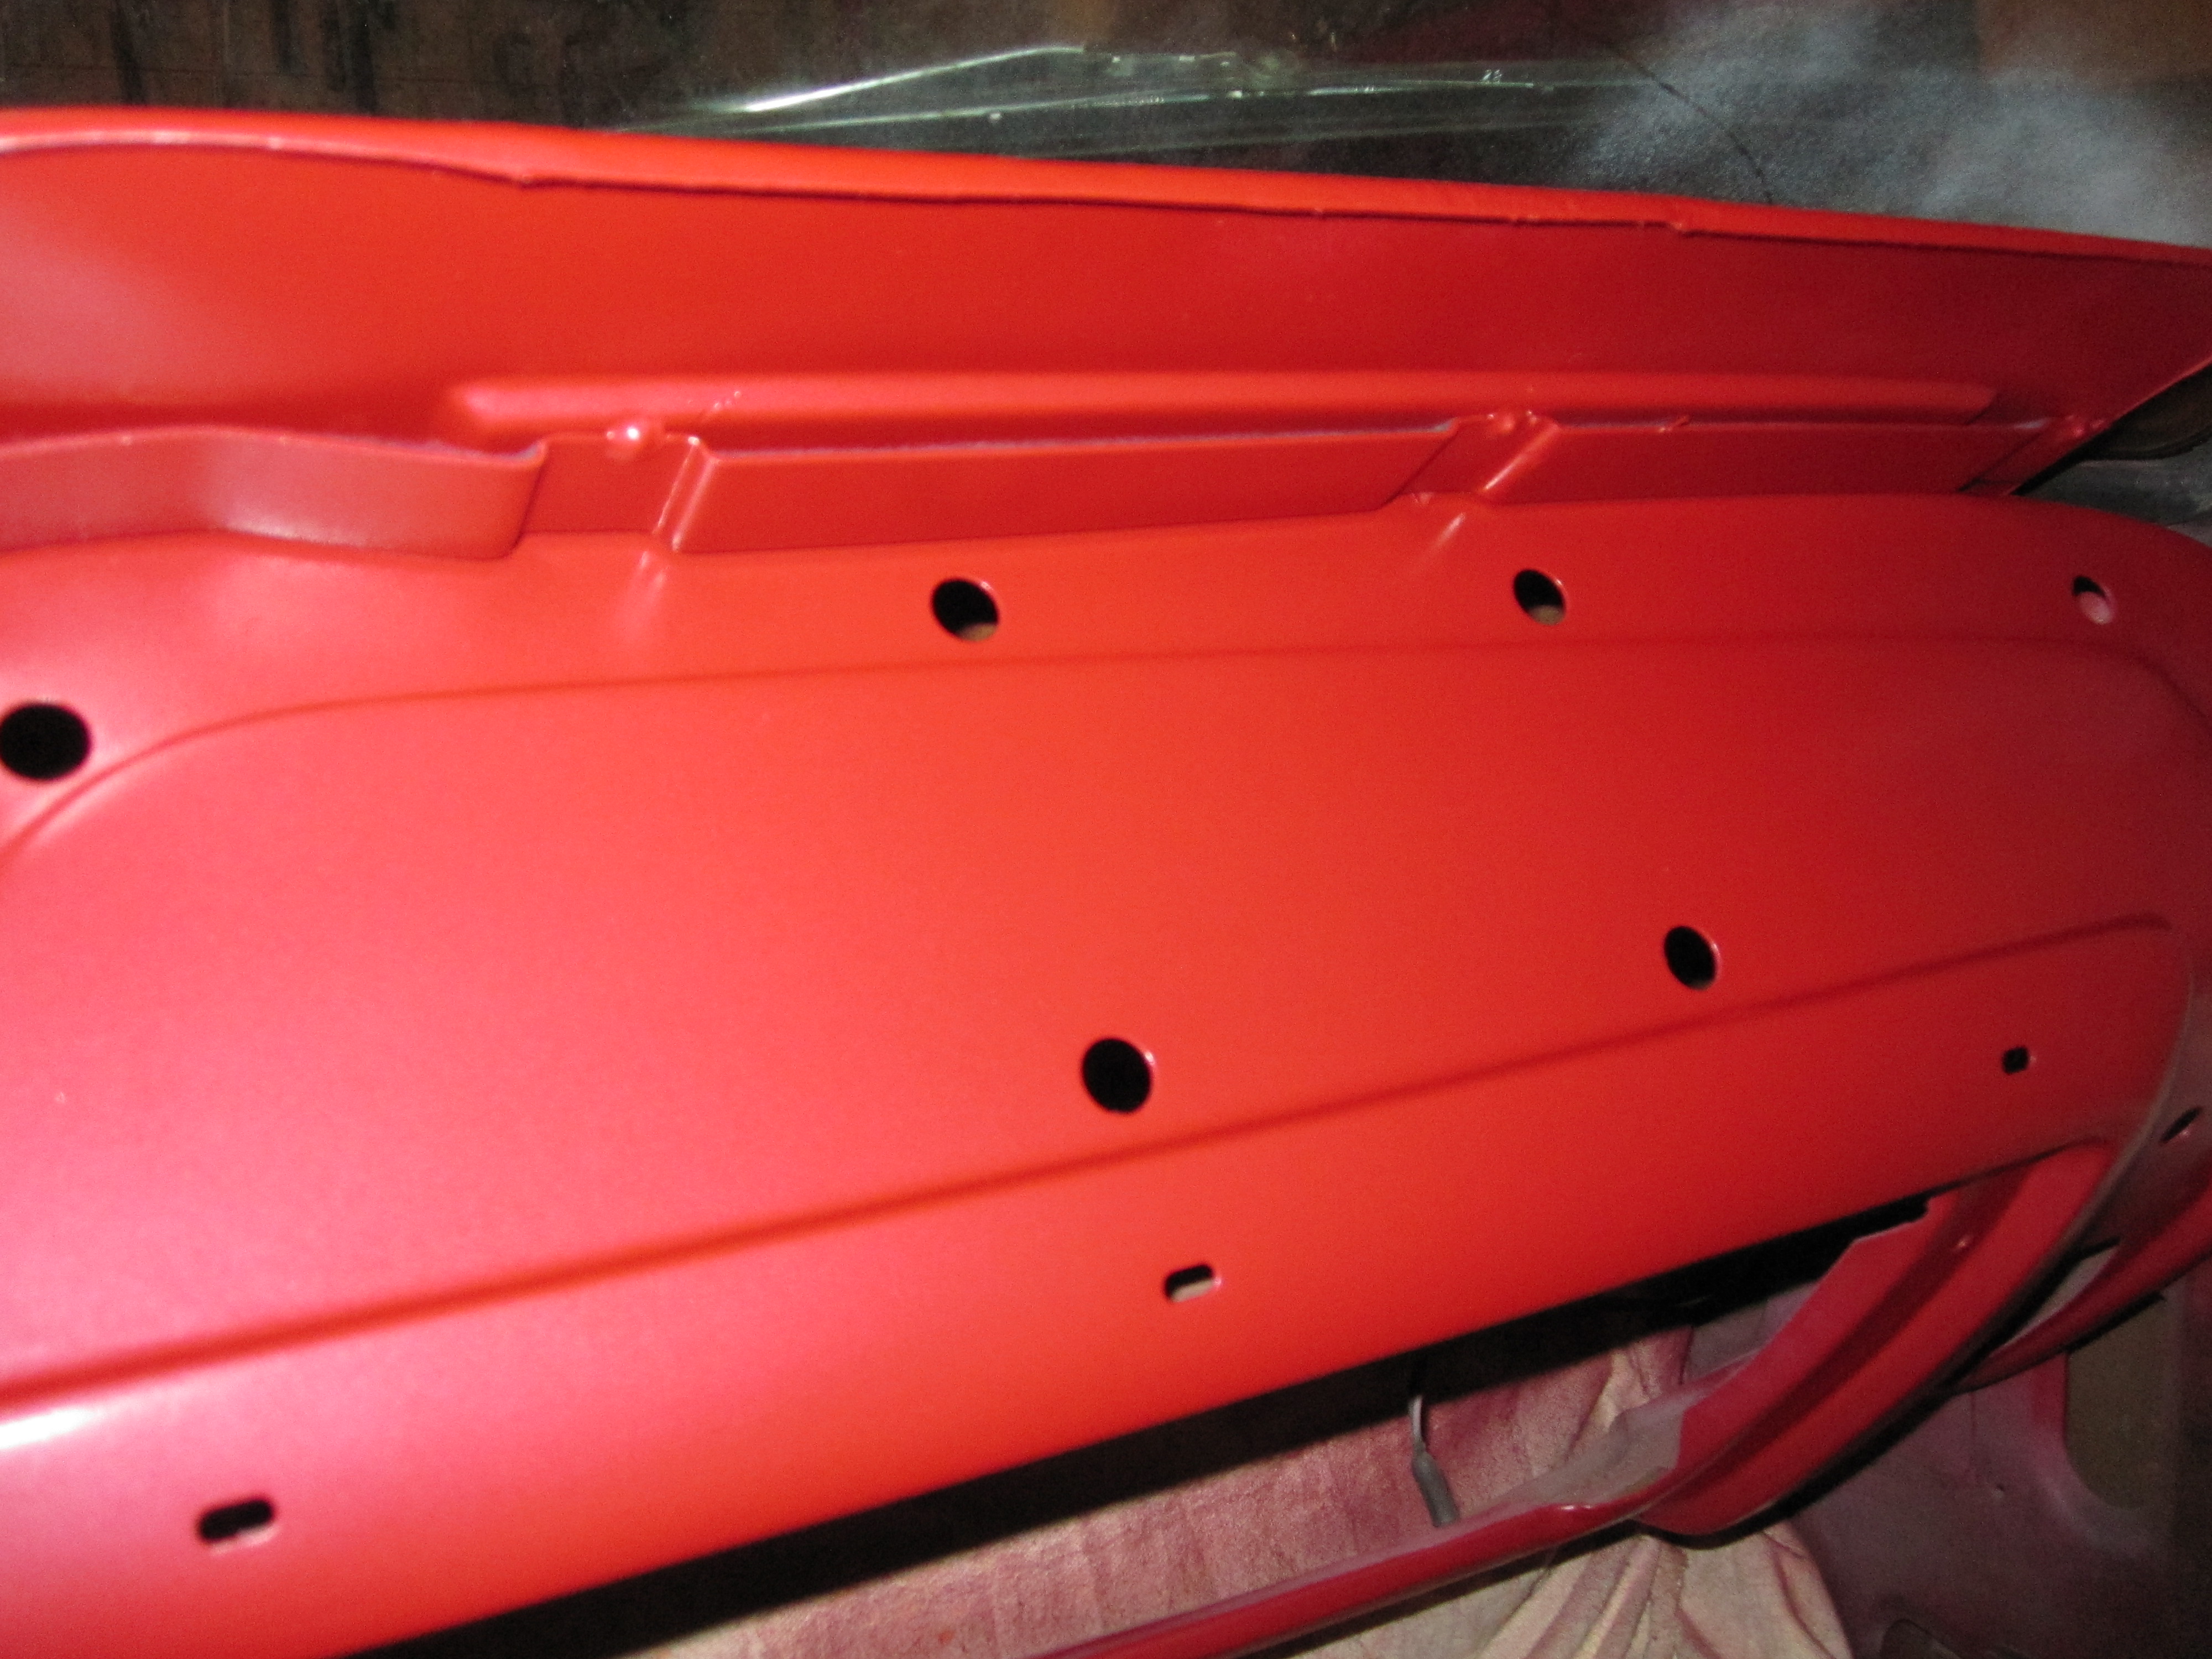
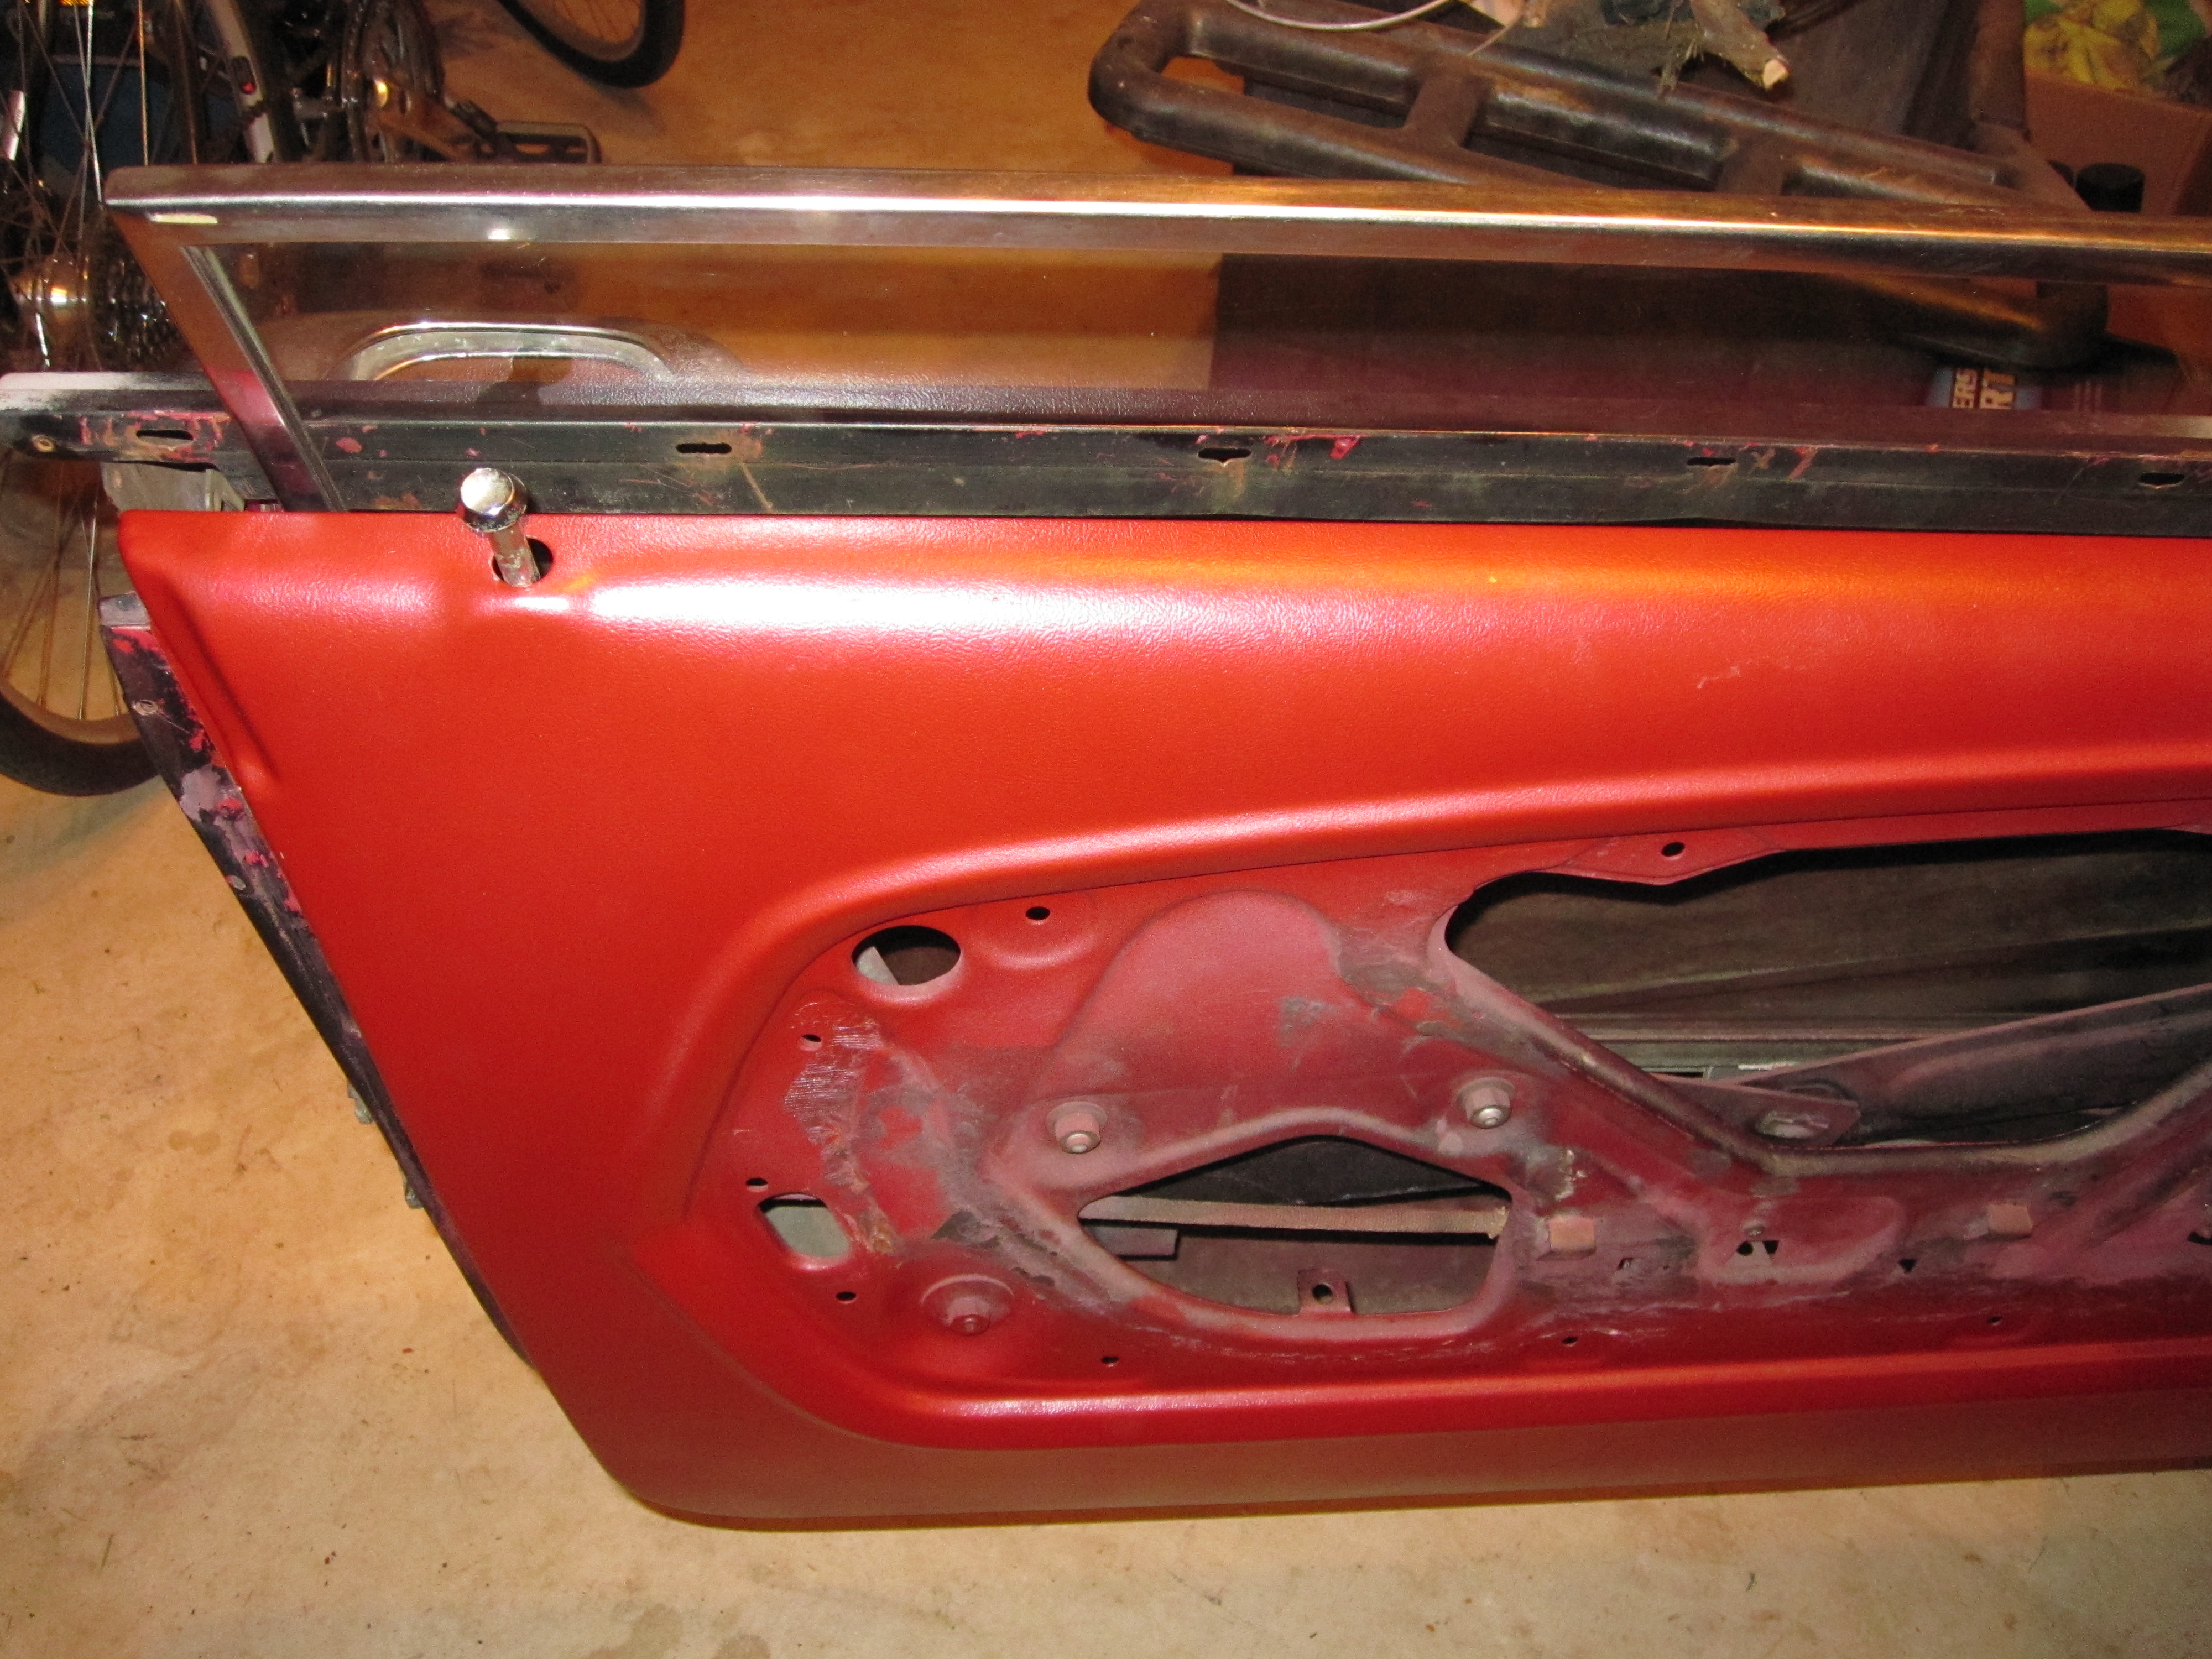
I still had those pesky rear speakers to deal with. I had a new package tray which I had purchased 30 years ago. I also had some speaker grilles to go in the package tray. My plan was to install the speakers under the package tray structure and put the grilles up top. I debated back and forth between painting the package tray or covering it. In the end I decided that a nice vinyl cover would look better. Not authentic but I thought I would like the look better. I went to the fabric store and purchased a nice piece of red vinyl to cover the tray. I carefully marked, drilled, and cut holes in the metal package tray structure, the package tray cover, and the AcoustiShield insulation. Then I stretched the vinyl around the package tray cover and stapled it in place. It was a bit of a struggle to bolt everything together as my careful measuring and drilling wasn’t quite as good as I had hoped. But I got it all together eventually. And the speakers sound much better in their final home than they did sitting on the floor of the car.
Here are a few pictures of the package tray and speaker grilles.